The Last Part in the Trilogy of Procedural Film Scratch
Apology for the delay as I got busy prepping BG (Background ) assets for my Houdini reel for the past weeks.
Here’s the link to the first two parts of the tutorials.
Nuke Tips – Procedural Film Scratch (Creating Gizmo) Part 1
Nuke Tips – Procedural Film Scratch (Creating Gizmo) Part 2
The EXPR Dilemma
First of all, there is a particular issue that I missed out in Part 2 on the use of TCL expression in Nuke.
I’ll let the following screenshots explained the issues.


Just in case for users who relies on machine translation when reading this post, to use the value of a variable in another variable, we need to use expr for it to evaluate properly.
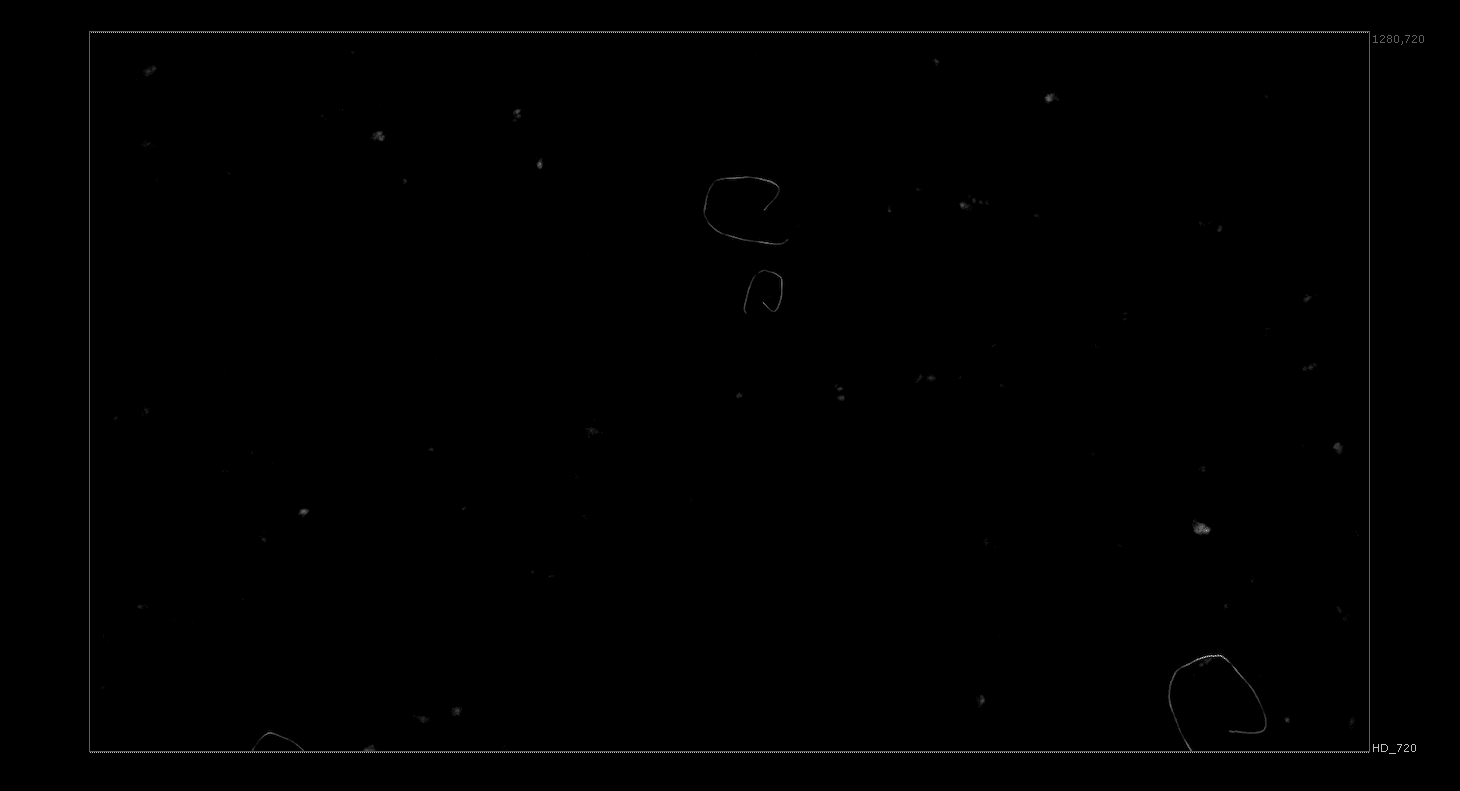
Slight Modification to Scratch
If you’re up to the challenge, you can give the user choices in selecting the look of the scratch. Problem is I’m lazy and decided to modify the look of the scratch directly in the RotoPaint node.
Here’s how the new curly scratch looks.
Adding Chromatic Aberration
There are a few Chromatic Aberration (CA) gizmo out there at Nukepedia but let’s create our own version here.
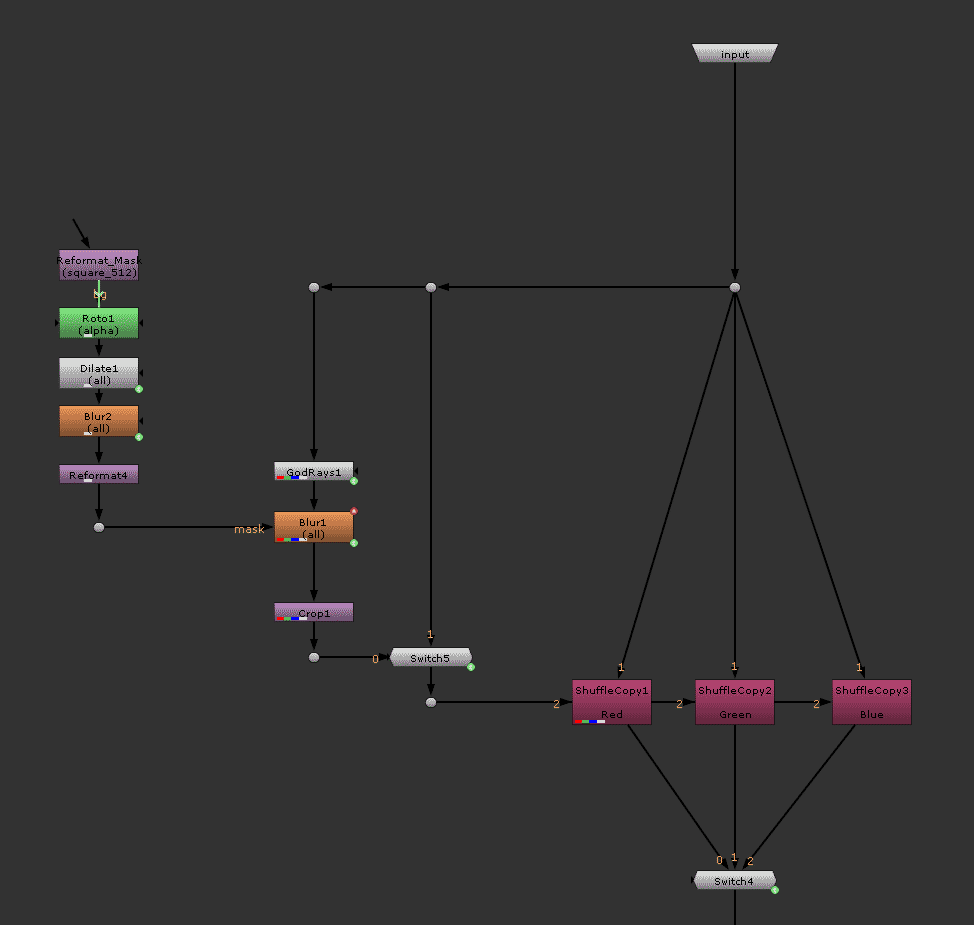
Ok maybe the node graph above is pretty complicated since it involves extra nodes as part of the gizmo.
The following node graph shows a simple construction to fake CA effect.
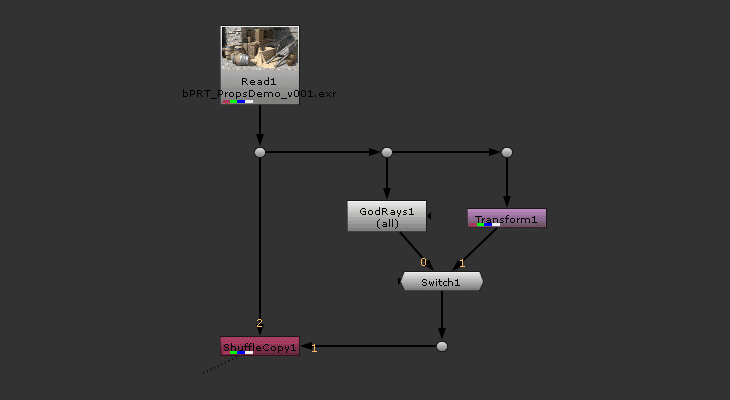
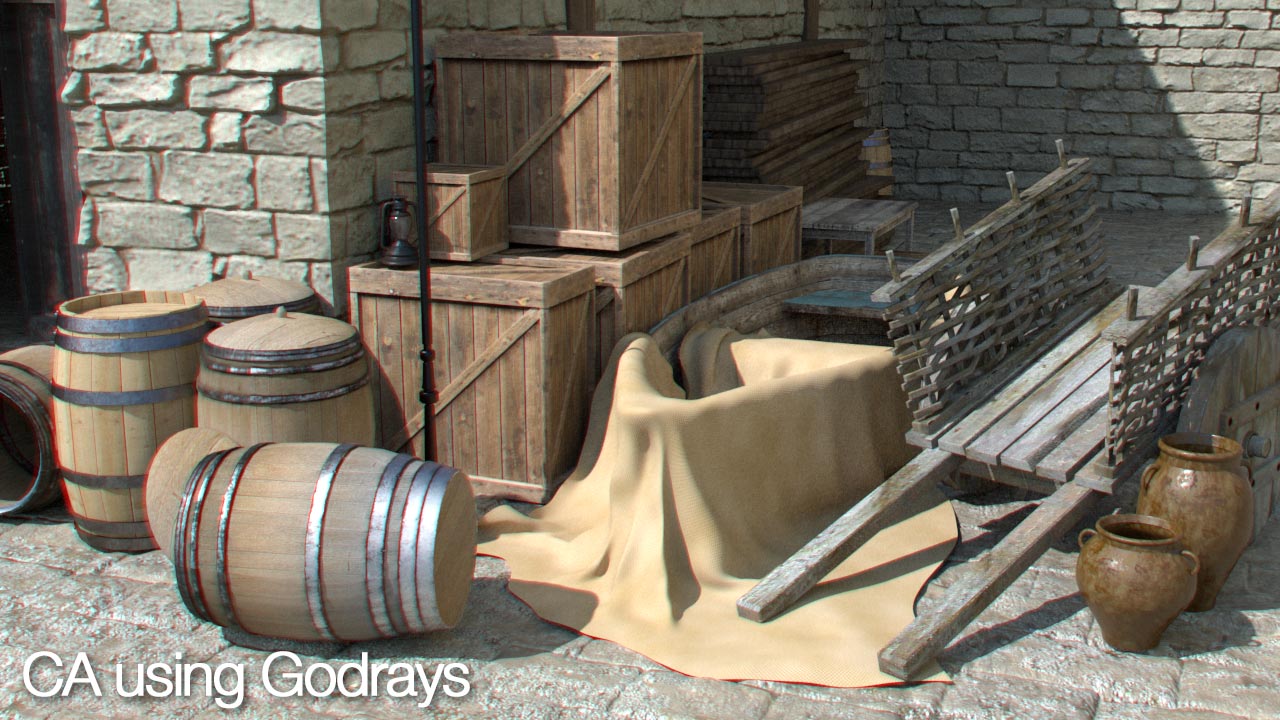
The idea here is to scale a particular channel (usually the Red channel) in a radial zoom which the GodRays node does. You can try scaling using the Transform node but it creates an unnatural looking CA but might be appropriate depending on the look you’re after.
The following BG render from my upcoming Houdini FX reel demonstrates the difference between both methods.
![]()
With that out of the way, let’s look at how to export our gizmo for others to use.
Exporting the Gizmo
Before that, we want to write a simple Help description whenever the user hovers over the question mark icon at the top right of the properties panel.
Just right click on an empty area at the gizmo properties and choose Edit help.

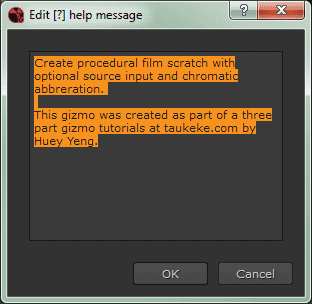
Well the help stuff are optional but it can be beneficial to write a short and critical information about the gizmo. You don’t want the user to be left in the dark!
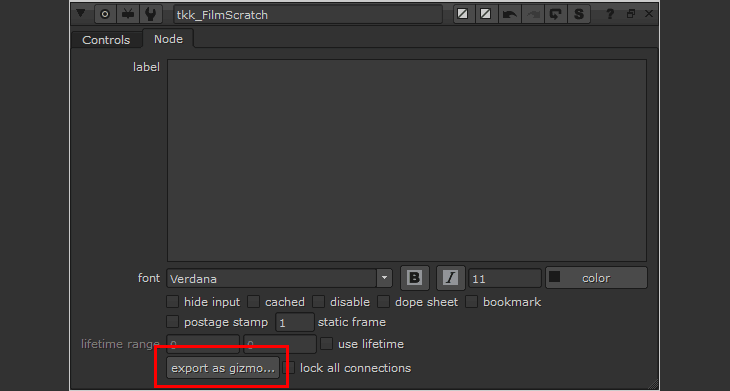
Finally remember to set a default value for all the gizmo parameters before we export it.
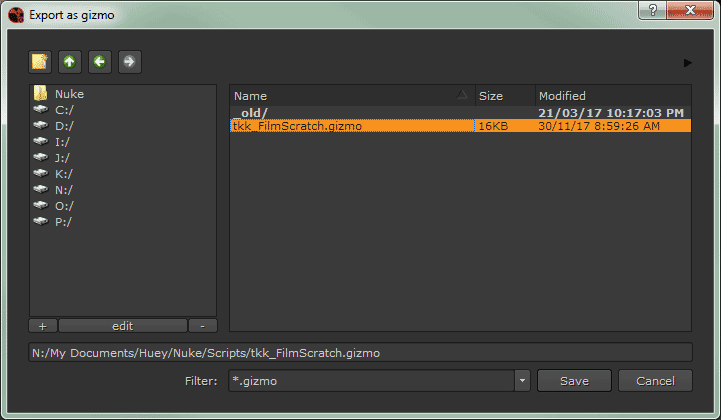
Exporting the gizmo is as easy as going to the Node tab and choose export as gizmo…
So we have export the gizmo… now what we can do with it?
You can either place it in the .nuke folder in the Home directory (the path varies between OS) and go to Other -> All Plugins -> Update to access the gizmo through the Tab menu.
OR
Refer to the official documentation on how to access the custom gizmo:
The Finale of the Gizmo Trilogy
So we have reached the end of this three part tutorials and hopefully you have learned something useful from it.
One thing that I’ll love to add to the custom gizmo is an icon if you’re planning to access it from a custom menu and Dan Sturm wrote a good article on setting up a Nuke Gizmo icons.
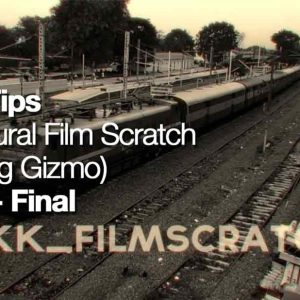
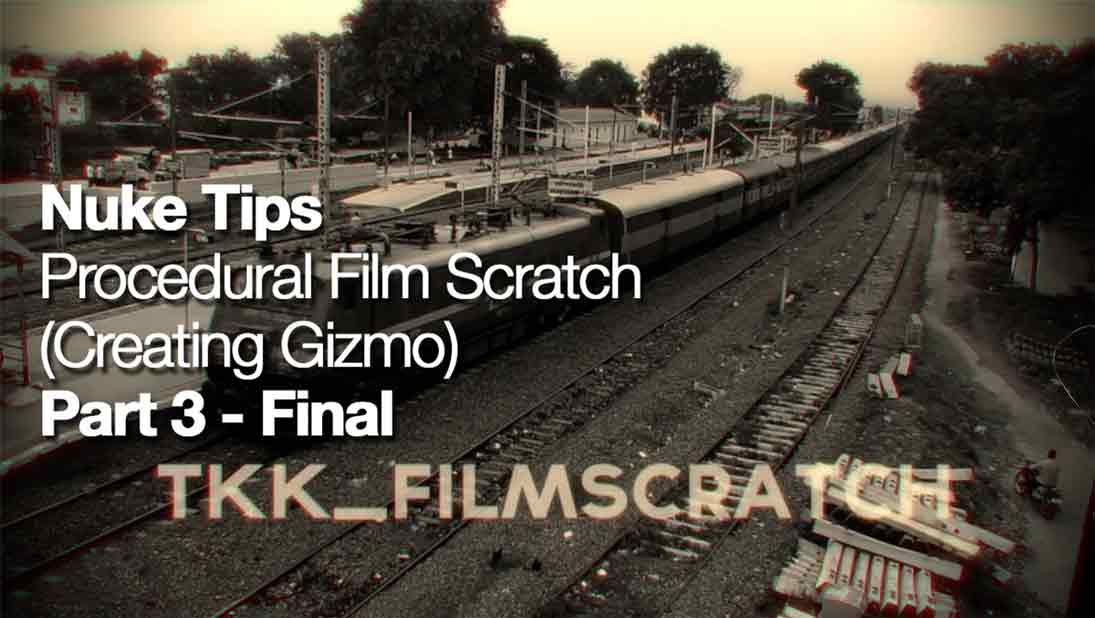
As a reward, here’s how I abused the very gizmo that I created on a random train footage that I found on YouTube.
Still here?
You can download the tkk_FilmScratch gizmo by clicking this link and I’ll probably upload it over at Nukepedia in the near future after some minor modifications.
Happy Gizmo Nuking!

