Previously in Part 1 of Creating a Procedural Film Scratch Gizmo
In Part 1, we covered the process of creating a gizmo from scratch and ensuring the custom user knobs are working through the use of expression.
Albeit simple, the gizmo creation process is easy to learn but hard to master if we want to create a complex gizmo (take a look at some of the popular gizmo over at Nukepedia and study the node graph).
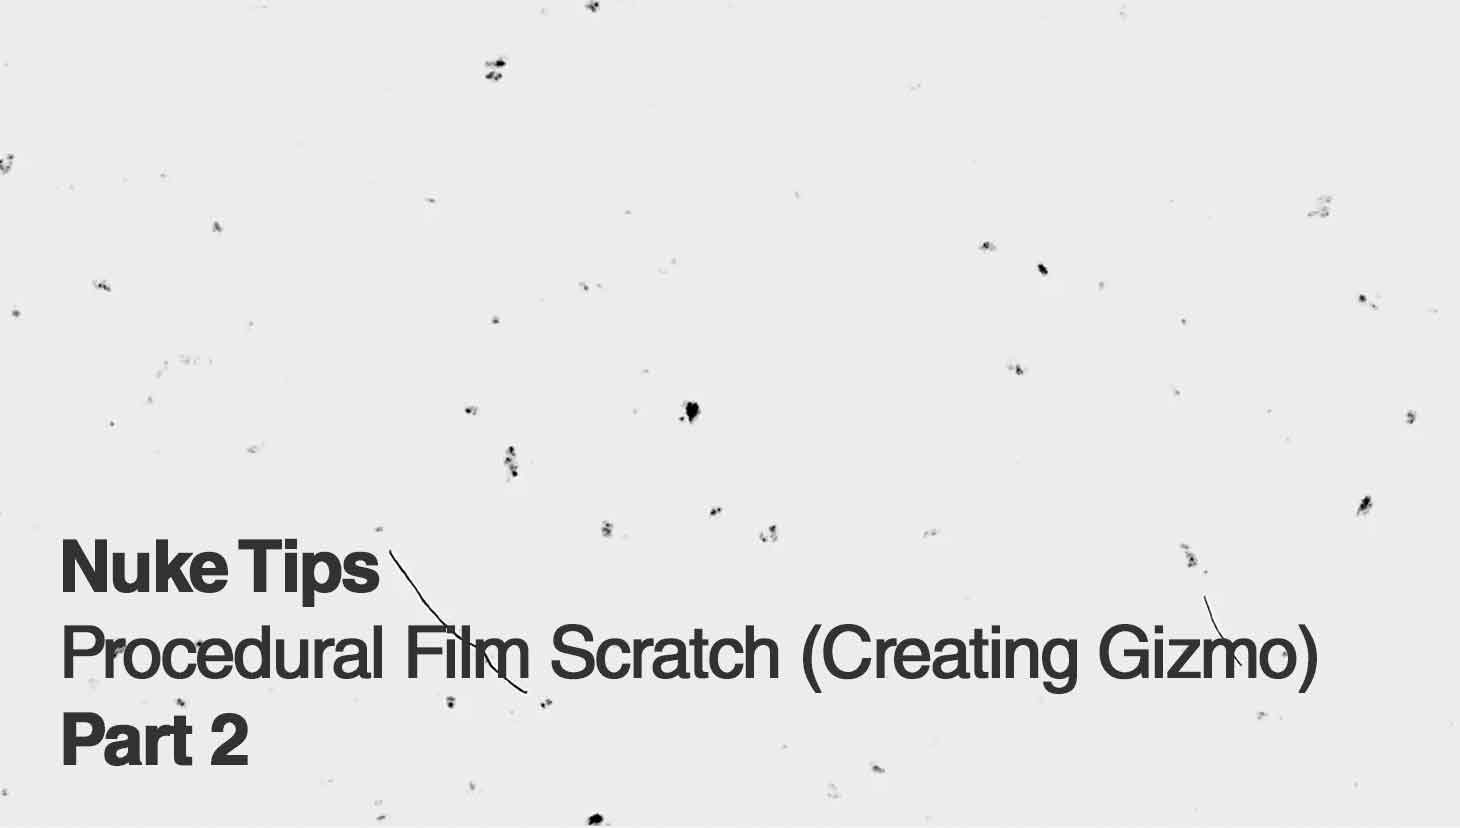
By the end of this tutorial, we’ll be able to generate this result using the gizmo:
What’s Covered in Part 2?
If you are looking for a complete walkthrough of creating this gizmo, I’m afraid to say that I’ll be covering the critical aspect of the gizmo creation only as it is better to get the hang of creating several basic gizmos before attempting this part.
As long you have the understanding of the following, you are good to go in troubleshooting the gizmo creation:
- TCL/Python Expression
- Using Variables in Nuke
- Google (or any major search engine)
Without further ado, let’s take a look at the node graph layout which can be further develop in the future.
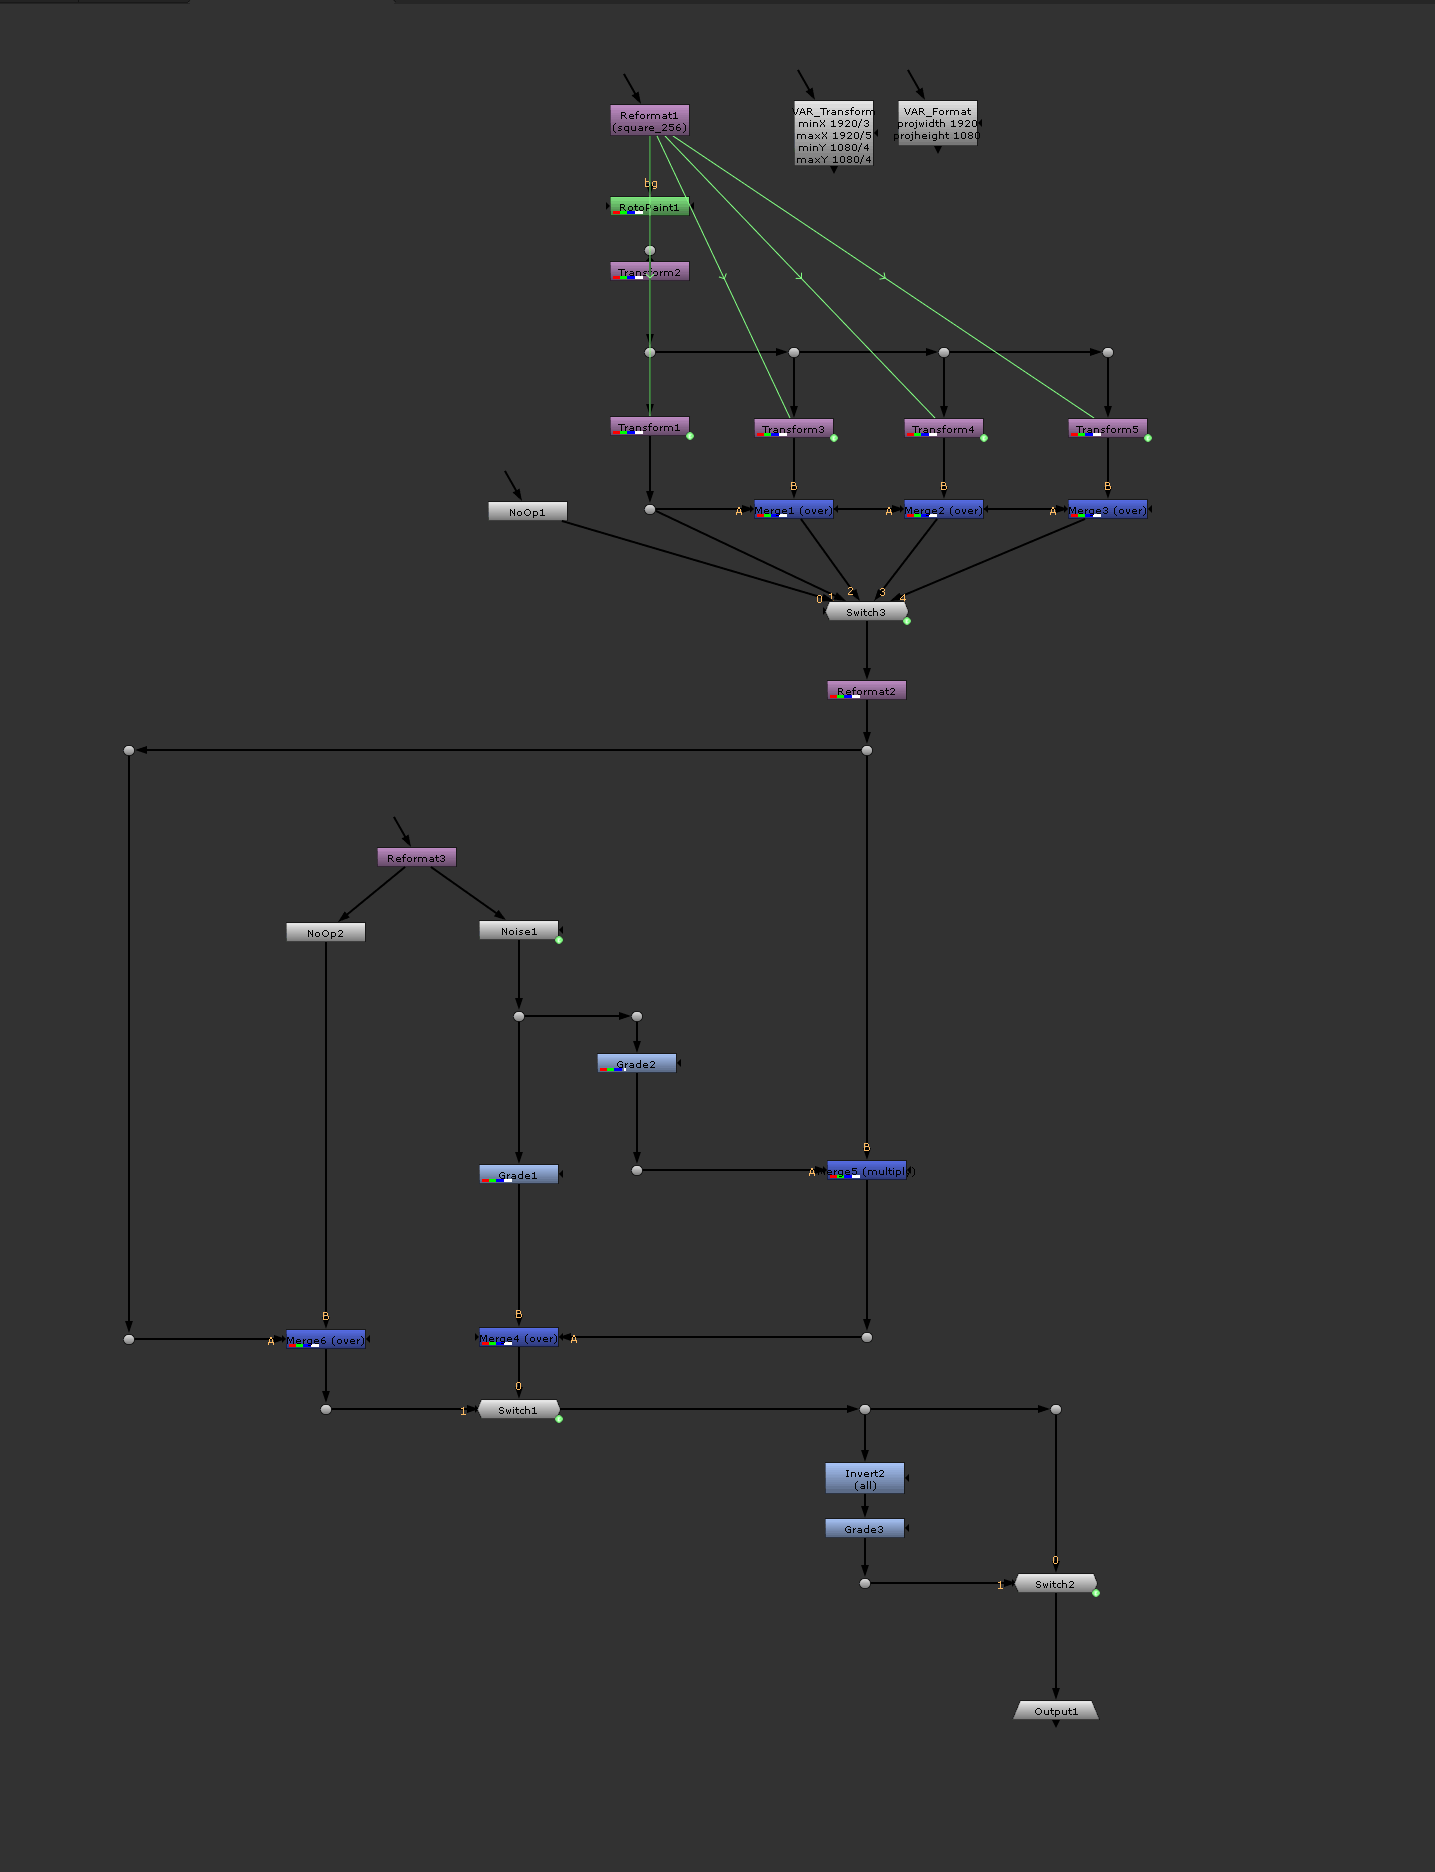
Do not confuse this with an organisation chart–
Do take note that renaming nodes inside a gizmo are not necessary so you can leave the default name that Nuke generate like Reformat1, Transform3, Shuffle2 and so on.
Create scratch using RotoPaint
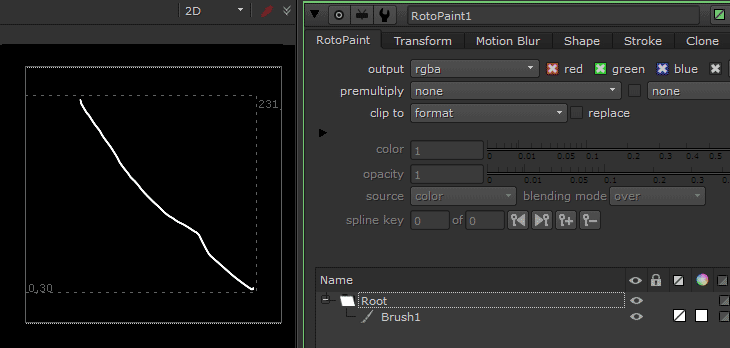
Just draw a line and you’re done!
Serious answer, it is better to setup a Reformat node with a low resolution (ideally lower than 512×512) since you don’t want Nuke to draw a high resolution scratch for faster calculation.
If you need higher res for a 4K Ultra HD output, feel free to bump it up according to your requirements.
Setting up Variables in Nuke
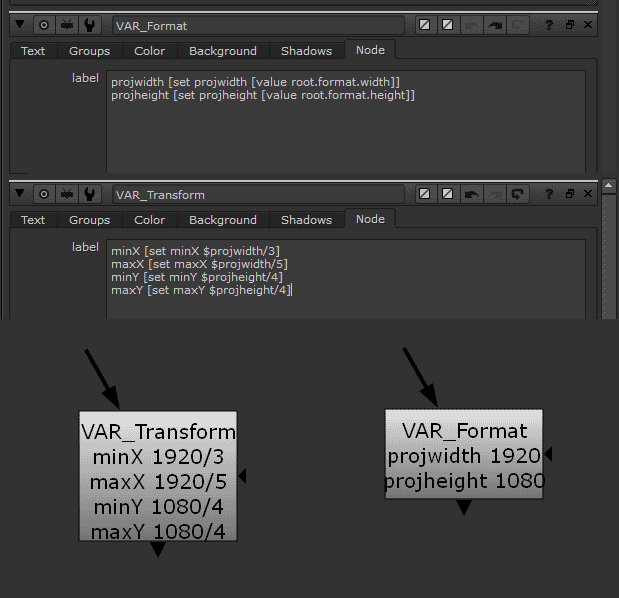
The best way to setting up variables in Nuke is to use a Text node and write it out in the Node tab instead of the Text tab.
To setup a variable in Nuke using TCL, use the following format:
[set variablename value]
[set variablename [value node.parameter] ]
Examples:
projwidth [set projwidth [value root.format.width]]
projheight [set projheight [value root.format.height]]
minX [set minX $projwidth/3]
maxX [set maxX$projwidth/5]
minY [set minY $projheight/4]
maxY [set maxY $projheight/4]
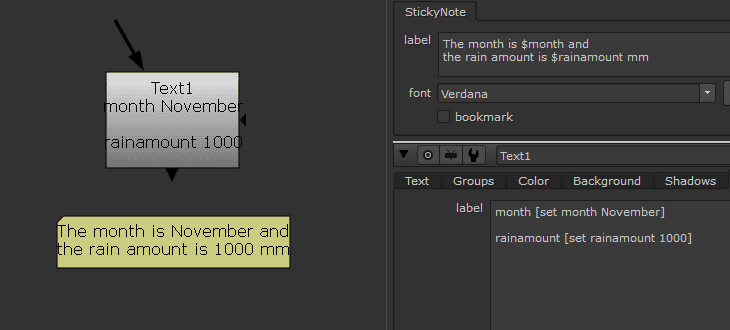
You’ll notice there is a variablename prefix before the square brackets in the example above. It is to help us identify the variable as Nuke will only return the value of the expression in the square brackets. Here is more random examples:
month [set month November] = month November
rainamount [set rainamount 1000] = rainamount 1000
petrolJellySmear [set petrolJellySmear [value Blur1.size]] = petrolJellySmear 80
So how do we use the variables? Just append it with a $ prefix like $month and $rainamount in your expression although we can use it anywhere within Nuke like in the following example:
Using expression on Transform node for animation
To procedurally generate the animation of the scratch, expression is the way to go as you’ll unlikely to keyframe every single frame manually!
As I’m not an expert in mathematics algebra, do visit the excellent Nuke Wave Expressions by Cameron Carson to get a good idea on generating the desire animation curves.
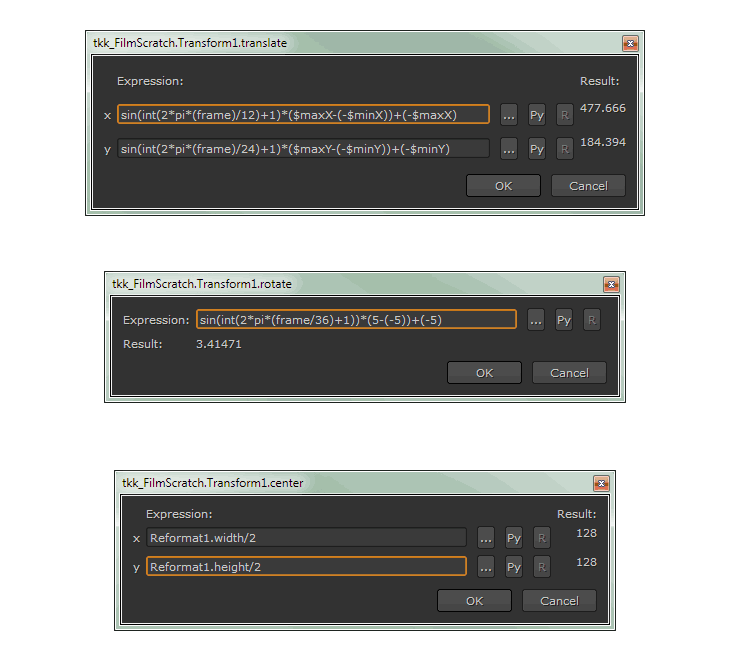
In the above screenshot, you can see the expressions with the variables that I set up earlier.
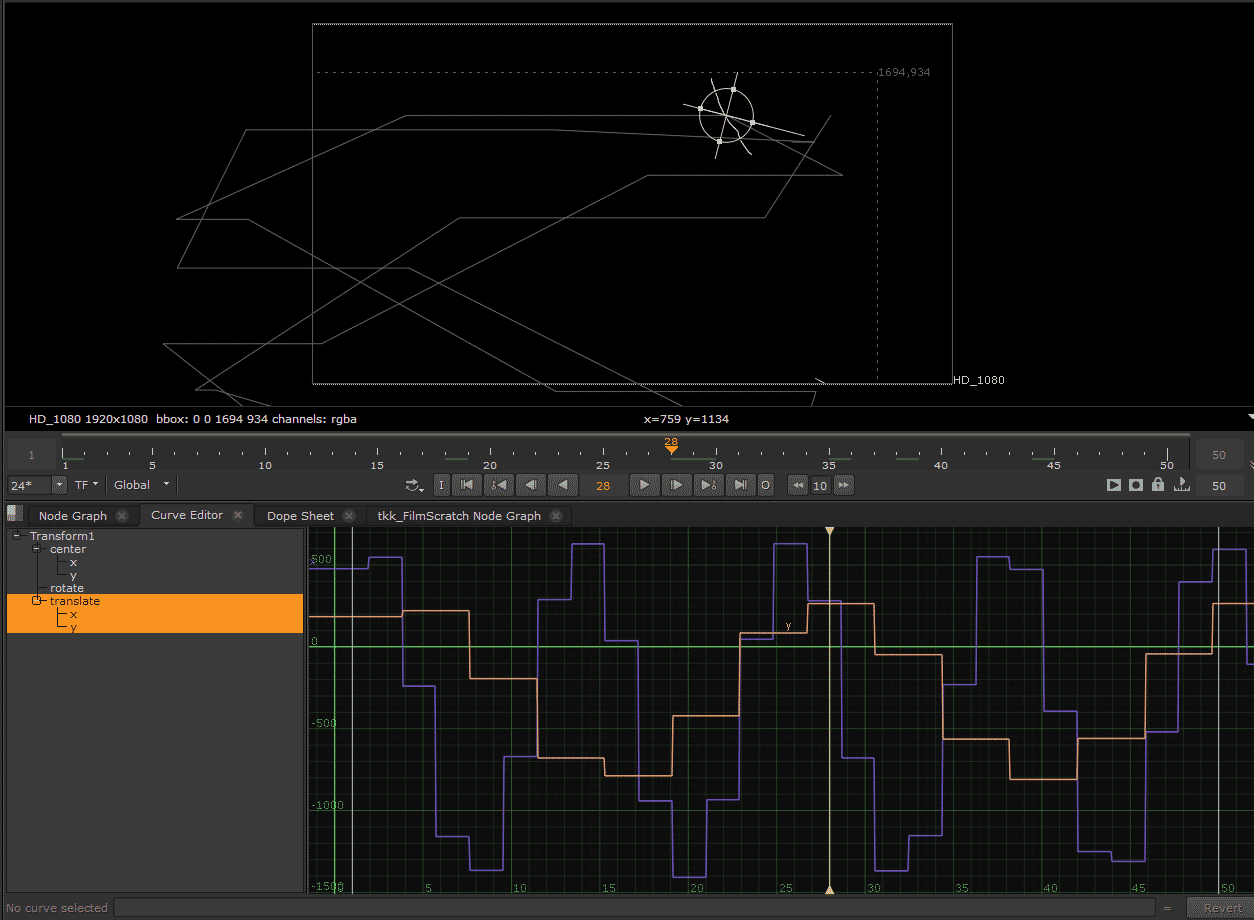
If you have the Transform node active, you can preview the animation curve of the expression through the Curve Editor tab and the animation path on the Viewer tab.
After playing around with the various parameters in the expression, it is time to duplicate the transform node to allow us to configure the amount of visible scratches on the gizmo using the switch node.
Duplicate and expression tweak for variation


Once you’re happy with a particular expression, it is time to duplicate it and slightly modify the expression to generate another variation.
In the above node graph, the setup allow us to use the Switch node to control the amount of scratches by using expression to link the number on the Switch node with a pulldown choice knob.
Create dust speckle using…
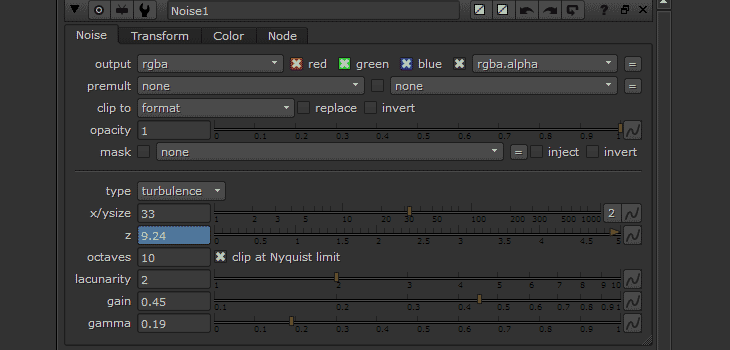
…Noise node?
Nothing much to see here. Just tweak to your heart content to get the appearance of a flickering dust speckle and don’t forget to link the useful parameters to the custom user knobs.
Setup User Knobs to Access Relevant Parameters
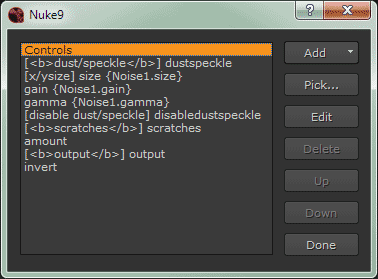
The usual stuff. Add or pick the knobs that you will be using for the gizmo.
Do note that you can use HTML tags to customise the appearance of the Text knob as shown above with the bold tag <b></b>.
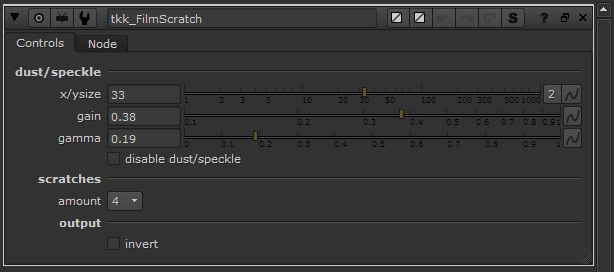
The current user knob layout for this tutorial.
As not every film scratch needs to be white on black background, I added an invert checkbox (linked to an Invert node) to allow for black on white background.
Depending on the situation, it can be redundant since a user can manually add their own invert node after the gizmo node.
Still it is nice to have the option built into the gizmo to save the trouble for the users.
Next in Part 3, Chromatic Aberration and Exporting Gizmo
For Part 3, we’ll be adding a Chromatic Aberration toggle (heh) and wrap it up by exporting the gizmo.
Hopefully you find Part 2 useful in your quest to create a custom gizmo that will save the universe. Just kidding.
Here’s another version of the procedural film scratch just by adjusting a few parameters on the gizmo.
See you next time in Part 3!
Further Reading
https://docs.thefoundry.co.uk/nuke/63/pythondevguide/index.html

