28th July 2015: I’ll be updating this post with more images and a video tutorial either by this weekend or mid August if my schedule permits.
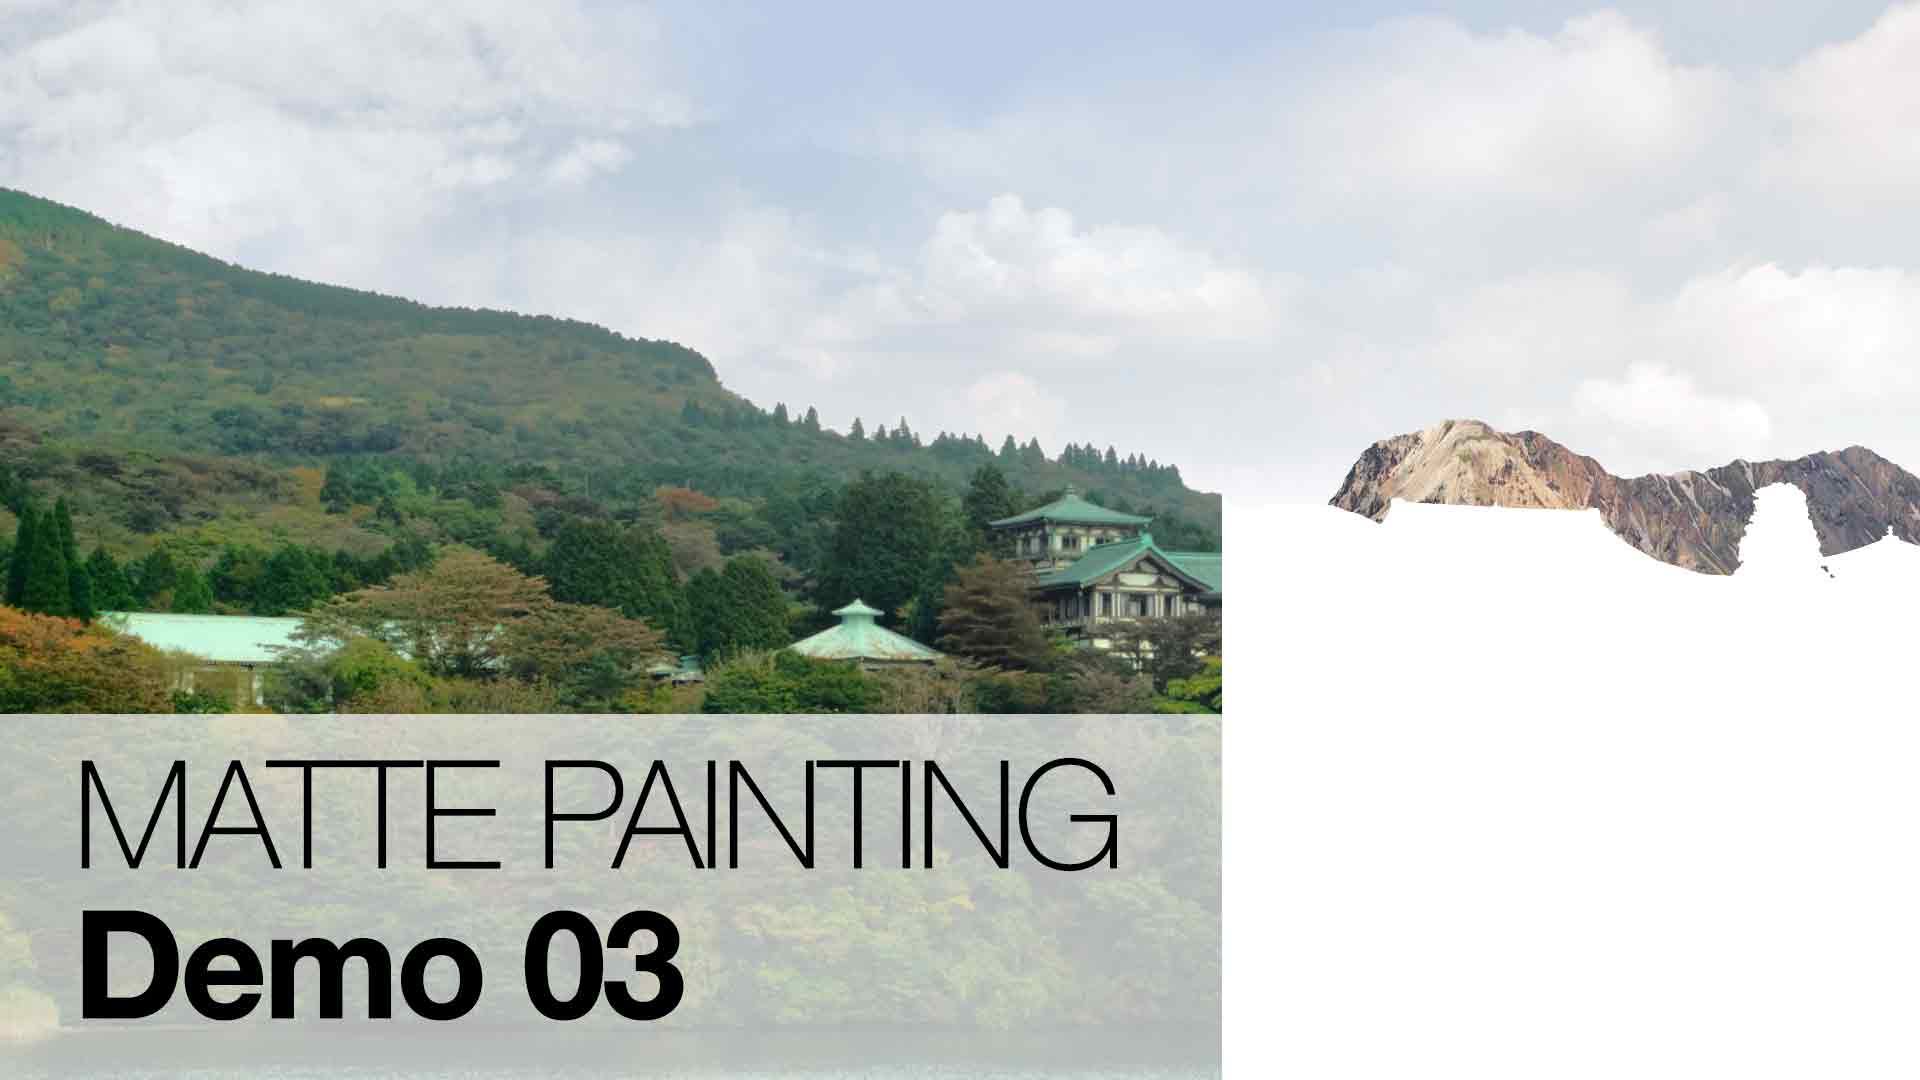
A Quick KISS to Matte Painting Demo 03
KISS as in “Keep it simple, student” I’ll focus on the exact stuff that I’ve did in this demo. Please refer to my older matte painting demo if you need a more thorough explanation.
I’ll be covering:
Analysing the shot
Tracking
Exporting still shot to Photoshop
Gathering reference
Compositing and Colour Correction
Analysing the shot
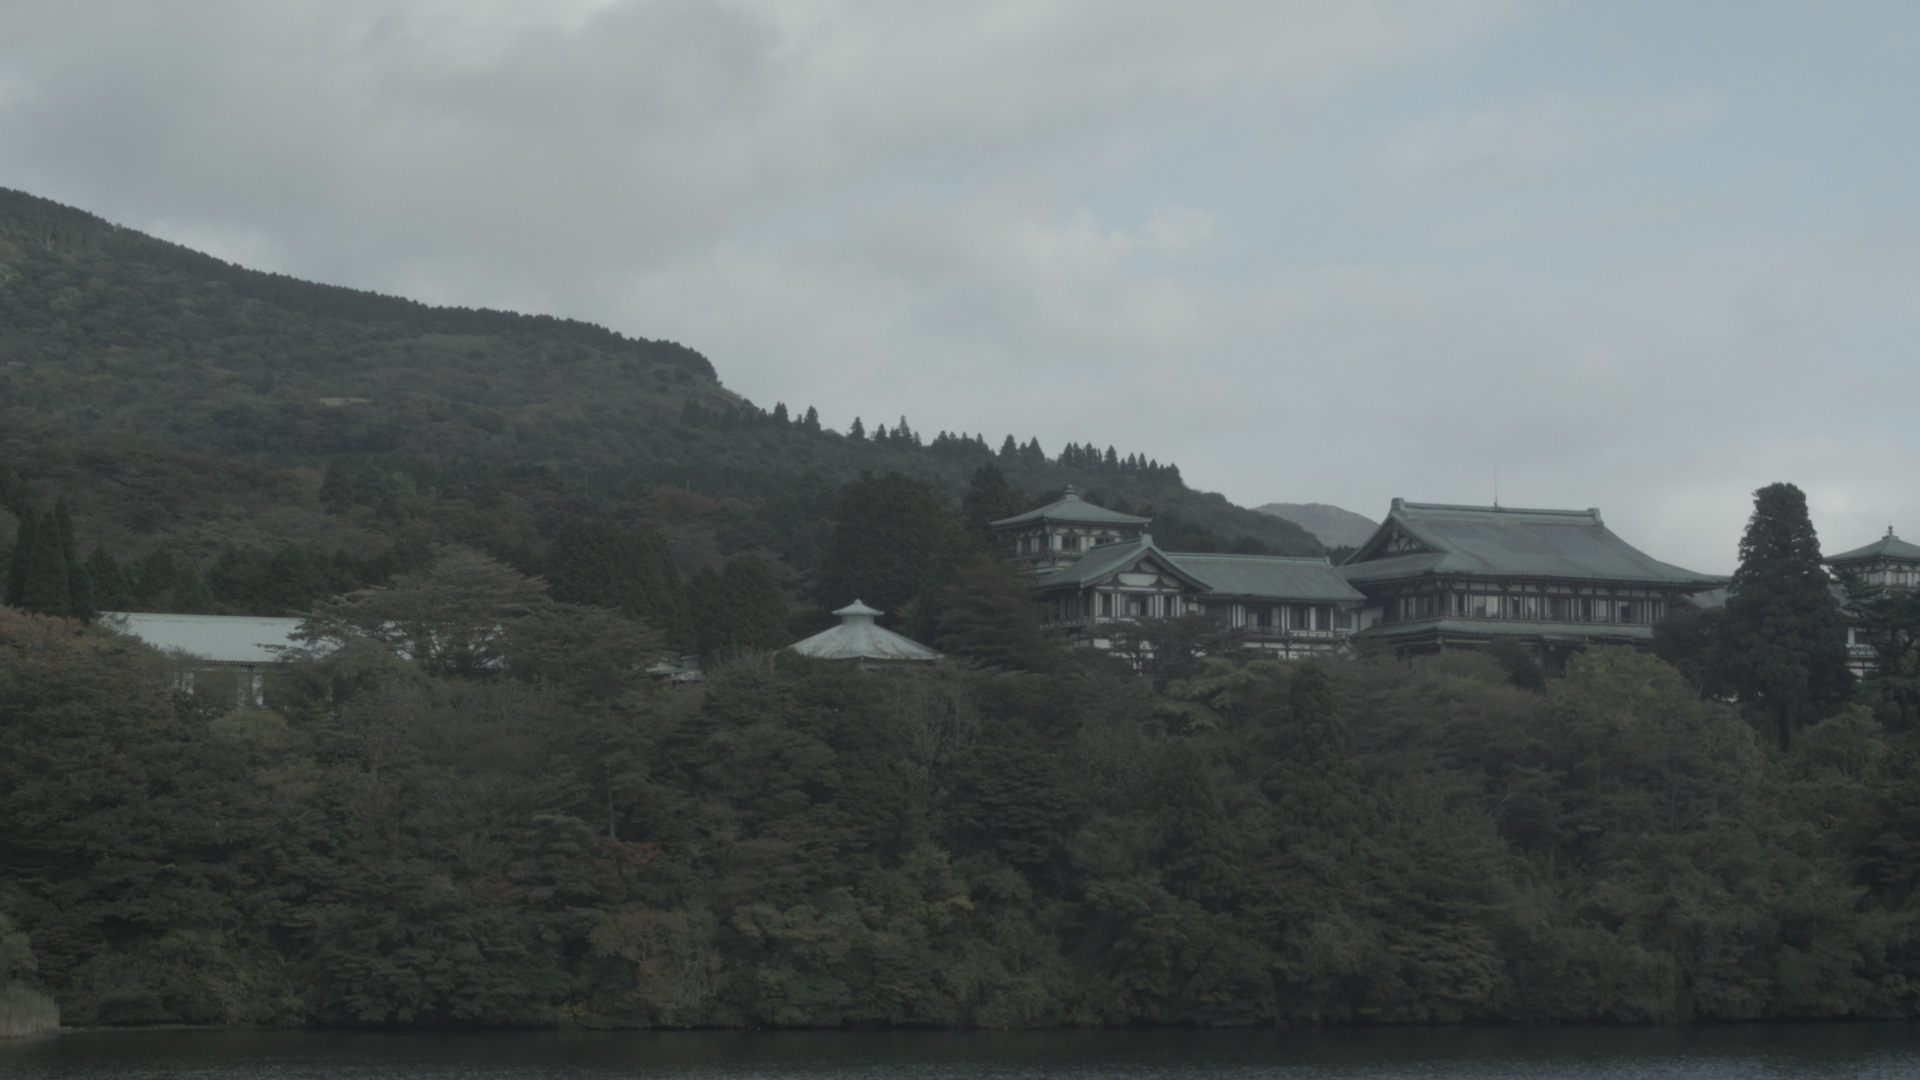
For this demo, I was provided a shot of Lake Ashi courtesy of Mr Firdaus. What seems to be a straightforward shot can be complicated depending on the requirement of the briefing.
If we look at the raw footage, it looks dull and lacked in contrast. Fear not as it was shot on a Blackmagic Pocket Cinema Camera (BPCC)! Compared to the usual H.264 MOV output from most DSLR, the BPCC can record in either CinemaDNG RAW or Apple ProRes 422 (HQ) which the latter format was used. This BPCC also support the use of higher dynamic range profile aka film Log or video REC709.
With higher bit depth, this allows us to have higher accuracy when performing colour correction/grading. You can refer to my Comparing bit depth and format for Colour Grading post for in-depth details.
So before we start doing the tracking, I highly recommend to start the initial colour grading to achieve the desire look that you’re looking for.
Tracking
If you observe closely, there is noticeable parallax shift on the buildings and the large trees on the right side of the shot.
There is minor camera shake that introduces motion blur that unfortunately means I can’t perform a 3D stabilisation to create a dramatic camera flythrough over the lake without the wobbly/jello effect.
Overall, the shot can still be tracked using regular 2D tracker for each elements that we want to replace with a matte painting although I will usually perform a 3D camera track using Nuke’s CameraTracker which is what I did for this shot..
Remember to always attached an element such as a checker pattern to verify the accuracy of the tracker.
Solution: Due to time constraint, I decided to do the usual sky replacement and add a mountain on the right side of the shot. This can still be done using the 2D tracker on the mountains in After Effects and Nuke. Remember to track Translation, Rotation and Scale for the highest accuracy!
Exporting still shot to Photoshop
After you have done tracking, it’s time to prepare the shot as a still for use in Photoshop (or your preferred paint program… like GIMP?)
I’ll skip the details on how I prepare the shot for compositing but it’s the usual keying and rotoscoping process.
Remember to output in a format that supports alpha like PNG, TGA, TIF etc. You can export directly to PSD if you’re using After Effects although I’ve never try it before. Just be warned that some blending mode that are available in AE are not supported in Photoshop like Add so remember to take precaution when choosing your blending mode.
In Photoshop, start to go crazy (or lazy) in preparing the matte painting! Woops before that, make sure to gather high quality reference first.
Gathering Reference
If possible, do not skimp on this part! Scratch that. MAKE SURE TO GET HIGH QUALITY REFERENCE PICS.
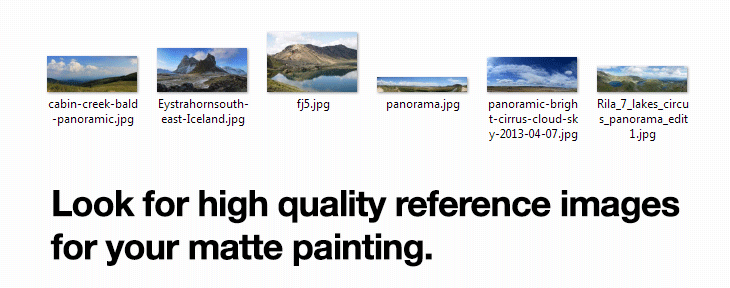
Make sure to look for:
High resolution pics (at least 2000px but varies depending on the size of the element on screen)
In focus aka not blurry
Minimal to zero compression noise
Natural colour tone aka avoid extreme colour corrected pics
Now butcher I mean process the reference photo into a matte painting in Photoshop!
Compositing and Colour Correction
Once you are done with the matte painting elements, it is time to piece it together into the shot.
Personally, I separate the sky from the rest to allow for flexibility during compositing.
Don’t forget to colour correct the elements so it match the colour corrected shot!
The last step is to verify if the matte painting and tracking works without any noticeable error.
If all goes well, congratulations you have completed your first (or Nth) matte painting!
The *near* Final Result of the Demo
In the end, it’s all about “JUST DO IT”.
Bonus: The Node Graph Layout in Nuke
Temporarily, I’ll can only share the node graph layout as I still haven’t process the materials for online sharing.
If you’re interested in how I comp the shot in Nuke, remember to right-click on the pic and view on a new tab for the full size resolution!
