One shall attempt the PS3 YLOD Repair Part 1
I’ve been fortunate enough to try to fix the infamous YLOD (that happens on my cousin PS3. His model is the original fat model but for all the wrong timing in the world, his model is the revision where Sony arrange the fan to the left side of the console instead of the usual right side).
What this mean is that the fan is not blowing directly under the CPU and GPU aka the Cell and RSX processor. As a planned obsolescence design by Sony, this lead to a really hot temperature averaging 80-95C for nearly 5 years of usage which I believe causes the solder joints for the processor to worn out badly leading to the YLOD.
Patient CECHH06 aka the anomaly fan design model
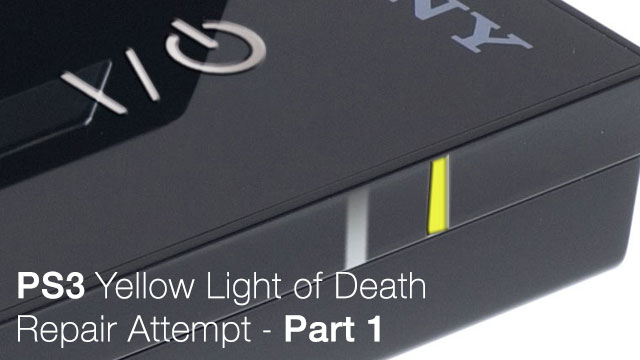
^This is the PS3 after I remove the top part of the casing.
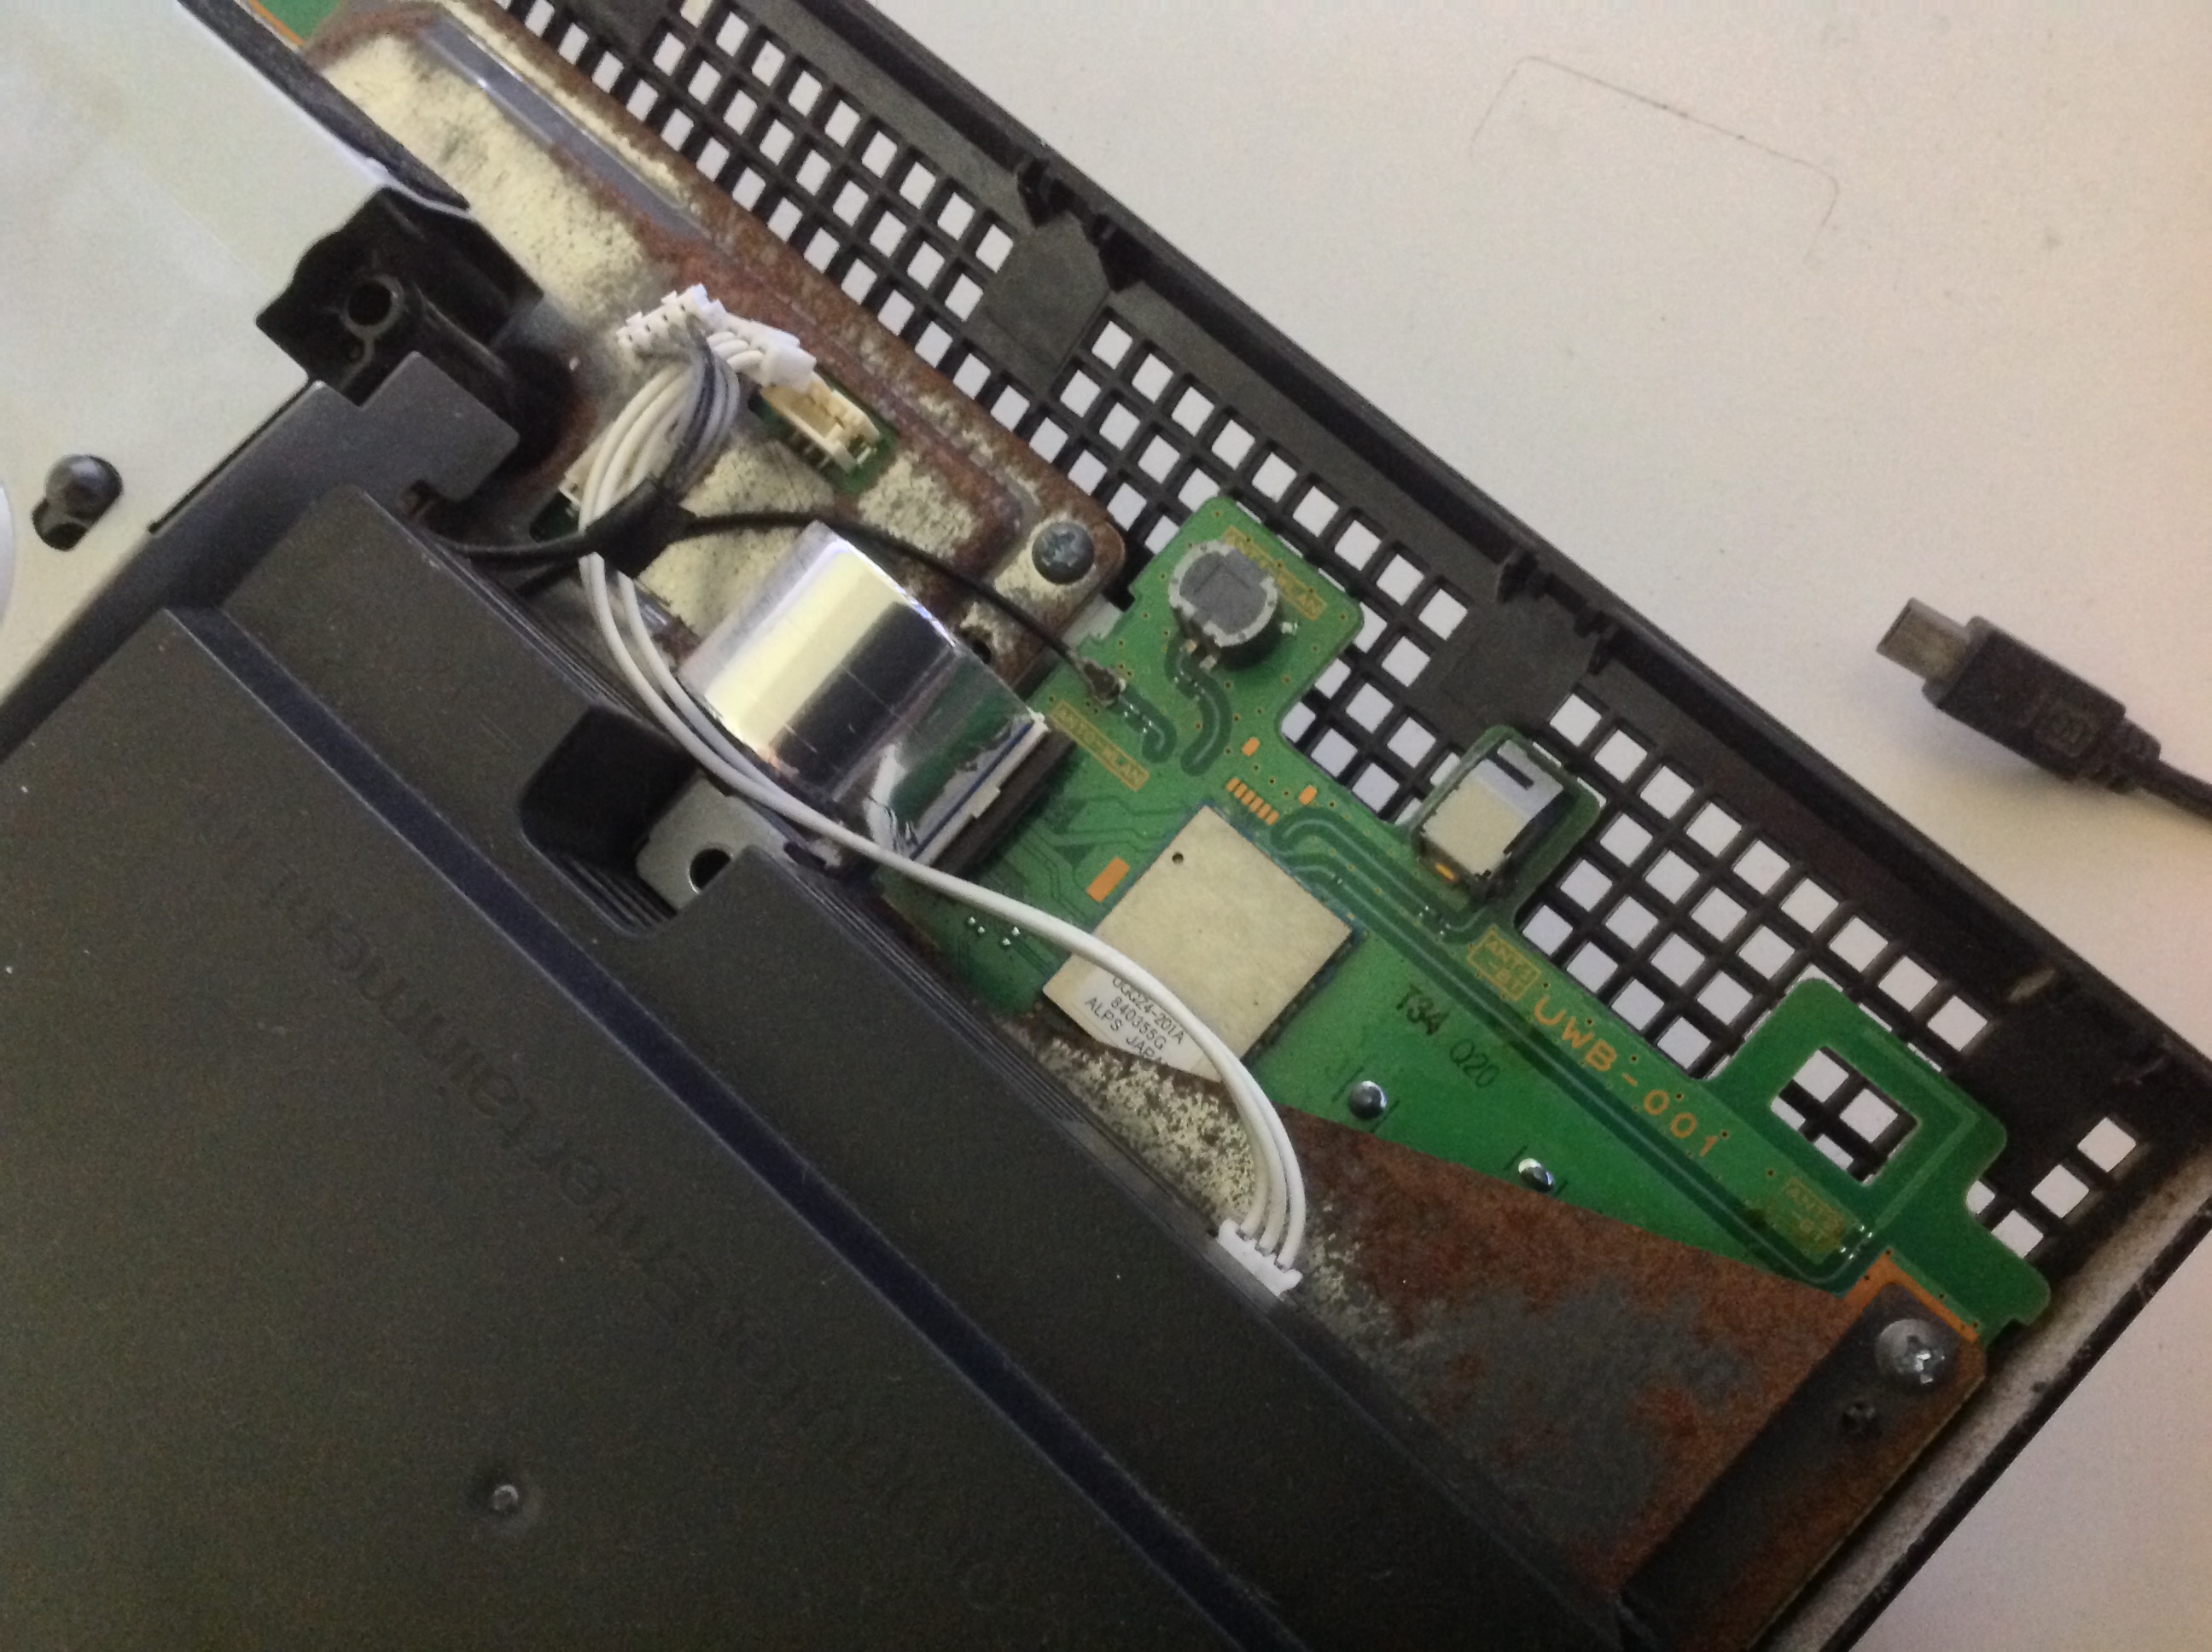
^Top angle of the PS3. Notice the rust on the metal plate that covers the motherboard and Wifi/USB board.

^The PS3 PSU. Pretty sleek design but be warned that it is one of the hottest component in the casing.

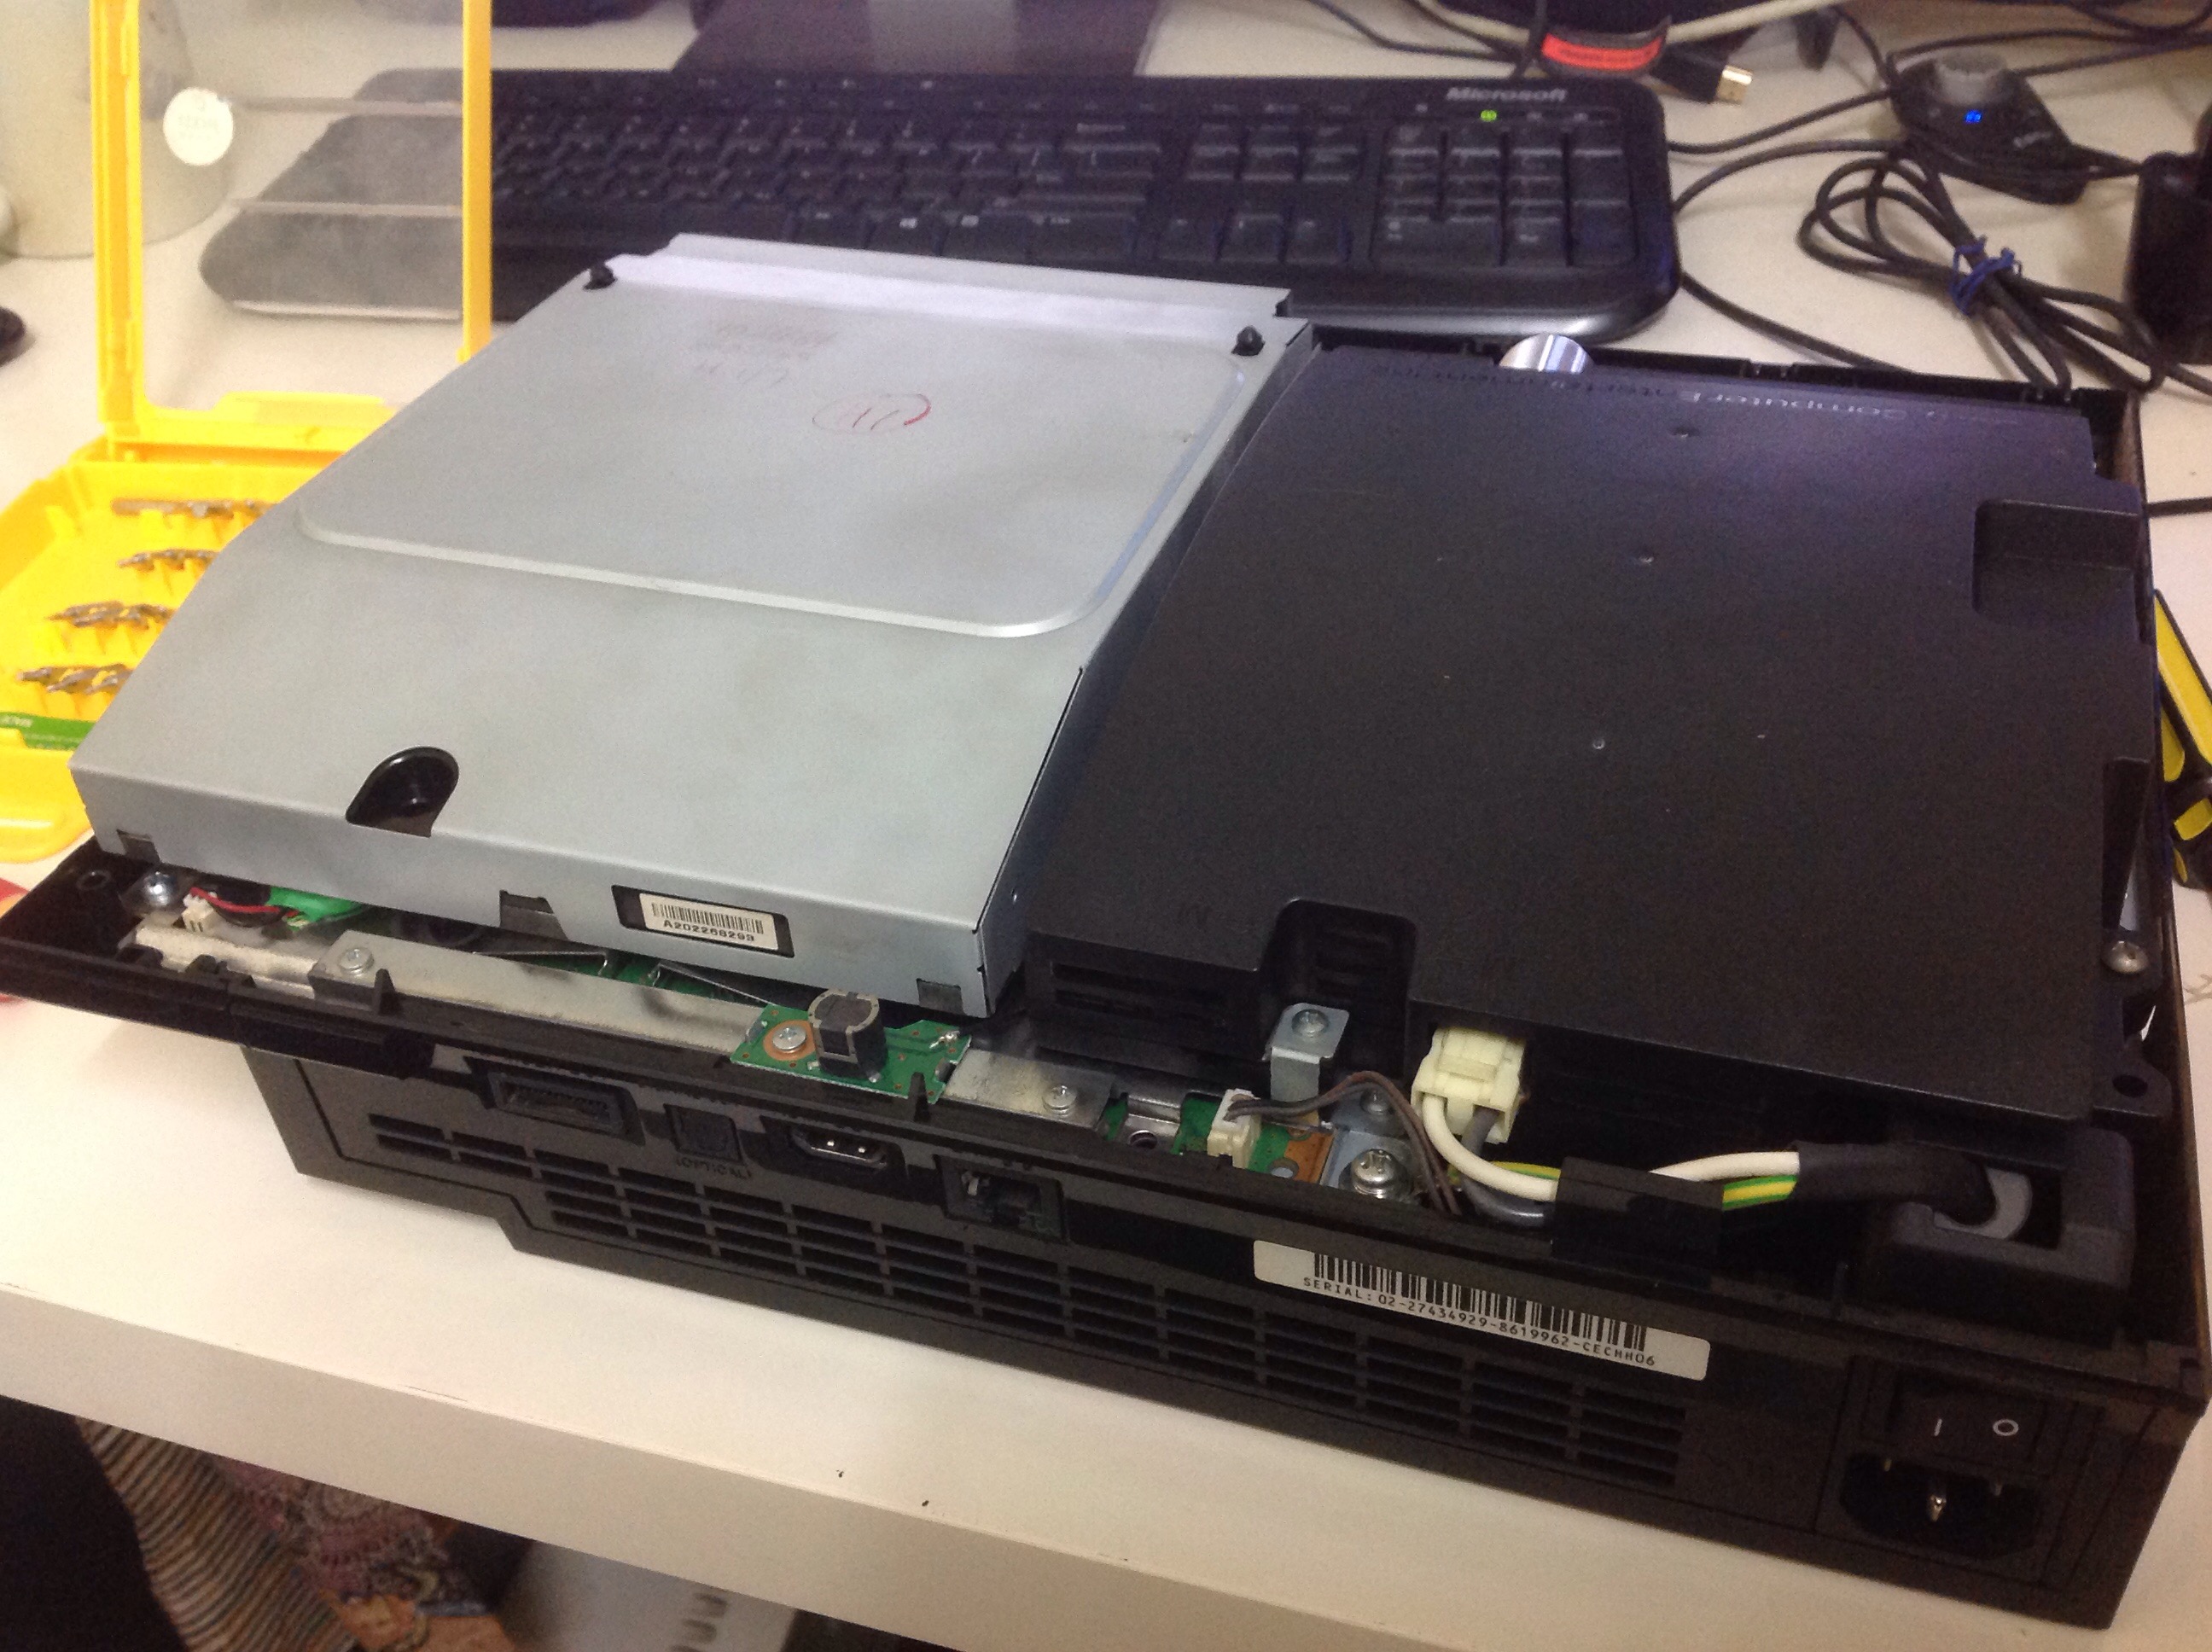
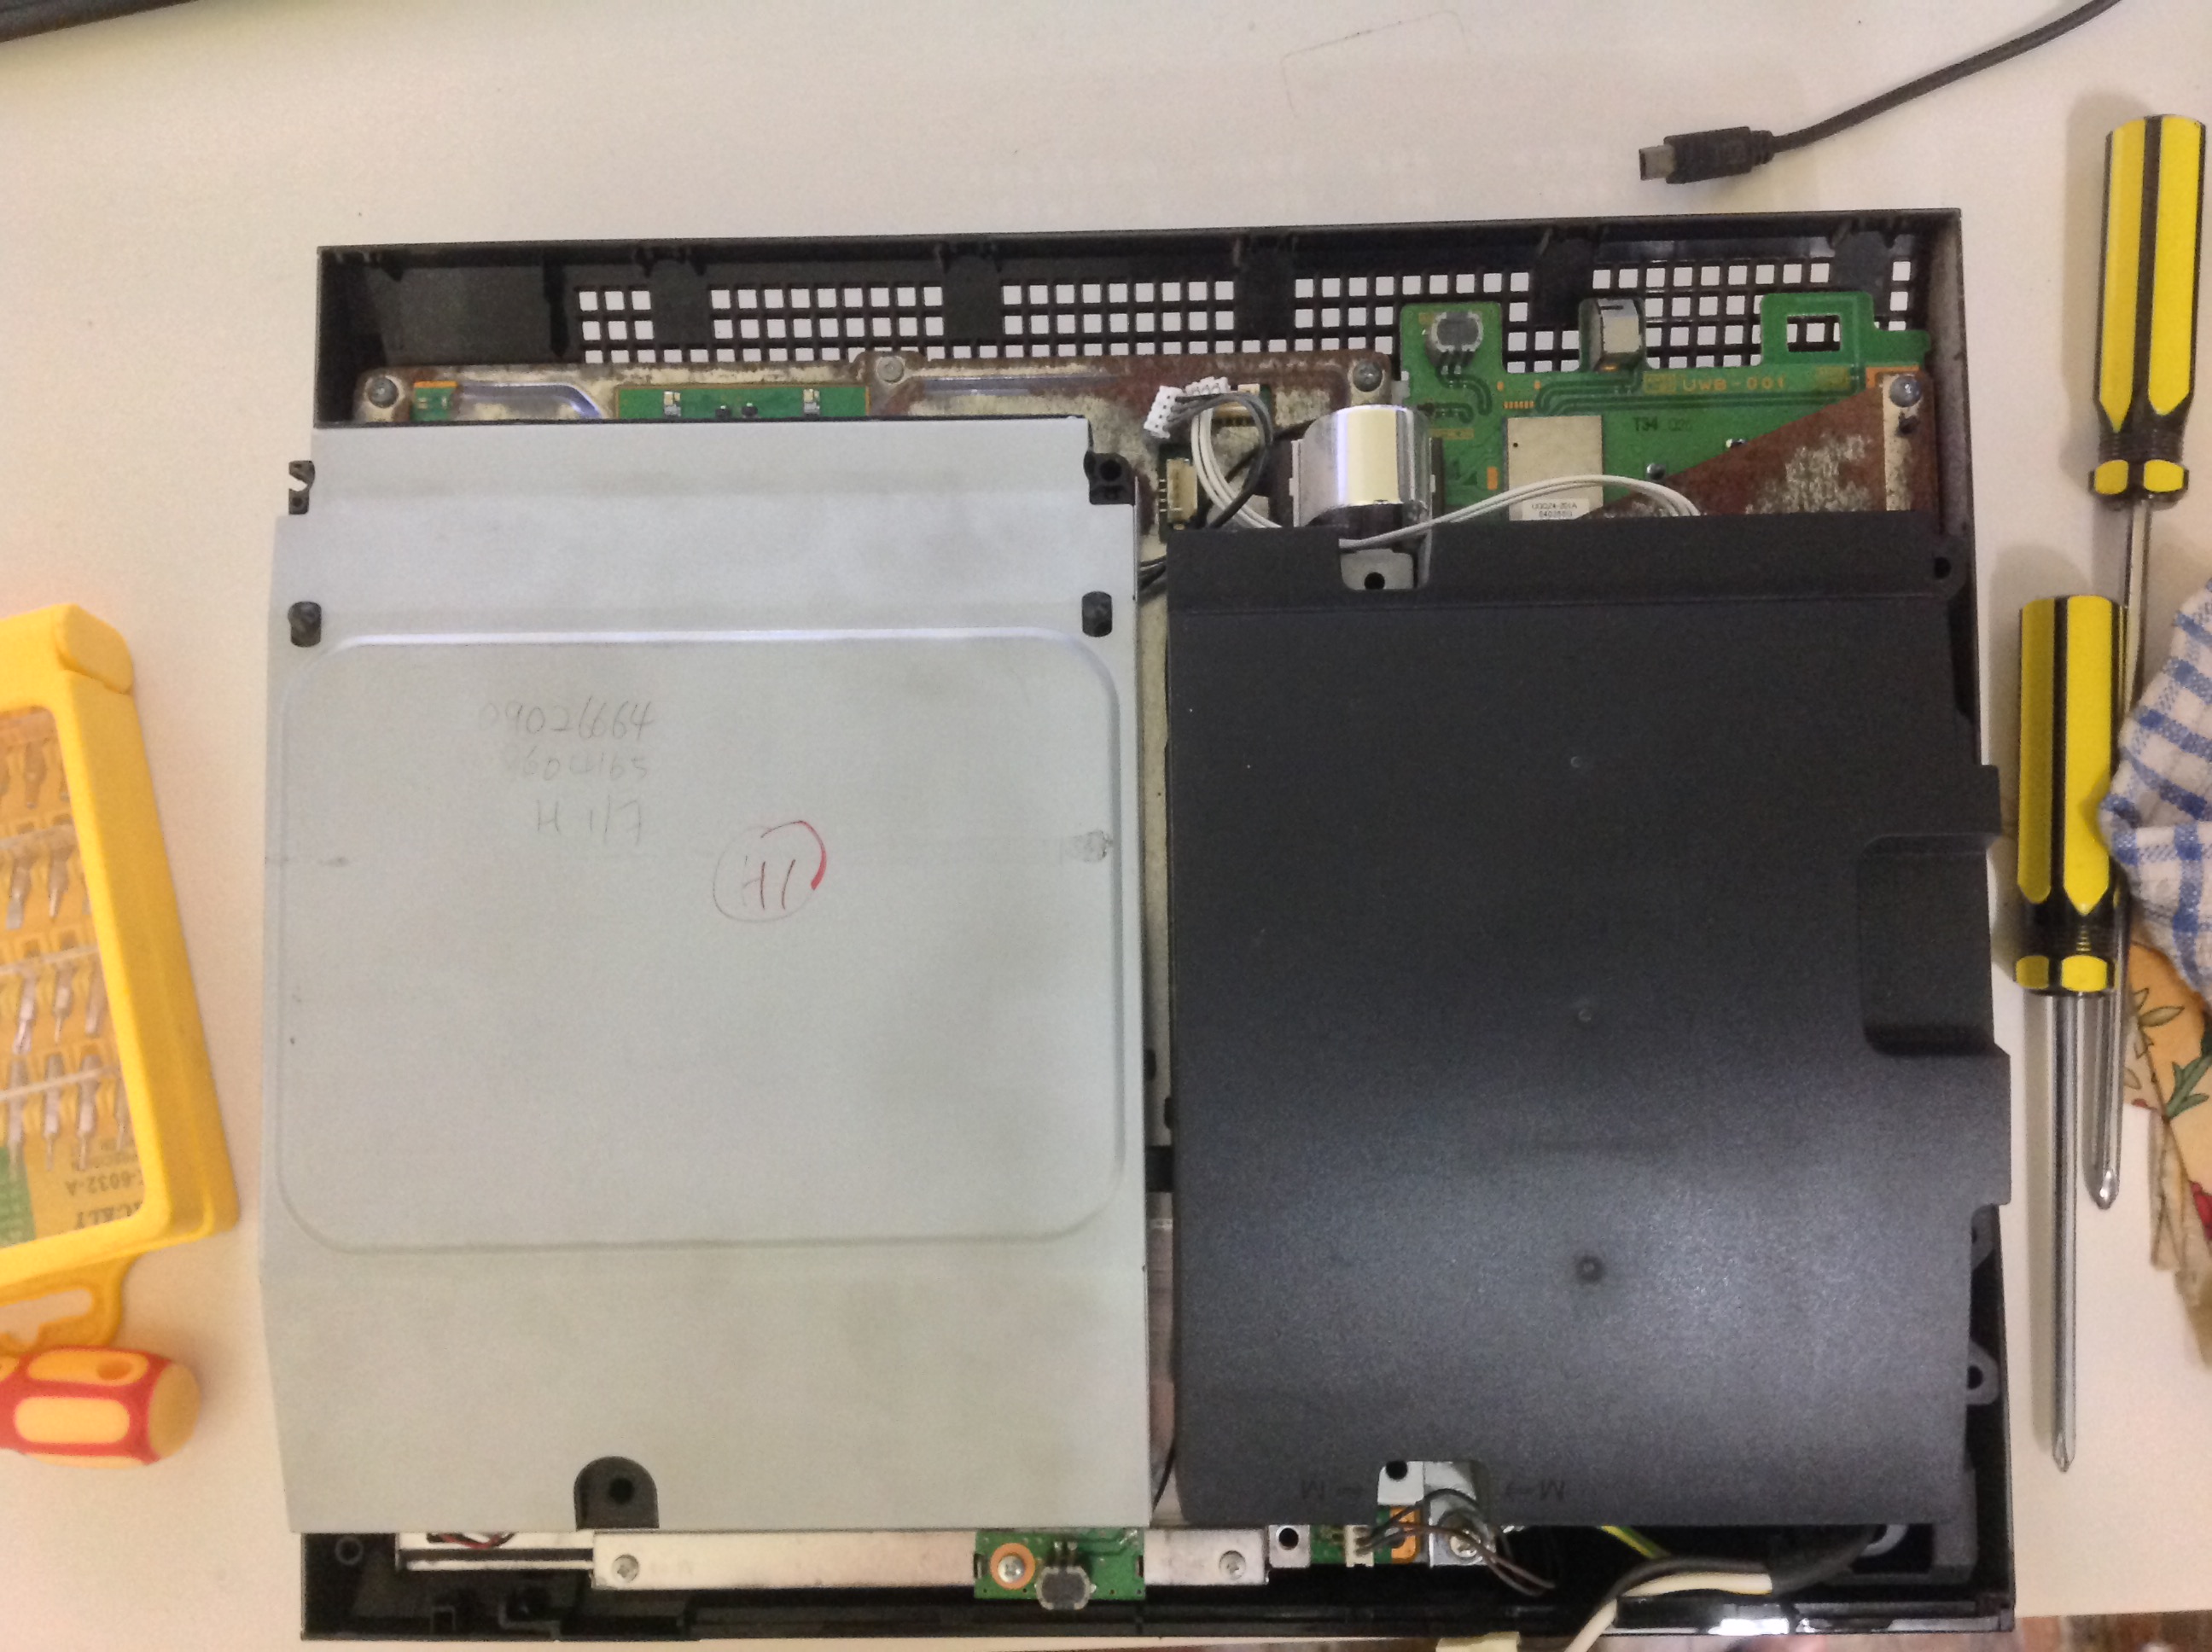
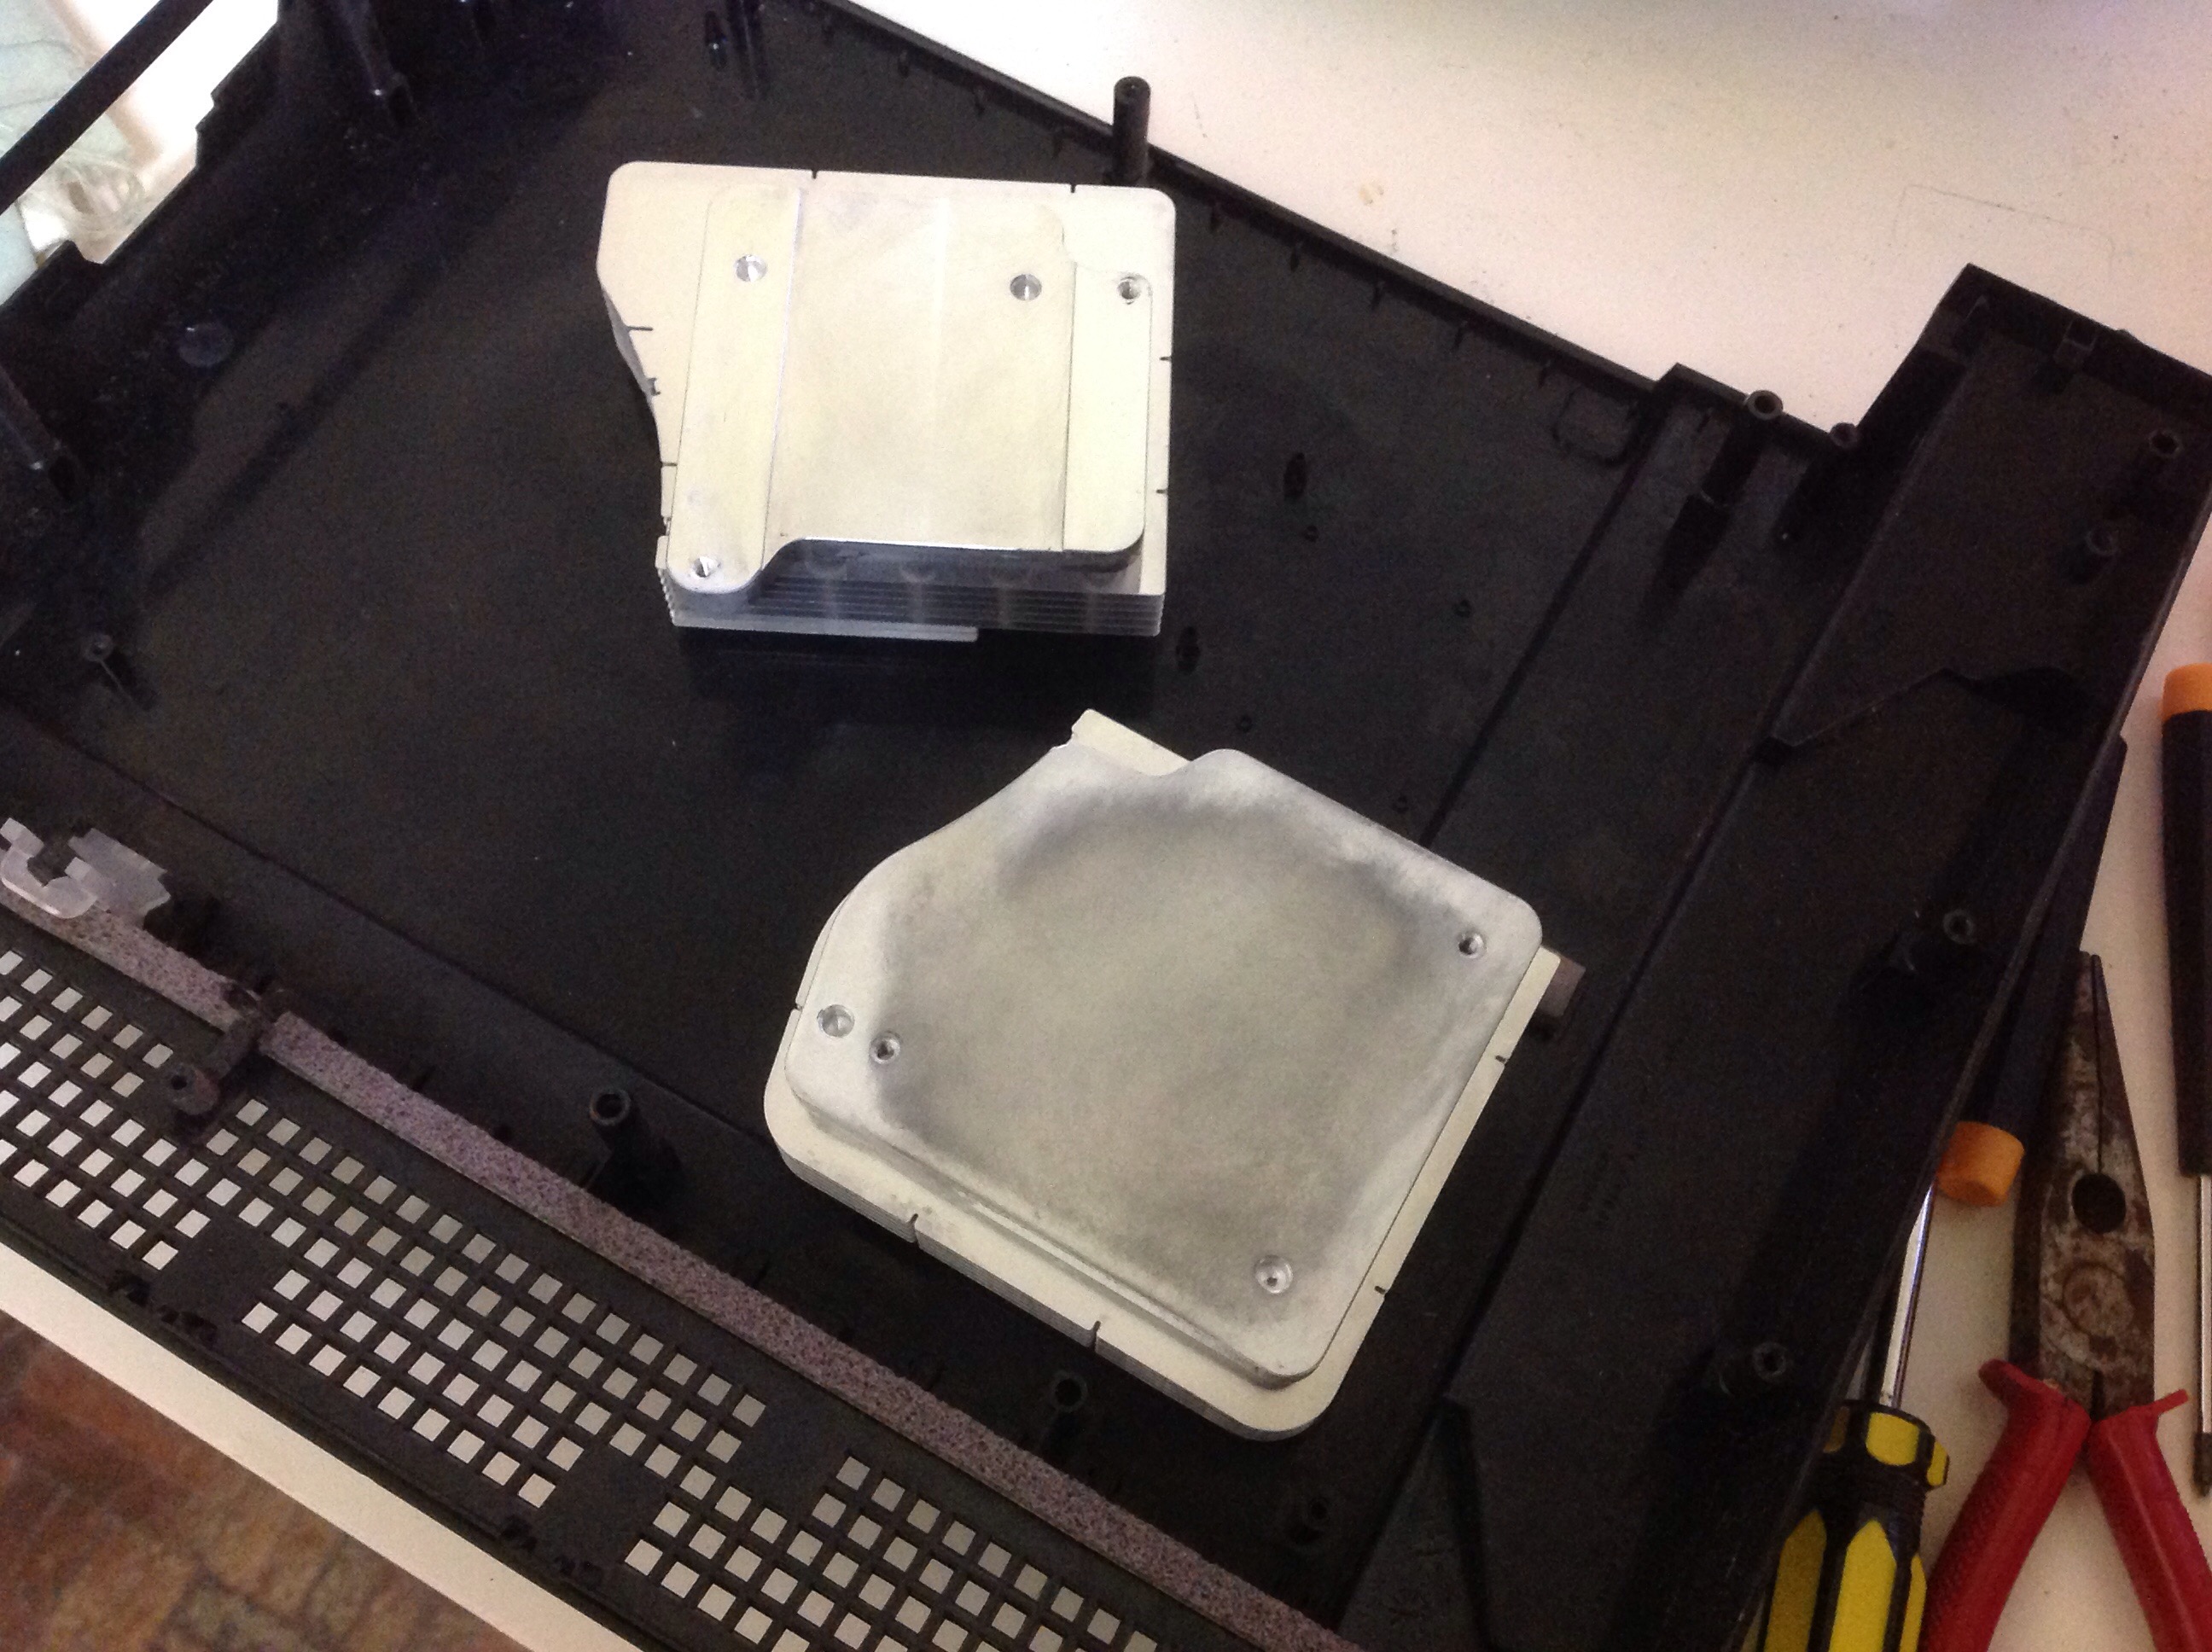
^After removing the Bluray drive and PSU, we can see how clever Sony can be by revising the fan design to not blow directly onto the CPU/GPU. All in the name of cost savings and killing the PS3 at accelerated rate.
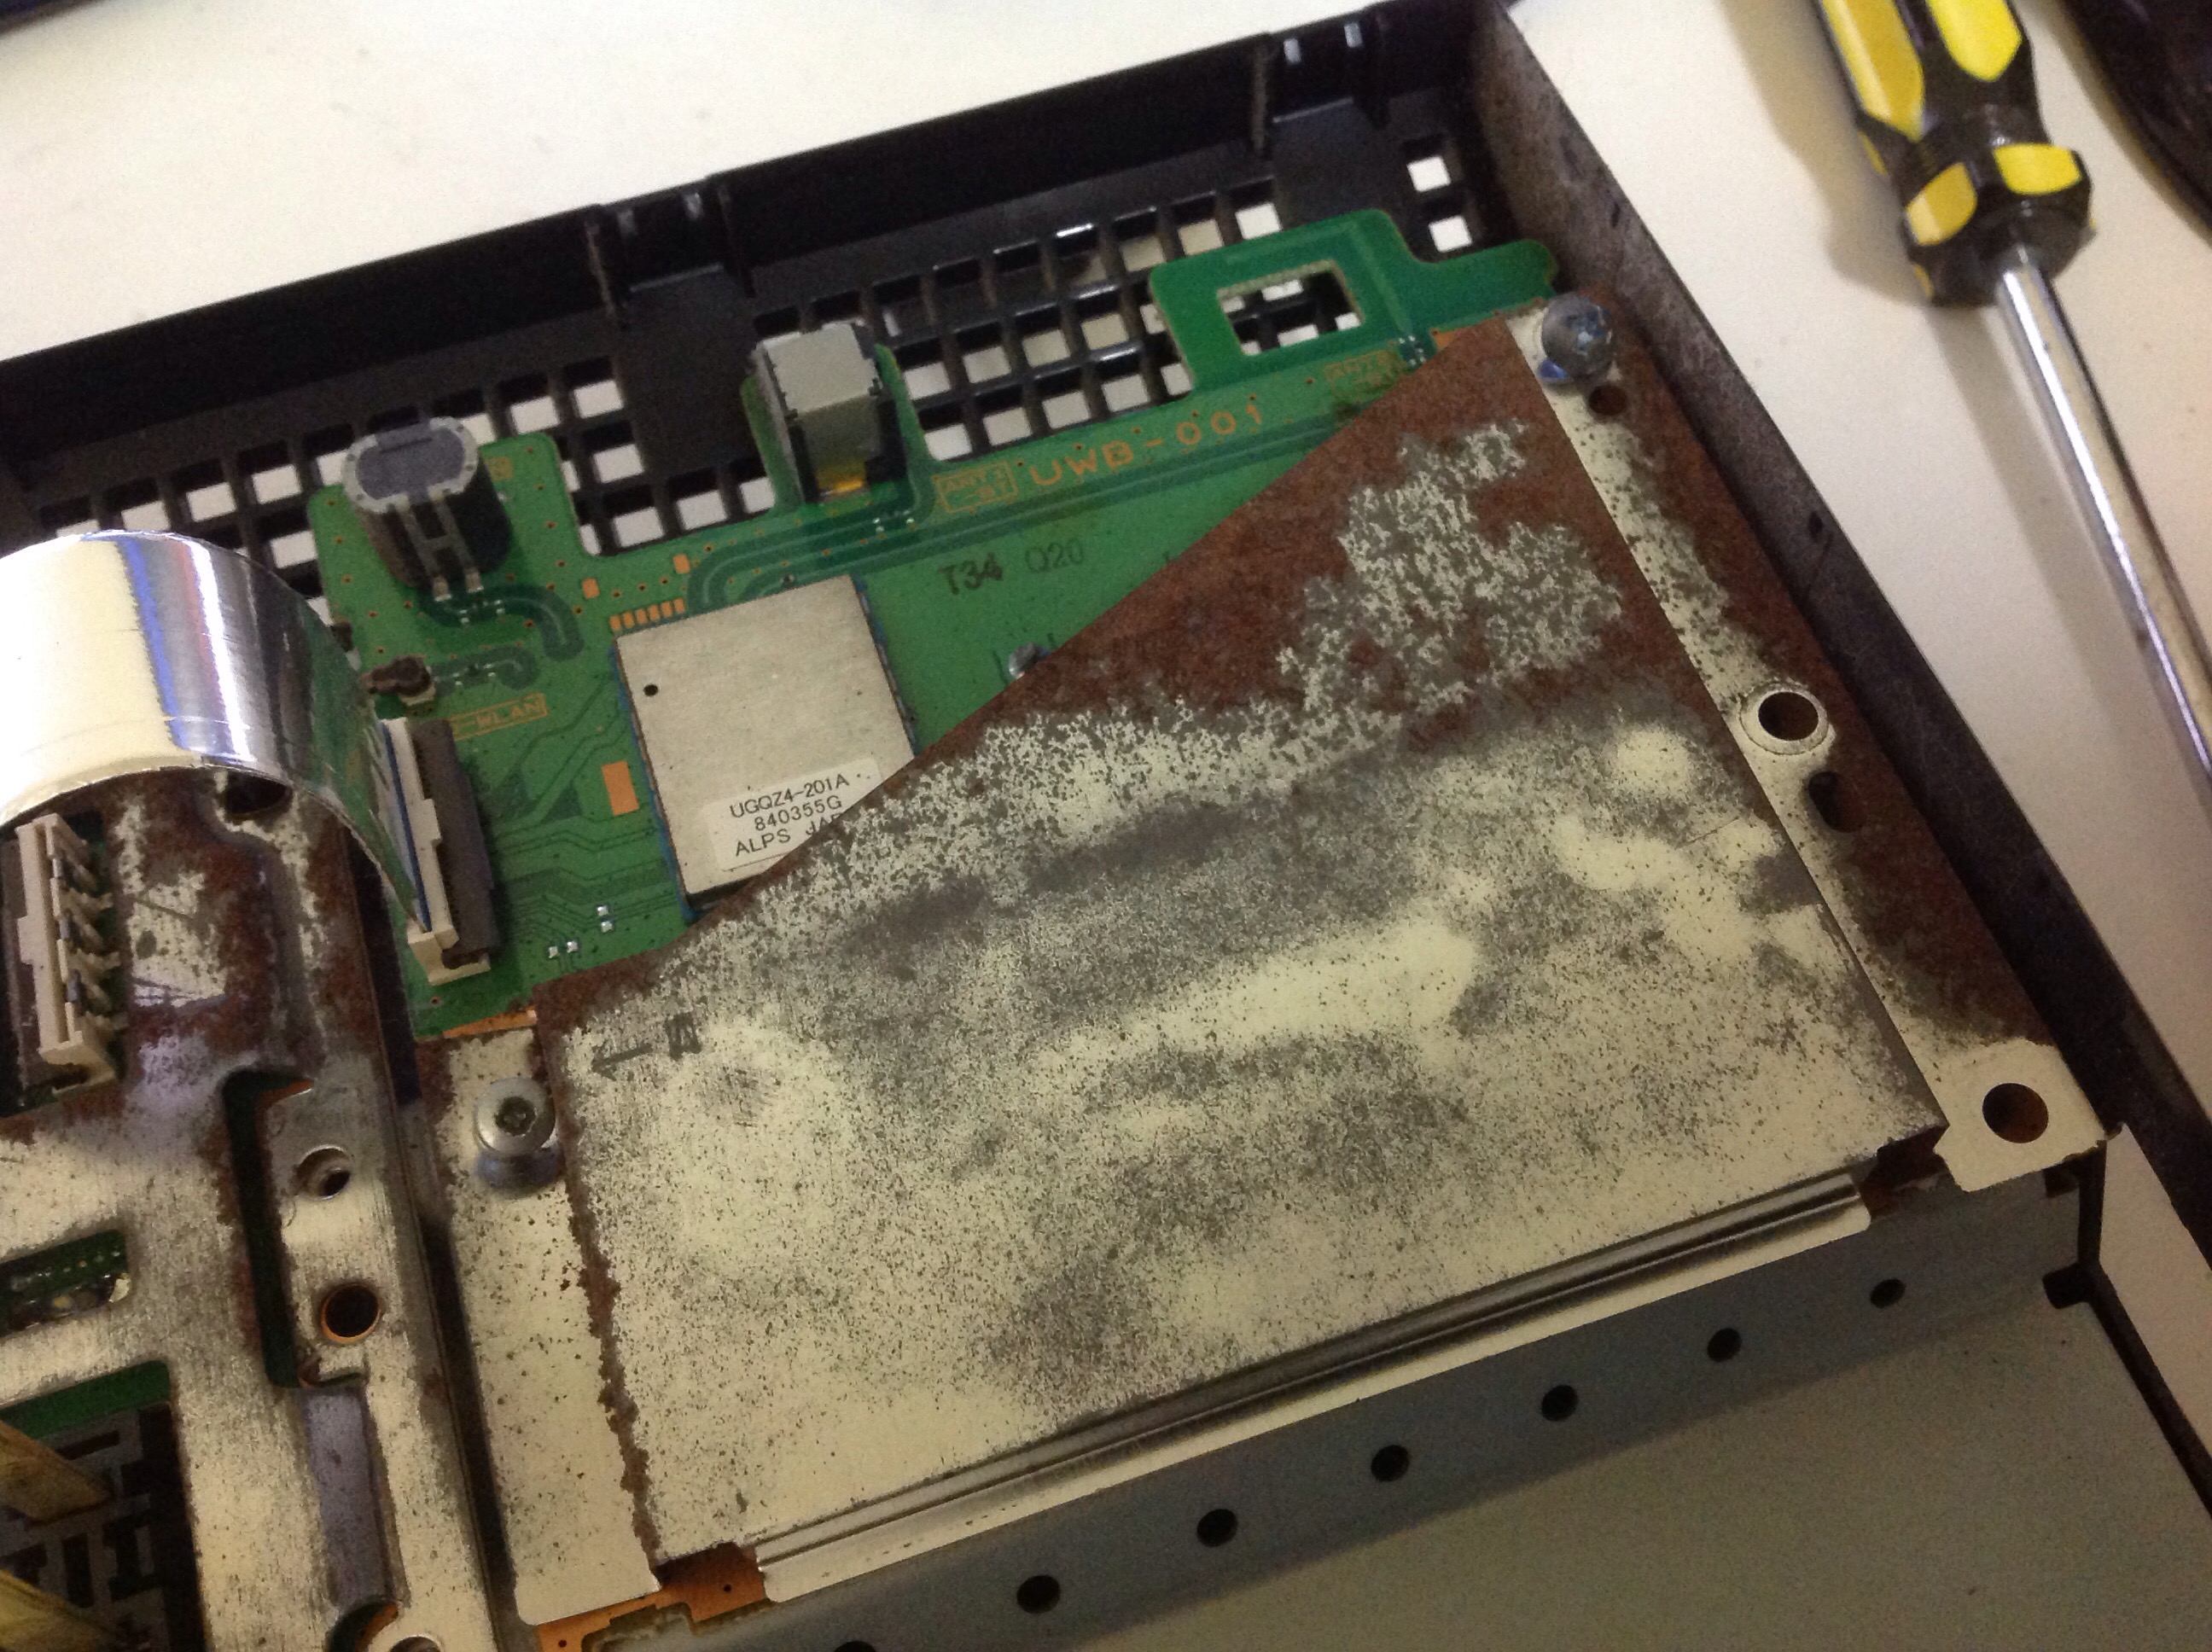
^The metal plate that covers the Wifi/USB board. I still wonder how it can rust that badly although the PS3 used to operate on an island called Singapore for nearly 6 years.

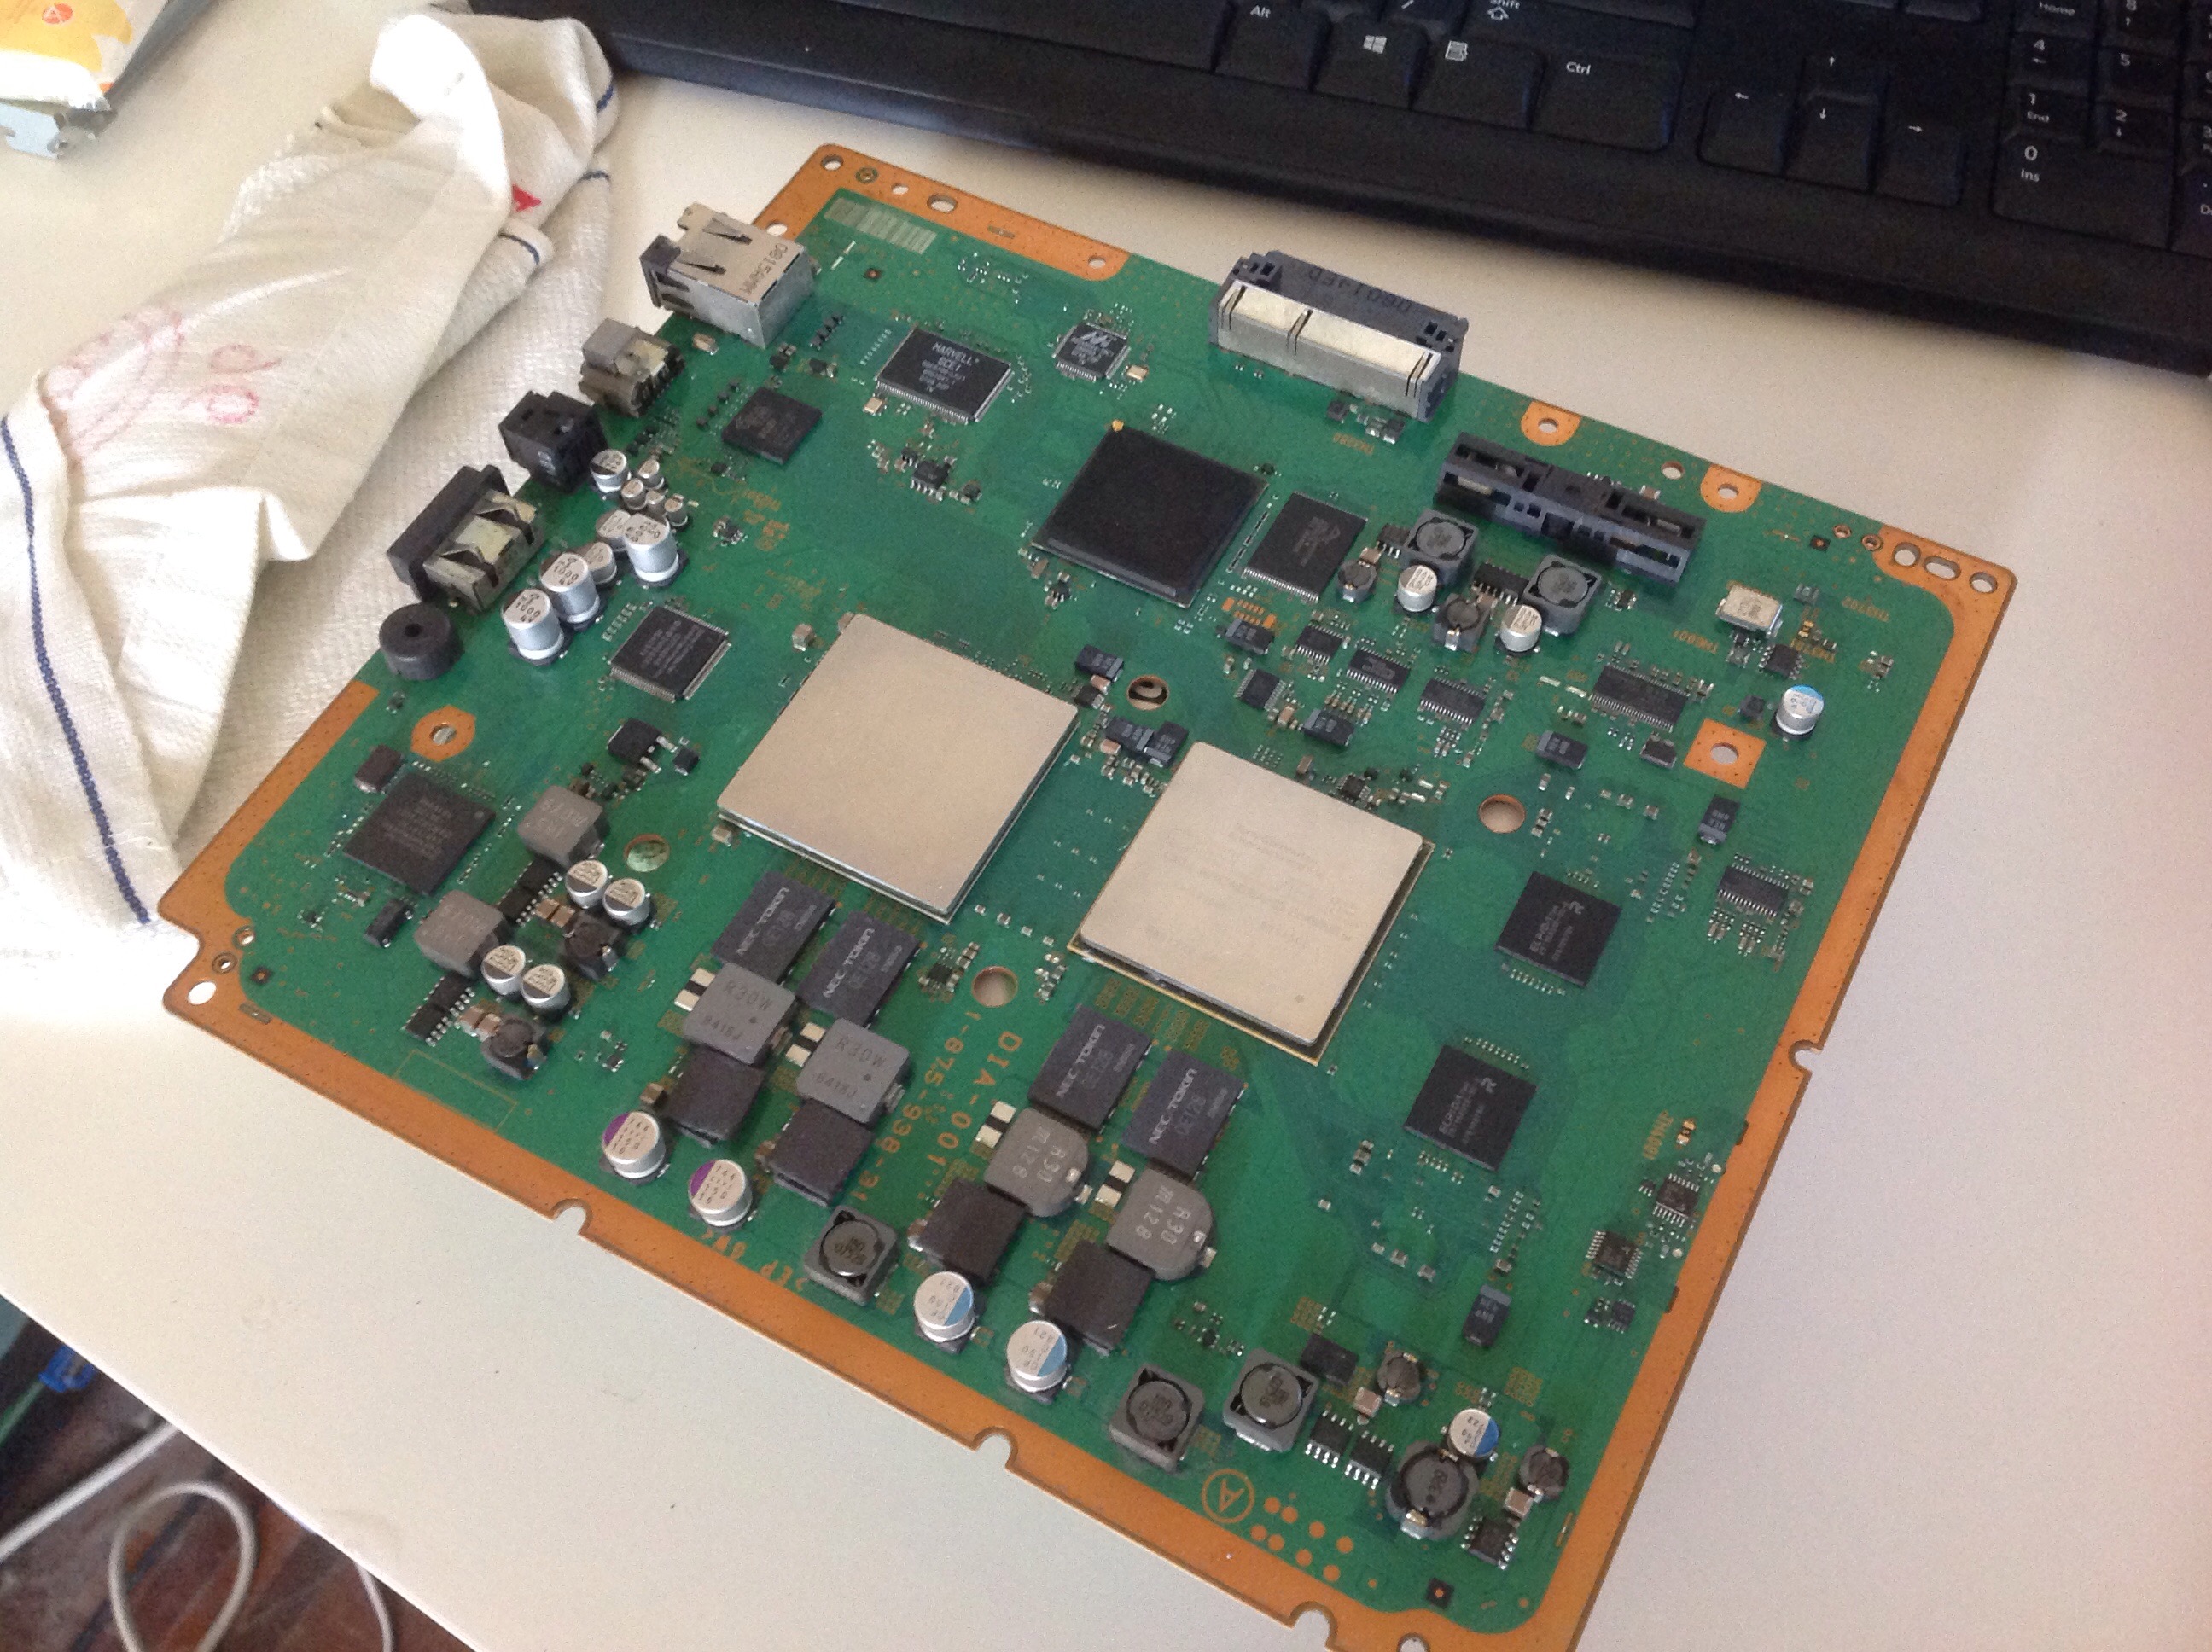
^The back of the motherboard after removing the backplate cover.
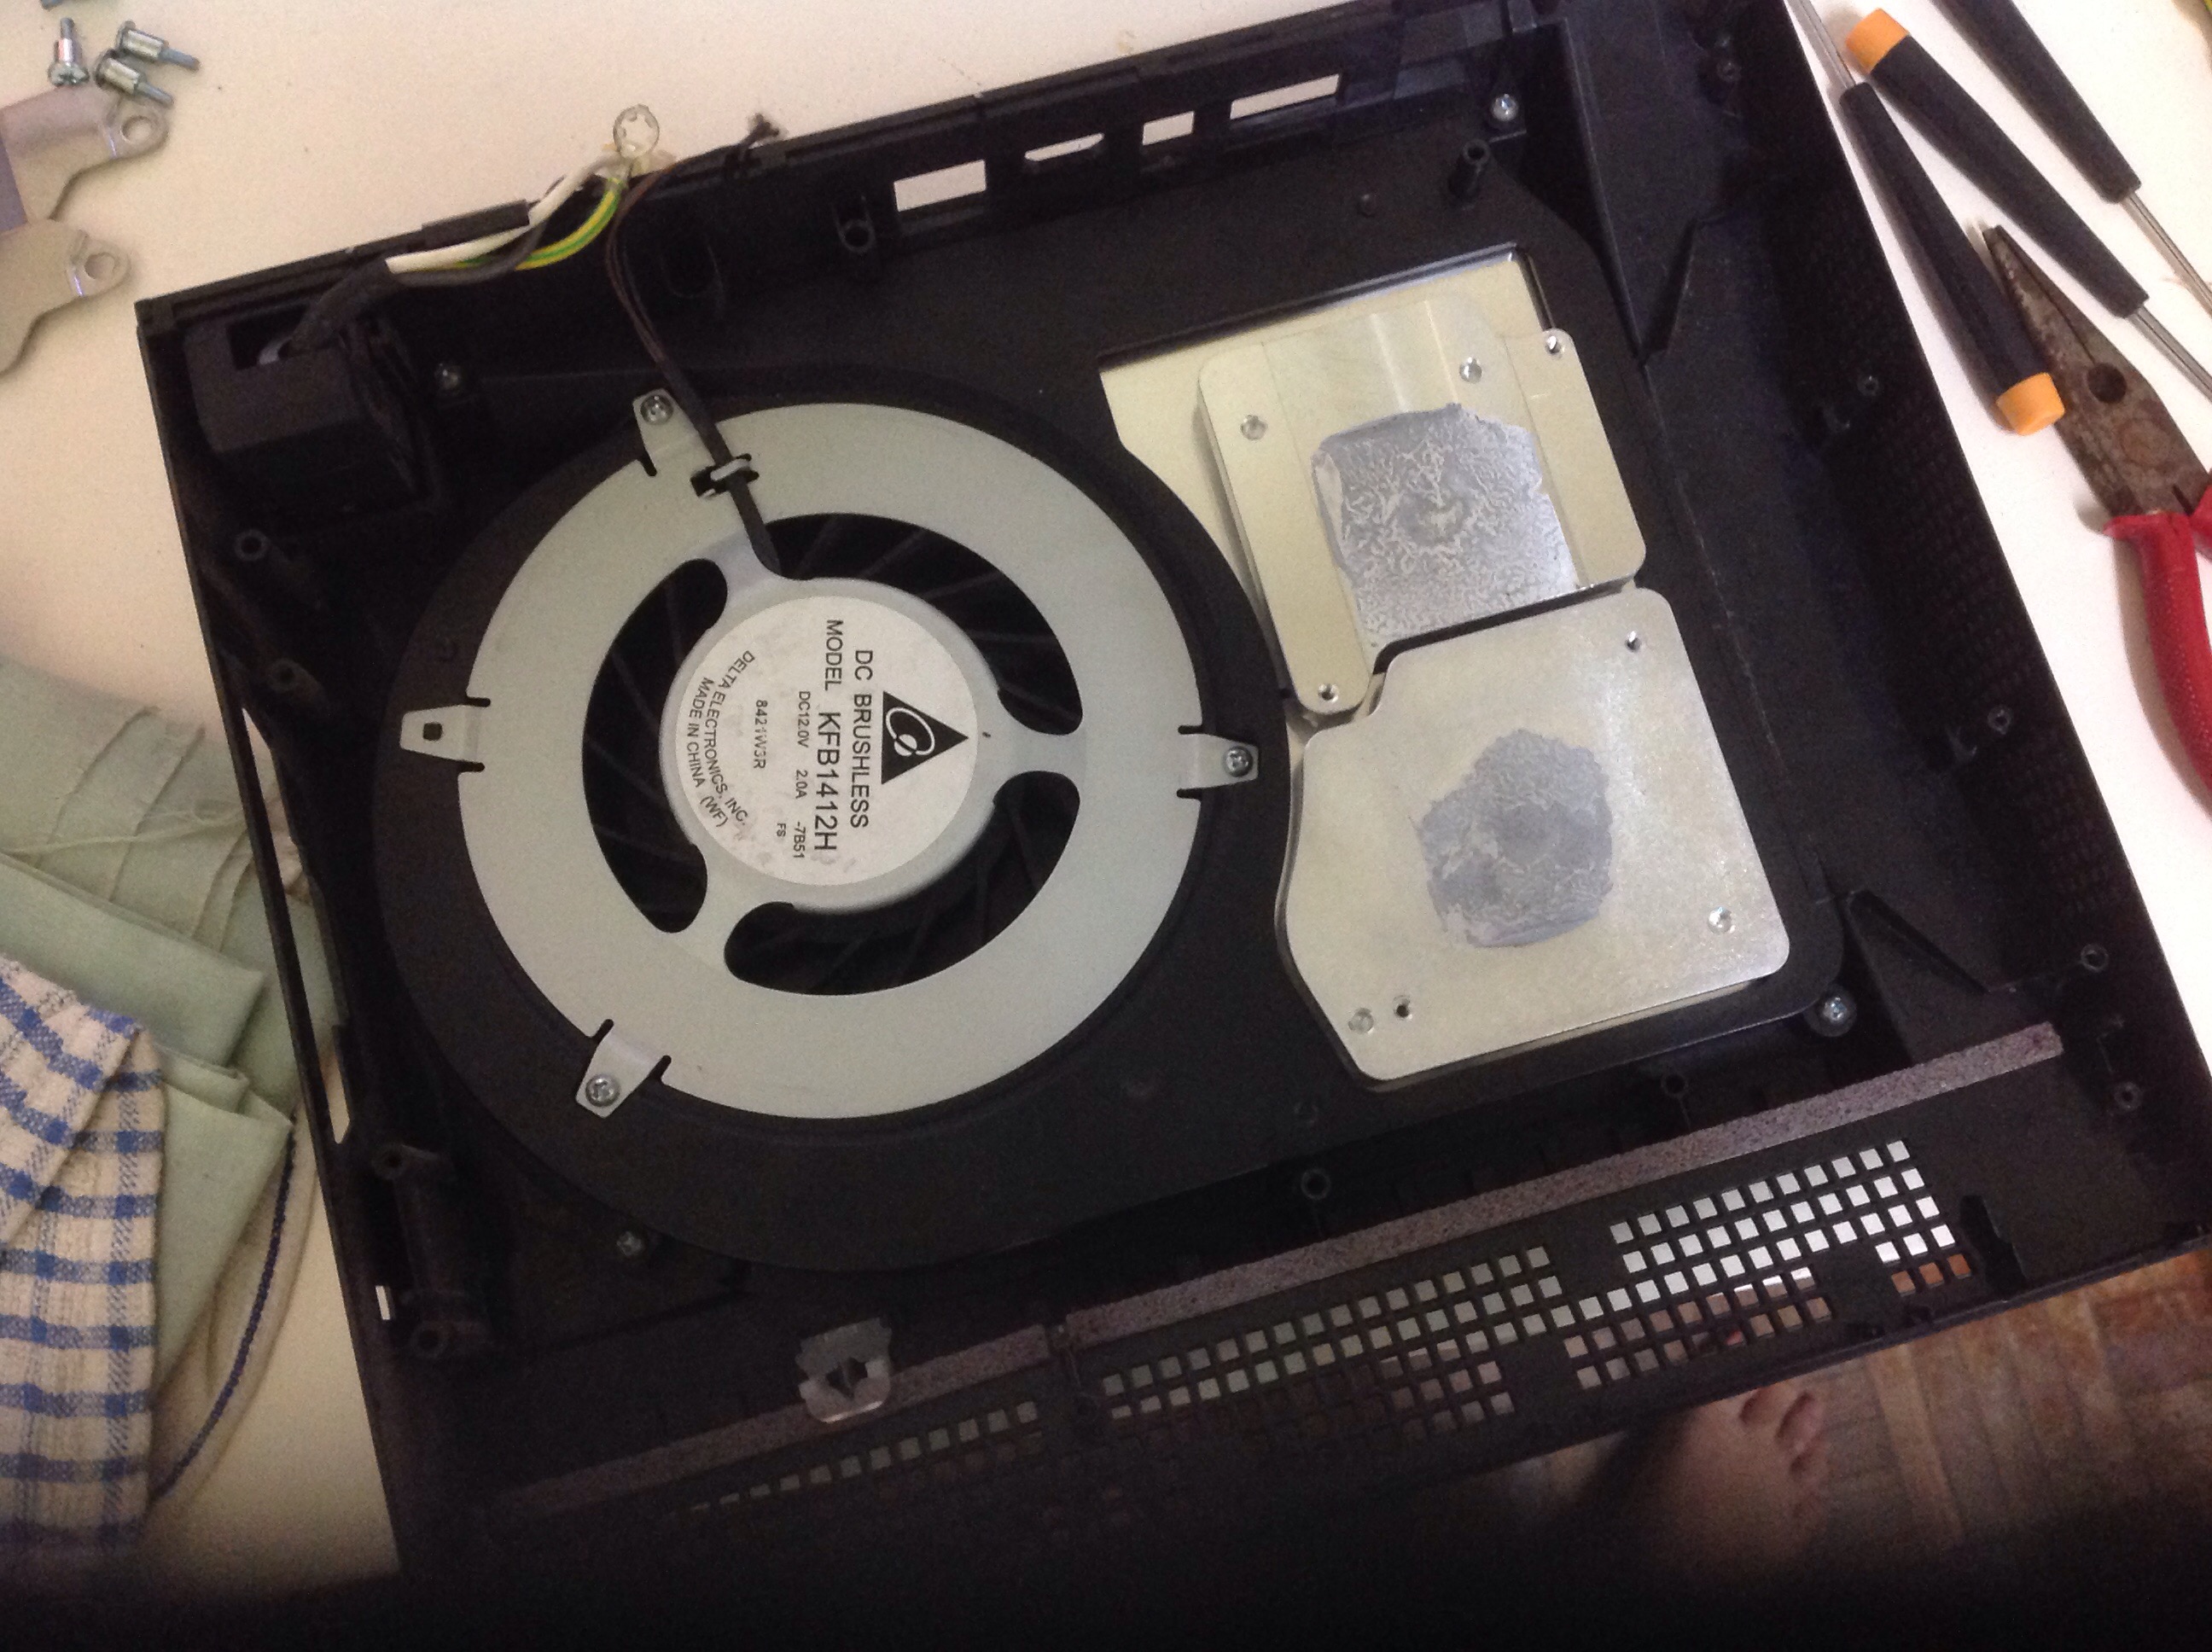
^After removing the motherboard and Wifi/USB board, we are greeted with the only fan of the PS3. Noticed the dual heatsink position where the fan is not directly blowing into it. Since there is no direct air flow onto the heatsinks, the PS3 CPU/GPU average 95C when running the XMB (the temperature was verify using custom firmware which this PS3 model is capable of).
^The heatsink with the thermal paste removed using rubbing alcohol (99.8%).
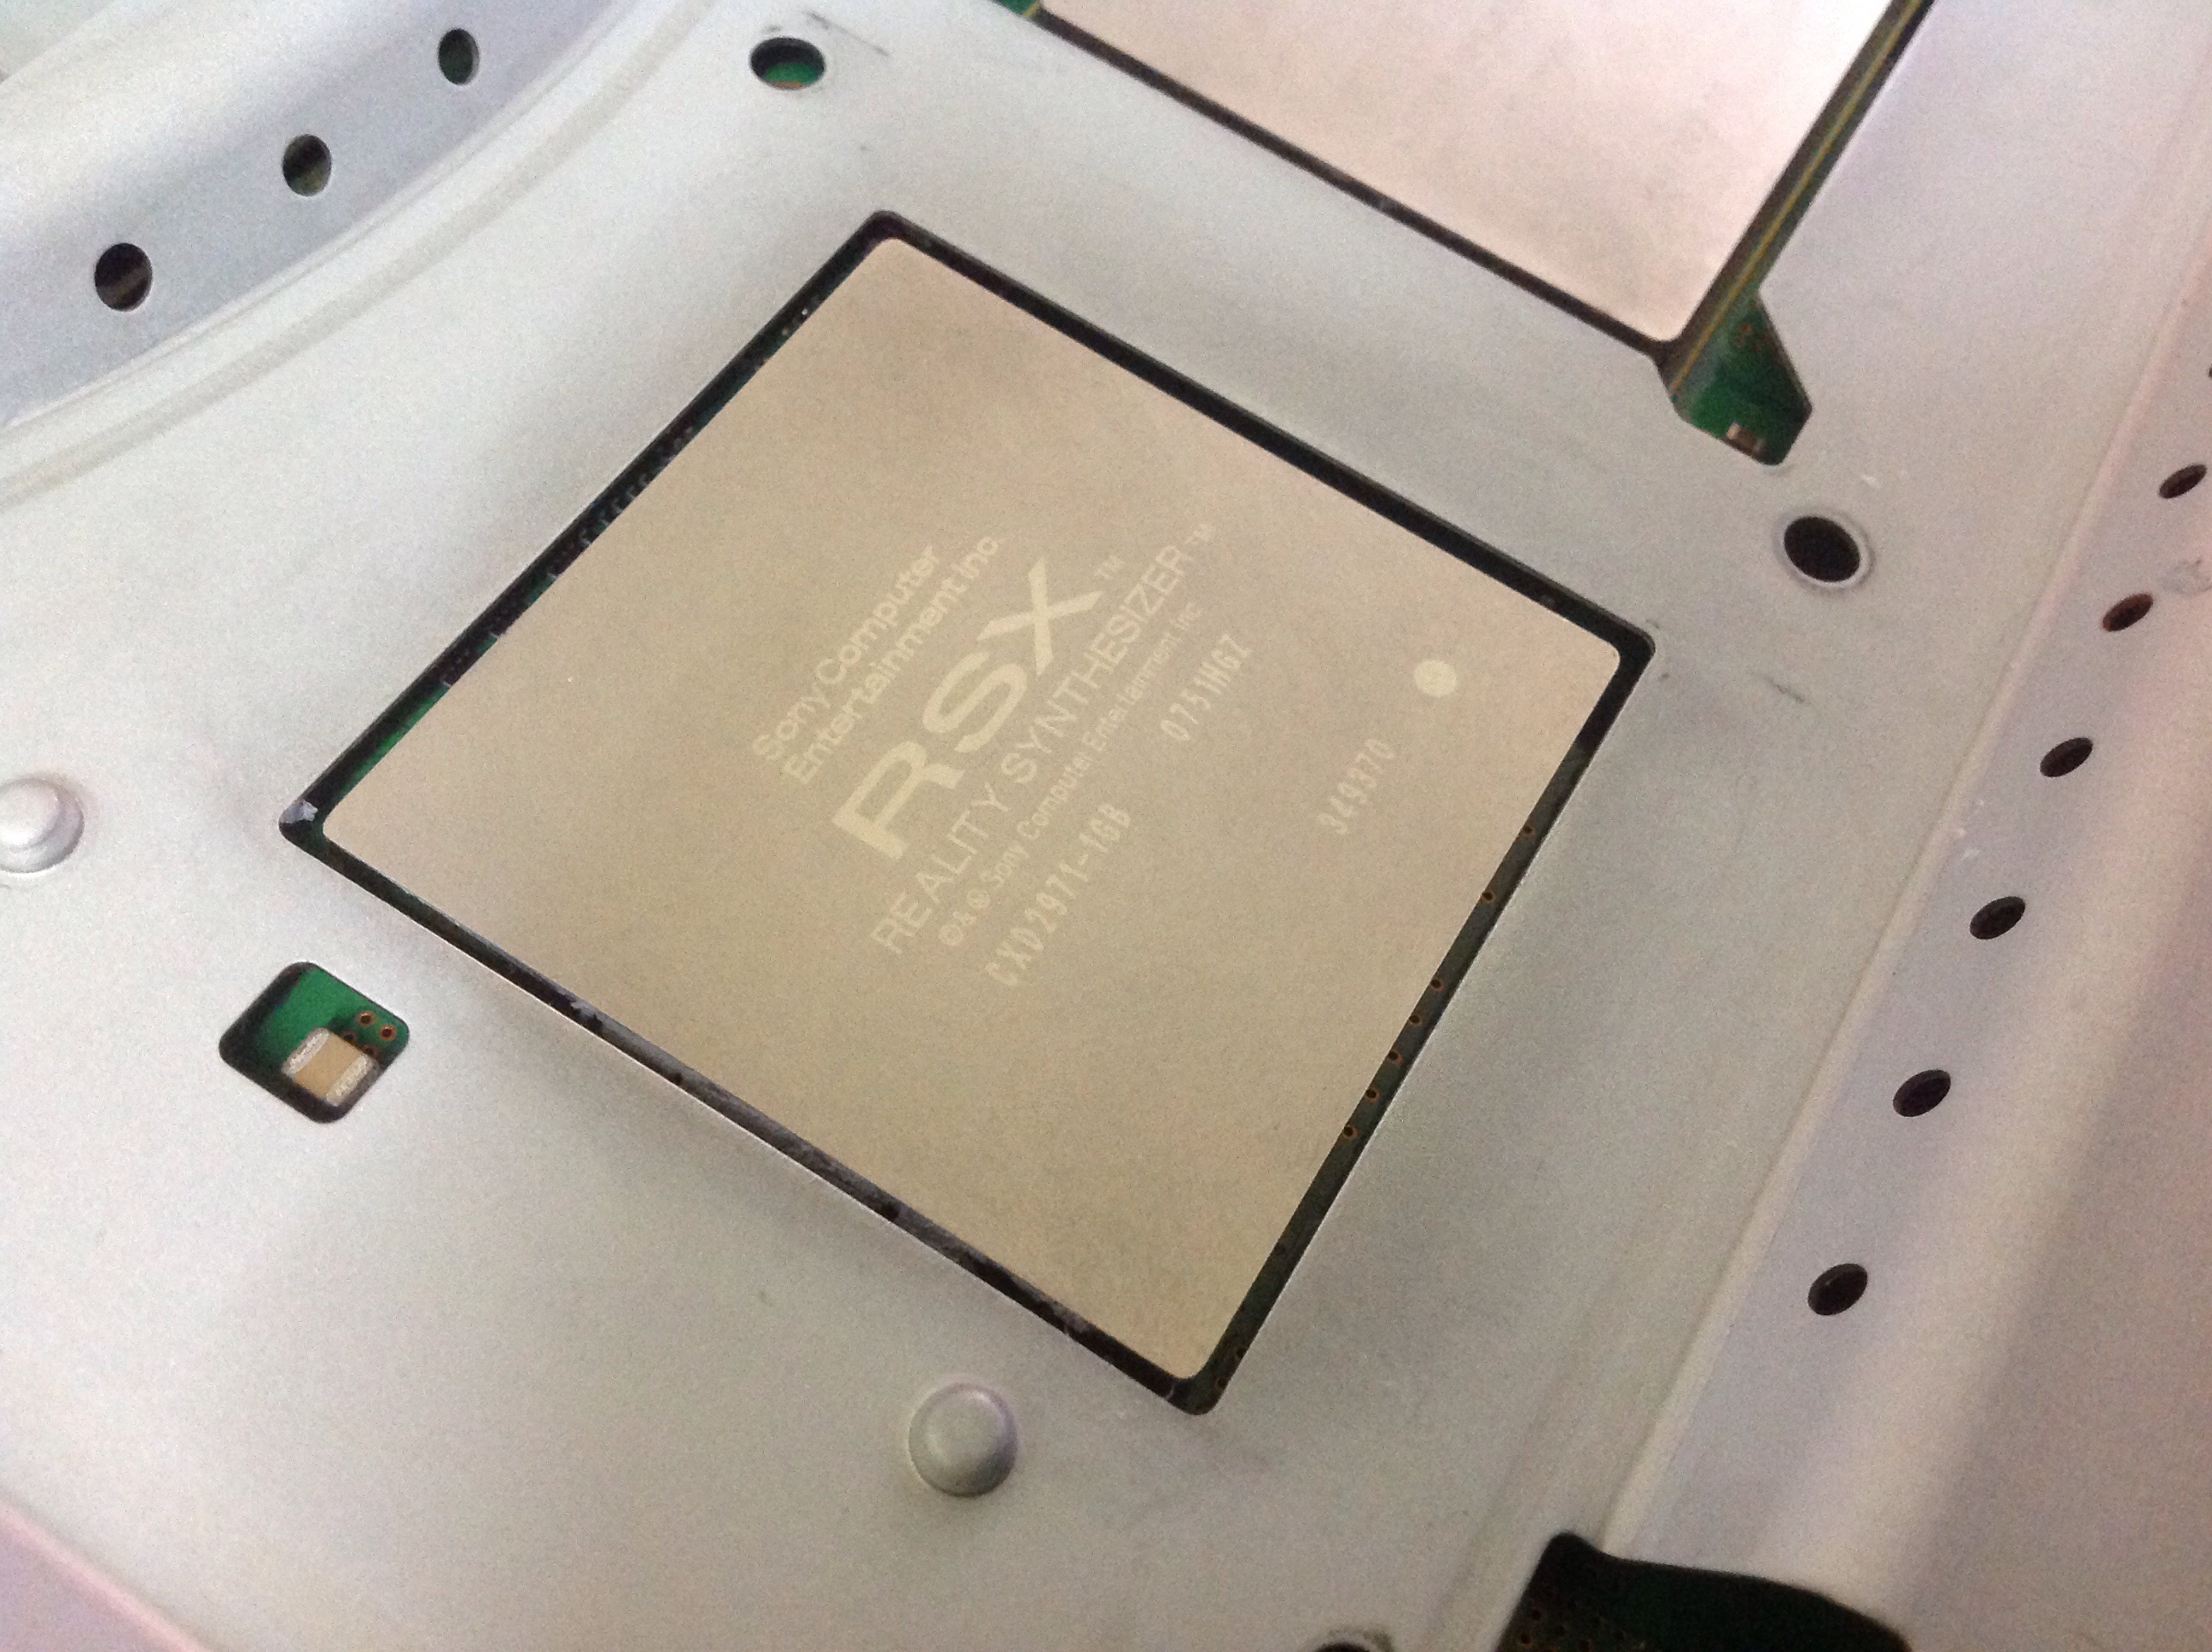
^The GPU of the PS3 aka the RSX (developed by both Nvidia and Sony).
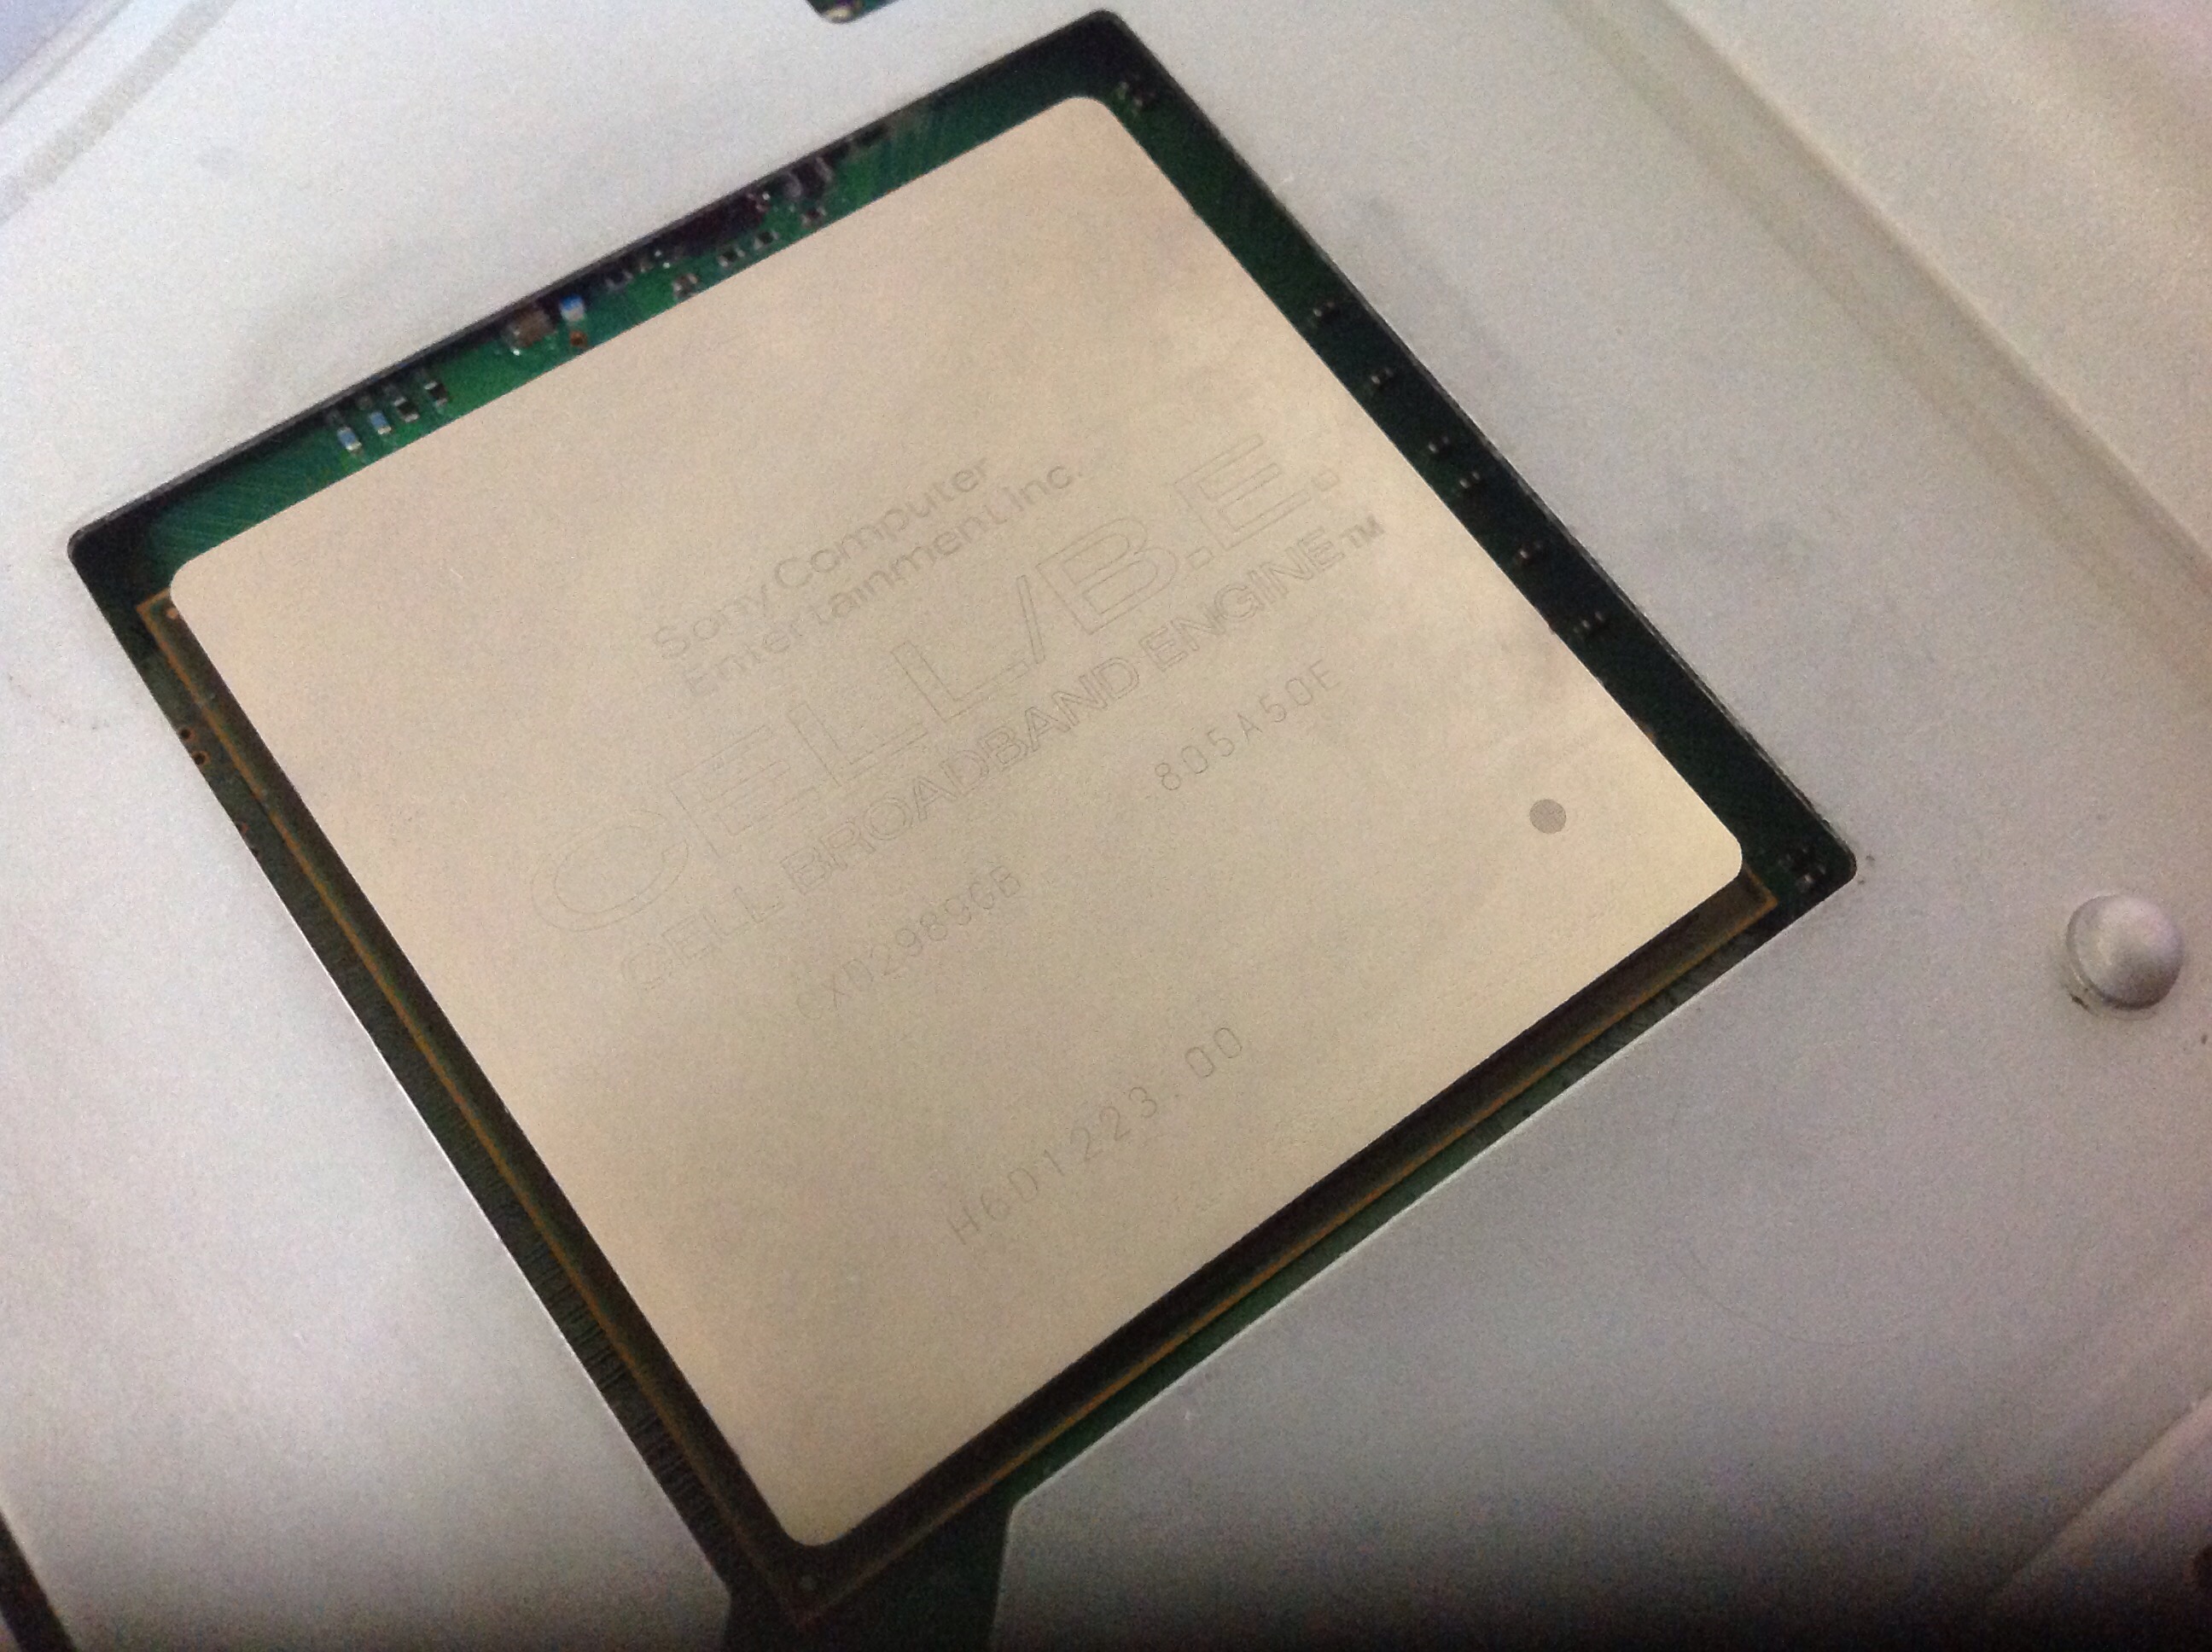
^The PS3 CPU aka Cell which is really powerful during the launch of PS3 (but ended up being a pain for many game developers).
^The PS3 motherboard being rest on top of a cardbox.
So what went right and wrong
The first attempt that I did is to use a hair dryer which obviously is not hot enough to reflow the solder. I actually managed to get the PS3 to boot for nearly 10 secs before it shut down. So knowing that hair dryer is not up to the task, I bought a special gun that blows out really hot air.
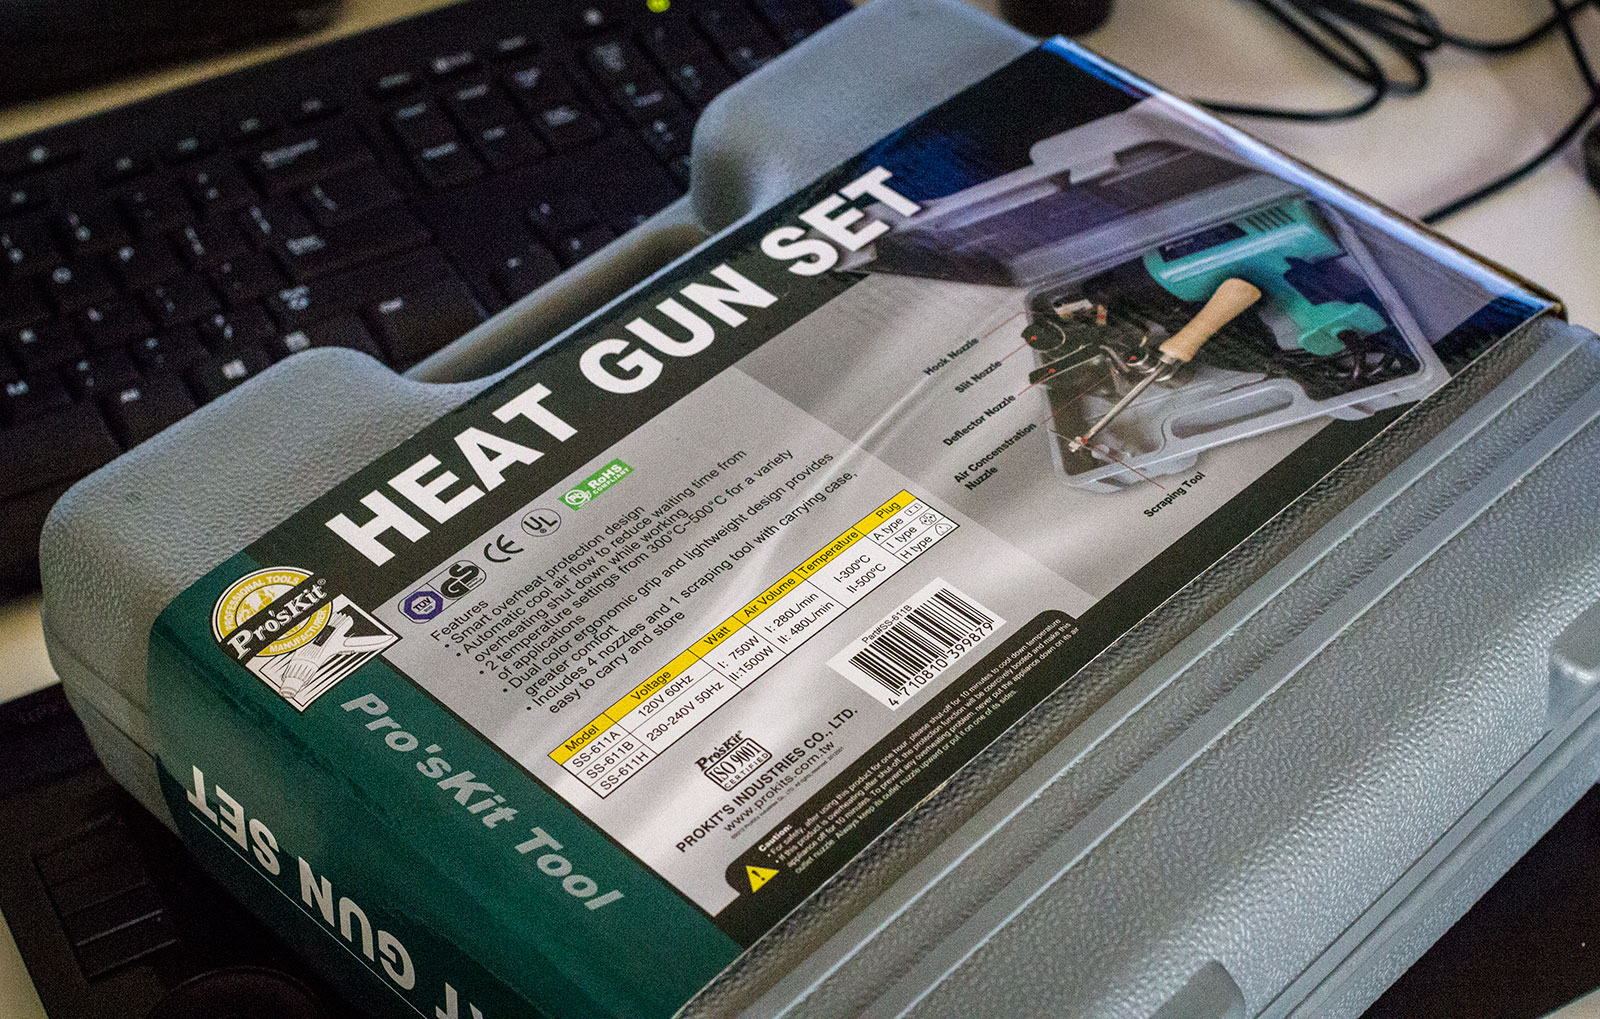
^The Pro’s Kit Heat Gun set which cost me RM110 aka around USD $32 as of 29 December 2014. Anyone living around Kuala Lumpur can pick it up at Jalan Pasar from MELECTRON SDN. BHD.
So with the heat gun armed and ready to melt the PS3 motherboard, I heat it up for around 15 mins and let it cool down to room temperature after around 30 mins. I follow the above video and slowly moves the heat gun around to avoid warping the PCB.
After assembling back the PS3, to my surprise it actually boots up!

^My messy workspace with the PS3 display output connected to my old Dell 24″ TN LCD monitor on the right.
With the PS3 coming back to life, I’m actually happy and proceeded to enable the temperature reading in Multiman which gave me a reading of 95C for the CPU.
Uh oh.
As reported by Multiman temp reading, you can feel the really warm air coming out from the back of the PS3. This does not bode well for me but I proceeded to play God of War 3 which is a great game to work out the PS3.
After nearly 1 hour of non stop gameplay session, the PS3 still running fine and I decided to turn it off for the night.
Well after I wokeup from sleep, the PS3 YLOD on me. Uhhhhhh.
So after repeated attempt to turn it off and on, it still gives me the YLOD notification and this prompt me to disassemble the PS3 again for the heat gun treatment.
Good thing the treatment works again BUT the PS3 still YLOD on me after turning it off for several hours.
Ok time to recycle the PS3 into raw materials… OH WAIT
There is another repair method that involves using flux applied to the solder joints of the CPU/GPU and heating it up.
I learn of this technique after googling for more information about the PS3 YLOD successful repair attempt. I highly recommend to watch the whole video as the author shares a lot of useful information about the PS3 YLOD and good workmanship when performing the repair.
Sadly I can’t find AMTech flux as shown by the above video. So I got an alternative flux which cost me RM11 at Jalan Pasar aka Multicore X32-15i. Googling said flux brand reveal that it is design for use on PCB so I’m going to gamble my luck for it to works or failed miserably.
That wraps up part 1 of this repair article. I’ll post part 2 after trying the flux method to see if the PS3 can actually turn on after shutting off for few hours. If the method works, more power to it and if it failed, I hope others will not waste their time in trying to fix their fat PS3.

