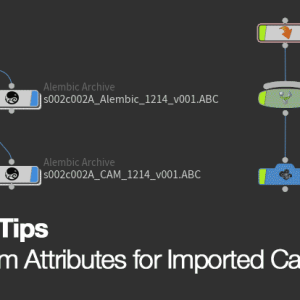
Let’s Play Fetch and Blend with the Cameraman!
This is with default Houdini scale units (Meter).
Play around until it match whatever you’re doing from the original 3D software.
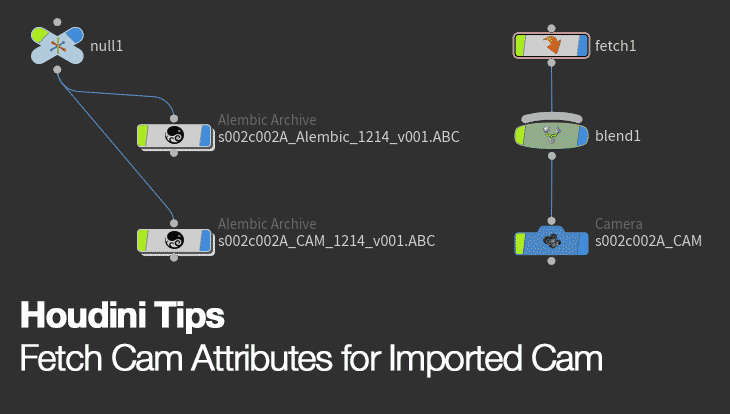
- Create Null and scale it (typically 0.01 for Max/Maya using CM although I’m unsure if units affect the total scale).
- Parent imported camera to it.
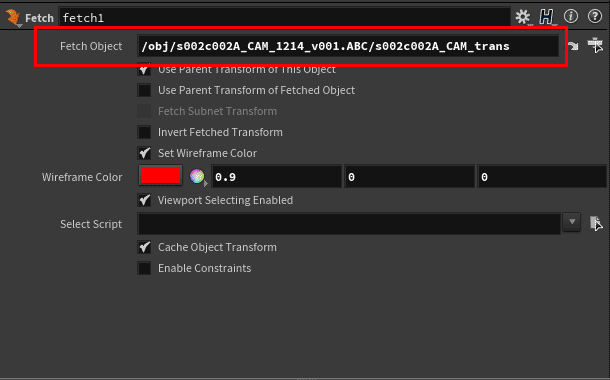
- Create Fetch node and fetch the transform in the Imported Camera node (e.g. /obj/s001c001_CAM_1203_v001.ABC/s001c001_CAM_trans)
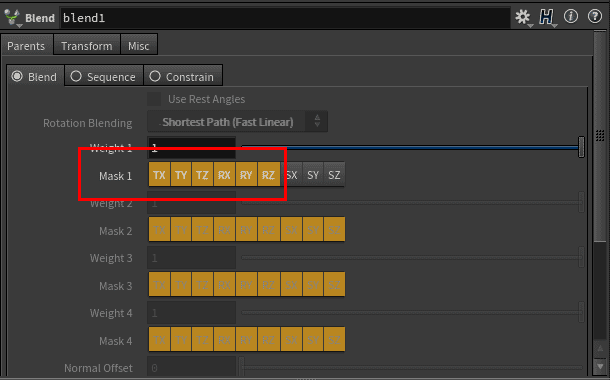
- Create Blend node and parent it to Fetch. Only select the Transform and Rotation as the whole idea is to not inherit the Scale!)
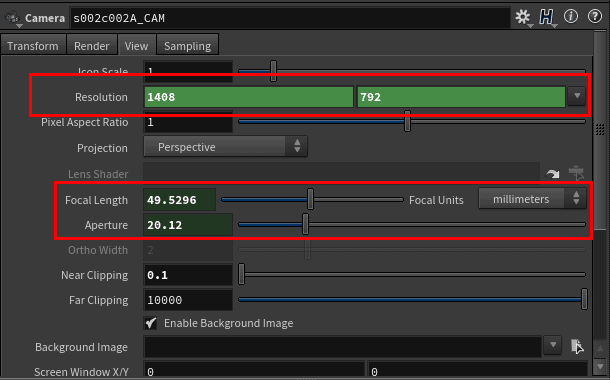
- Create Camera node and configure it to match your imported camera settings.
- Parent the camera to Blend and verify it. Done!
If something looks off… repeat until it works.
And here’s the screenshots of the settings with the relevant parameters highlighted:
21 Jan 2018 Update: It seems that leaving the Weight 1 at 1 is a bad idea as it messes up the near and far clipping of the camera. Set it to 0 to fix the issue while still inheriting the translation and rotation of the imported camera.
What’s the Reason?
It is simply a BAD IDEA to scale a camera since it will result in wacky rendering artifact especially volumetric like PyroFX etc.
By scaling the imported camera with a null, all the attributes will be multiply by the new value.
Instead, we create a new camera in Houdini and retrieve the relevant attributes while maintaining the original scale when it was created.
Remember to NOT USE the scaled imported camera for renders! It looks fine on the viewport but a disaster when rendering so always create a native Houdini camera (without scaling it of course!)
