Jingle Blur, Jingle Blur, Jingle all the way!
I’m surprised that after working full time as an FX artist at a subsidiary of a large Japanese studio, tackling motion blur in compositing stage can be problematic if the subject moves in Z axis which is where 3D motion blur triumphs.
For my personal project, I’ll analyse every shots and see if the use of 3D motion blur is necessary to improve the overall photorealism.
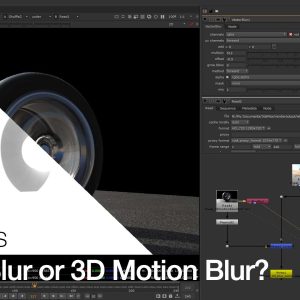
So in this very brief Nuke Tips, I’ll explain the difference between vector blur and 3D motion blur during compositing.
Wheels of blurry
For this demo, I’m using Octane Render for 3ds Max to generate the velocity pass. You need to look up in your preferred renderer documentation on how to output velocity pass. The default 3ds Max scanline renderer support native velocity output through the G-Buffer when saving as EXR files.
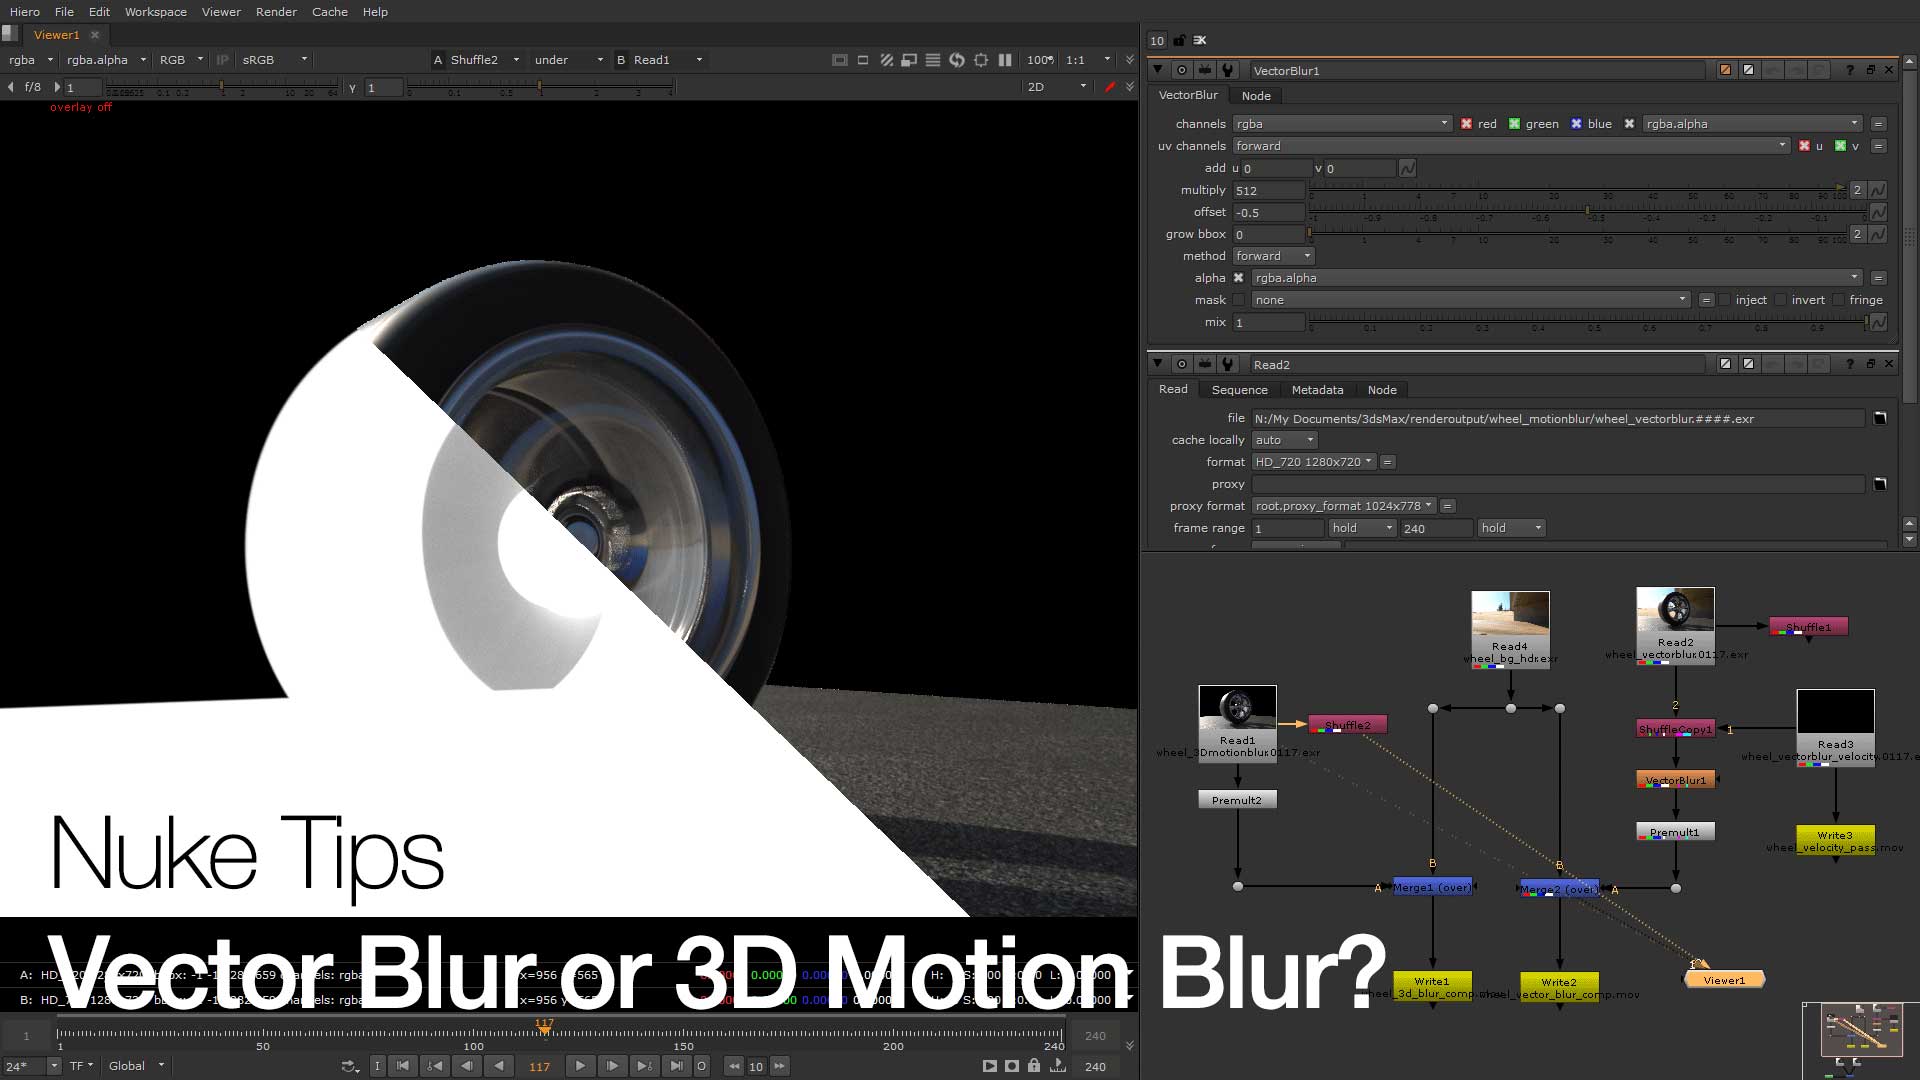
In Nuke, the Vector Blur node allows you to blur a subject either through the Transform node values or by piping in velocity pass from an external renderer
Sadly there is no way to output velocity pass together with “the motion blur” result in Octane Render so be aware that it is not a glitch or bug. Just output the velocity pass with a really high value of max velocity if your object moves really fast. I use a value of 512 for this demo and make sure to output it as 32-bit float EXR!
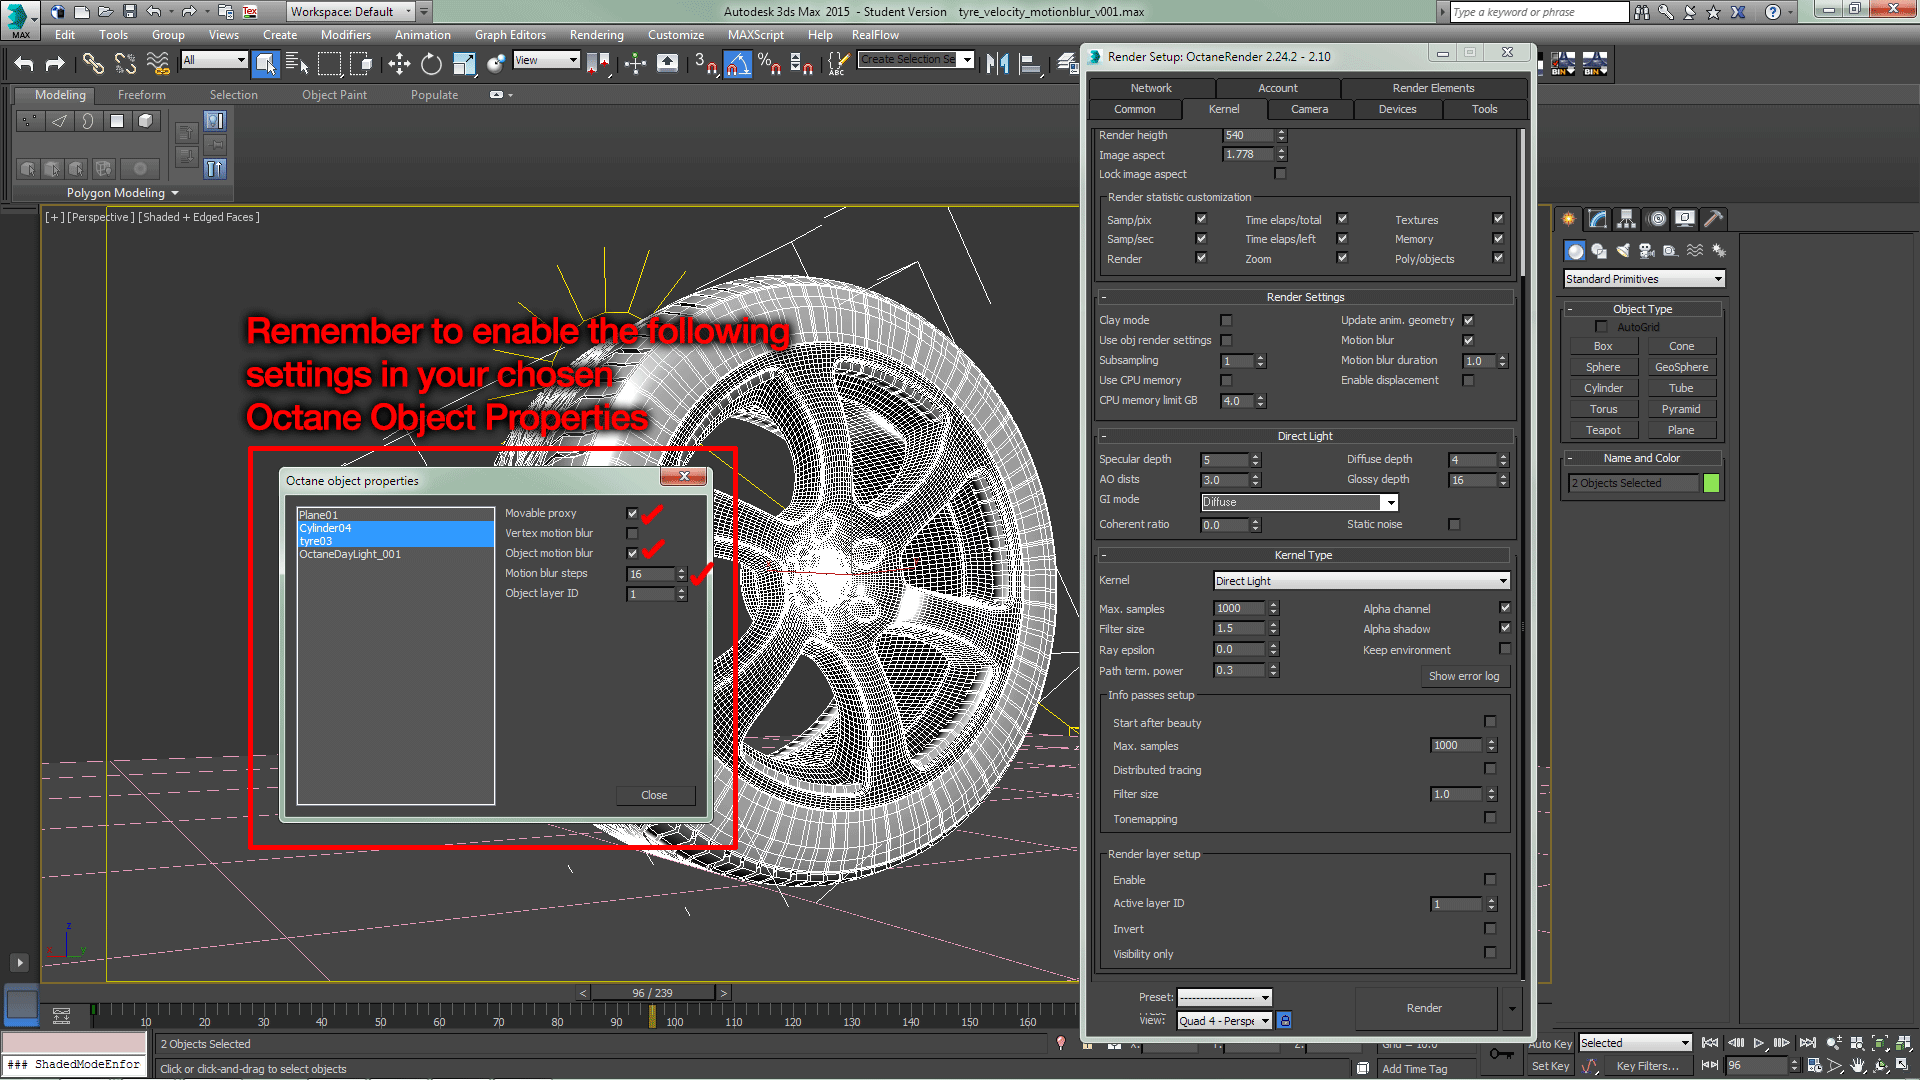
For the 3D motion blur, I simply enable Motion Blur in Octane Render settings as long your object has animation (which you need to enable object motion blur and moveable proxy in the object properties).
Refer to the following screenshots for the settings that I used for this demo:
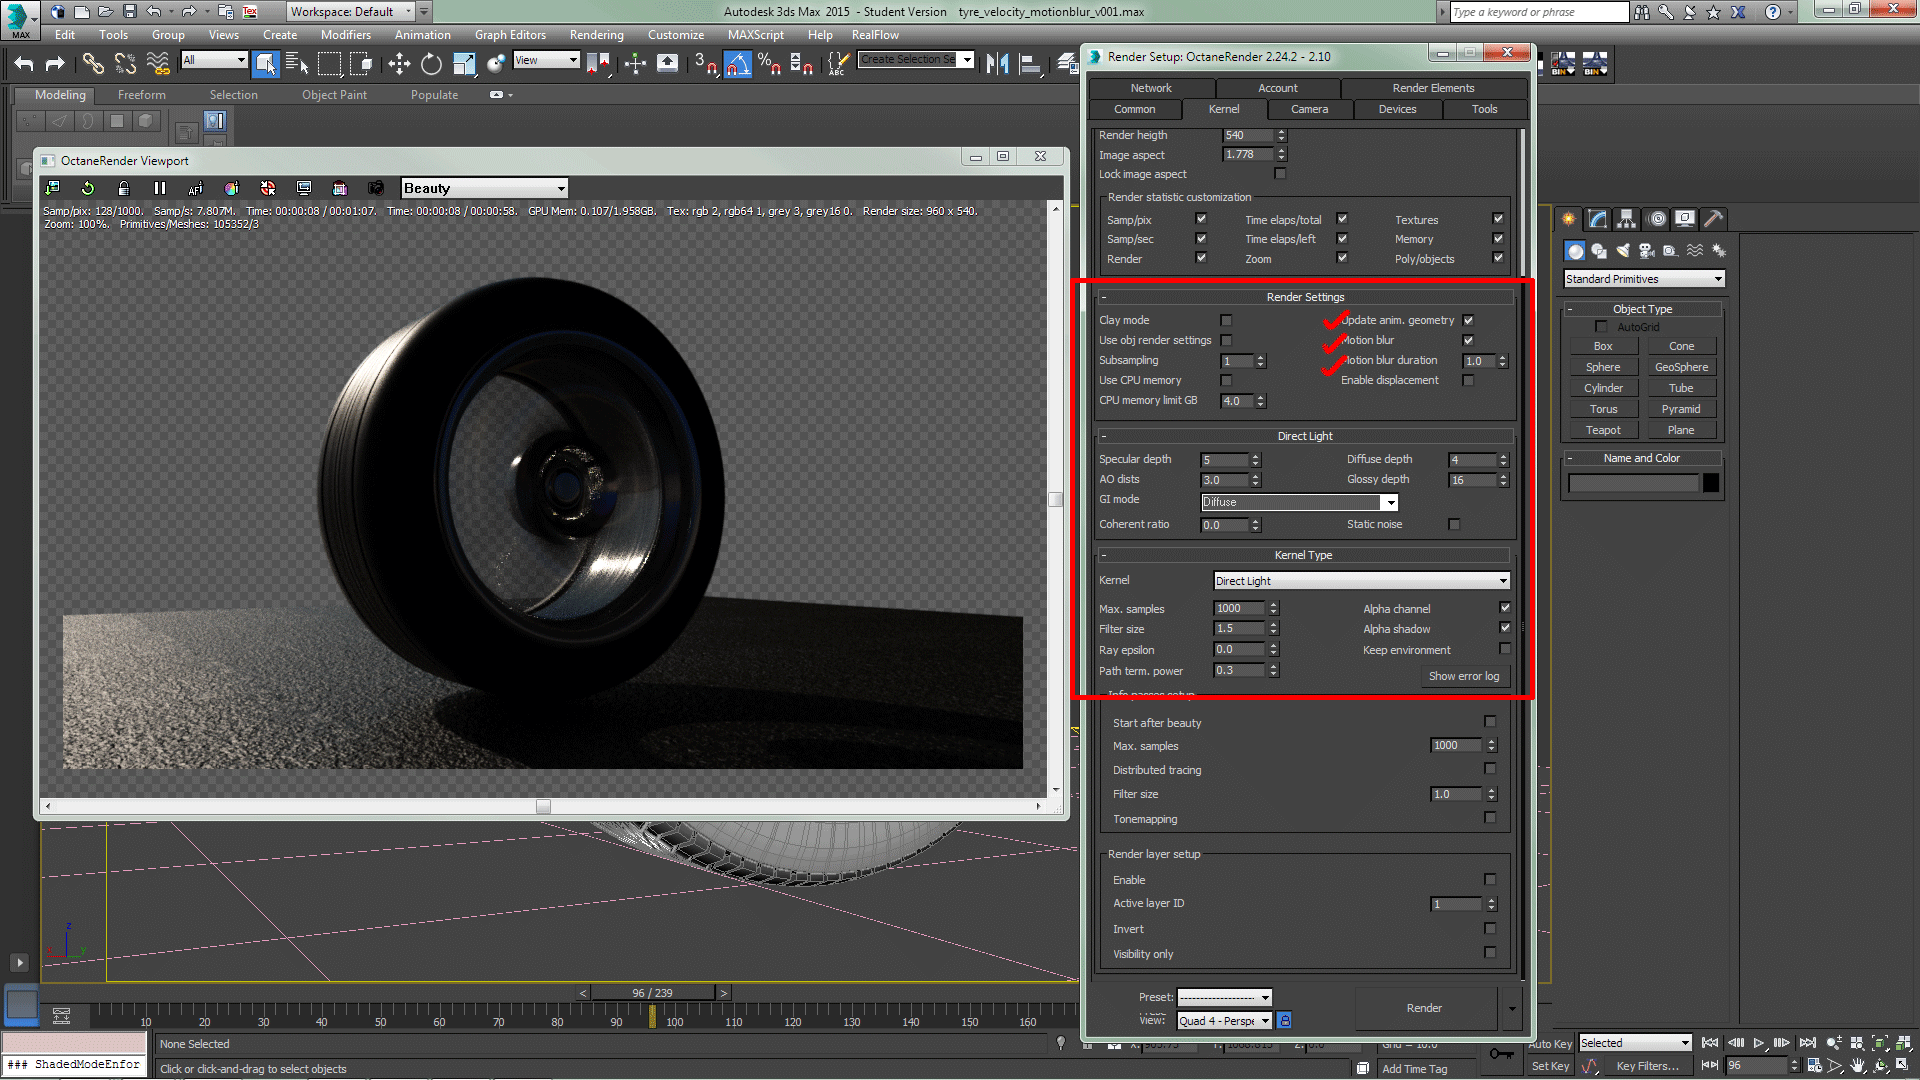
Do take note that the motion blur also blur the alpha channel so if you’re dealing with complex compositing, make sure to render the background as matte to reduce background bleeding in the beauty render.
Blurring the edges in Nuke
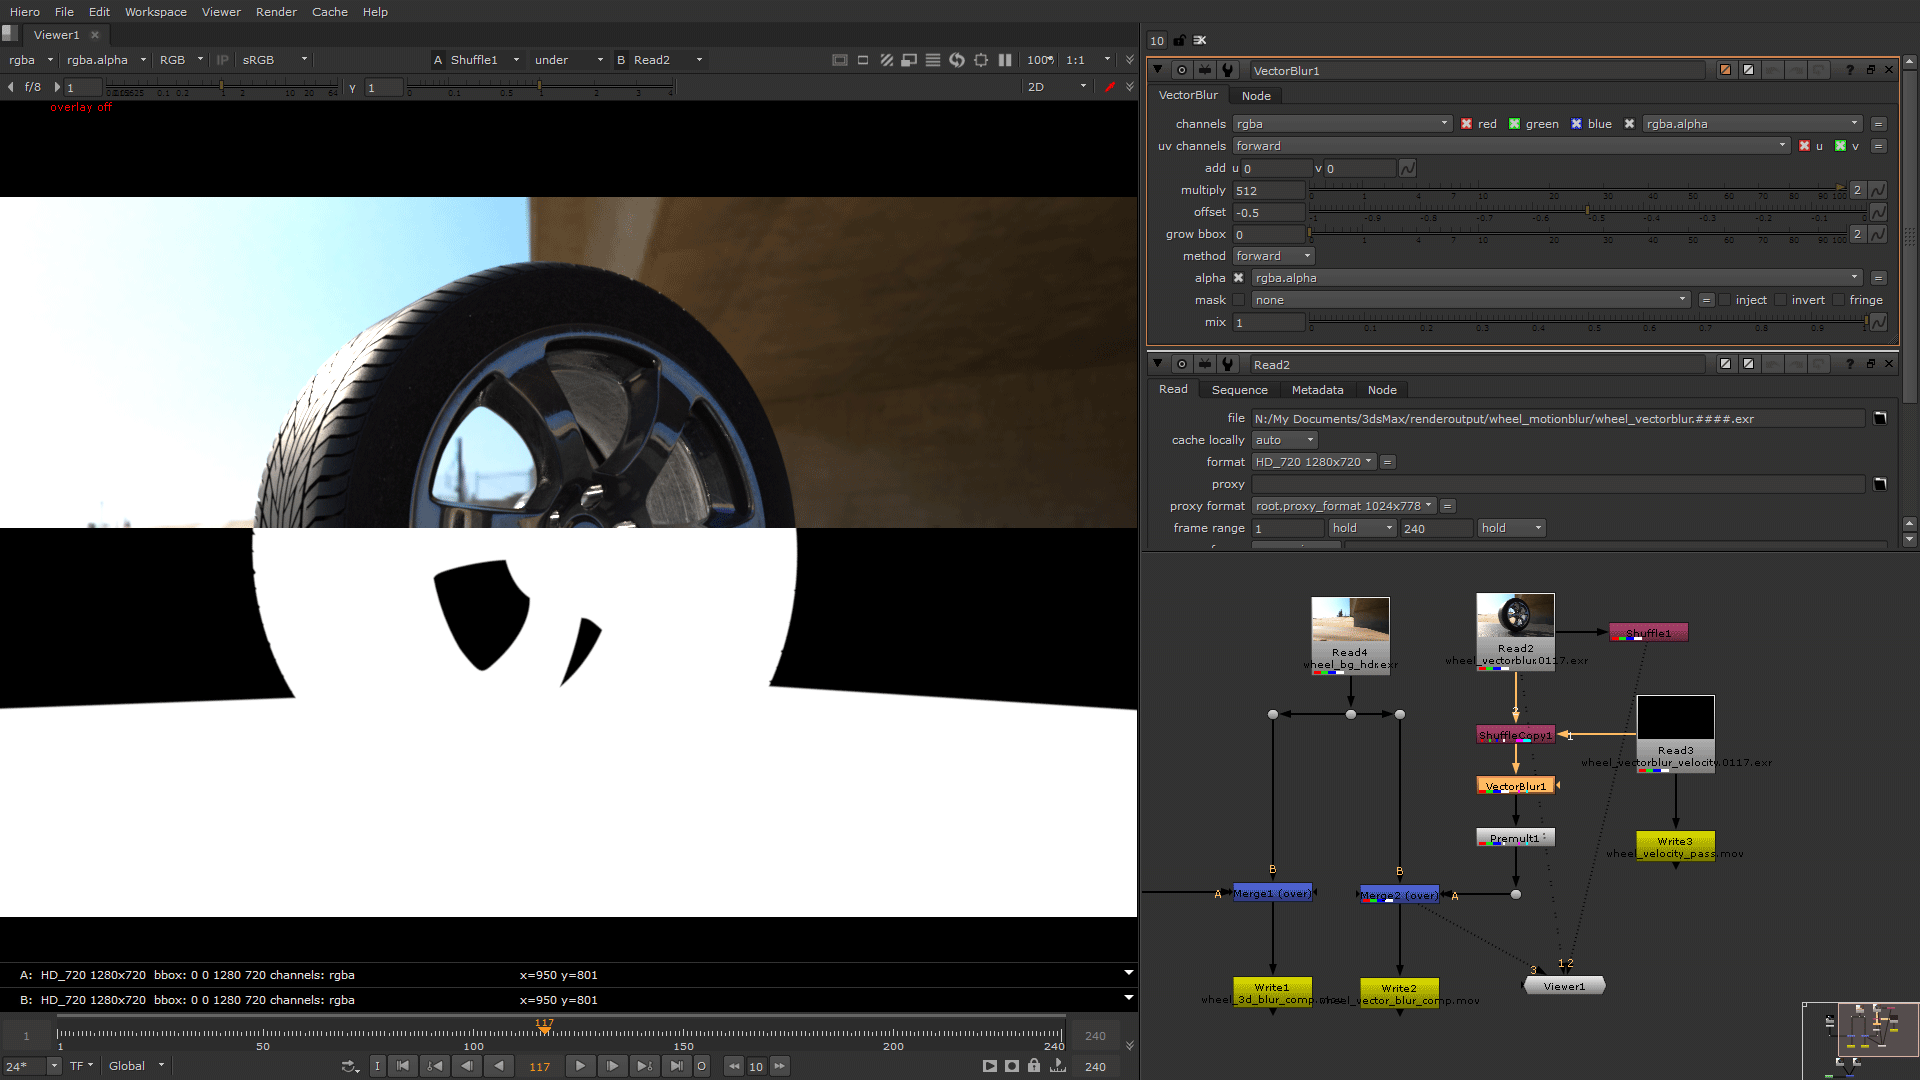
Please refer to the Node Graph in the screenshot above on how to setup the Vector Blur using the Velocity pass from Octane Render. In my example, I shuffle the Velocity pass into the Forward channels but you can shuffle it into the Motion, Velocity, Distance or your preferred channels.
Remember to set the calculation method to Forward and enable the Alpha premultiplication since the Velocity pass from Octane Render has been premultiplied. Failure to do that will create a streak/jaggy edges.
So Vector Blur or 3D Motion Blur?
Typical 3D motion blurring!
This is where things start to go awry as it rotates really fast where the motion blur failed in blurring curve motion. Also take note of the shadow on the ground where it remains crisp as there is no velocity information since it remain static in the scene.
The velocity pass in motion. A reminder that there is only two channels that will be output in velocity pass aka Red and Green channels.
Pros or Cons?
Vector Blur
- Flexibility in controlling the amount of blurriness during compositing.
- It works great… only in X and Y axis.
- Anything less than 32-bit Float values means less than accurate blurring process. BE WARNED. (although you can still get away with 16-bit Half Float depending on the situation)
- Can’t do rotational blurriness accurately (hence why the subject for this demo is a wheel!)
- Can be problematic when dealing with various overlapping subjects/limbs/etc. I did not prepare examples for this case but just imagine an arm crossing over the chest. Vector Blur will failed in blurring the arm edges accurately when it overlaps the chest.
3D Motion Blur
- Accurate because it blurs in actual 3D space!
- You still need to worry if the shutter angle changes during production through client/supervisor/director feedback AKA re-rendering.
- Depending on your choice of renderer, 3D motion blur is EXPENSIVE or nearly FREE of rendering time costs.
- Can be problematic when dealing with various overlapping subjects/limbs/etc too! This is more of a headache for the compositor though depending on their situation.

