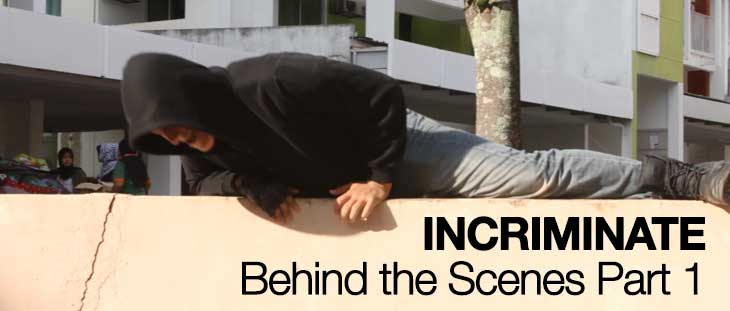
Before I proceed, the production of Incriminate was put on hold due to unforeseen financial and scheduling circumstances. Hopefully the project can resume soon.
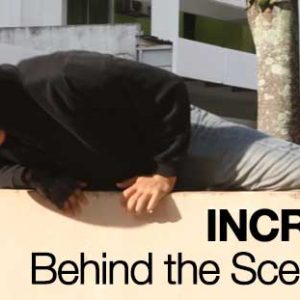
More like outtakes for Incriminate
In this episode, I’ve compiled all the wacky stuff that happened during the filming of Incriminate.
Ok back on topic, Incriminate started out as a university final year project by Cheah Wenjian which I assist to return back the favour for helping me in various situation.
Once he has done with the final submission, we had a discussion to give the proper finishing for the project due to the incomplete VFX shots and… audio (we are still looking for a foley/sound designer).
Boogeyman in action
Initially I became the cameraman aka “director of photography” as I owned a Canon 550D which should suffice for the nature of the project. Although I don’t exactly follow his storyboard, I try to shoot several alternative angle and framing when possible.
For a tighter control of the recording settings, I installed Magic Lantern firmware to my Canon 550D. Magic Lantern allows you to bump up the H.264 bitrate that helps to reduce the blocky artifact when there is complex motion or high frequency details in the shot.
I also double up as the editor for the short film with Cheah Wenjian role is to check the timing is right to his liking.
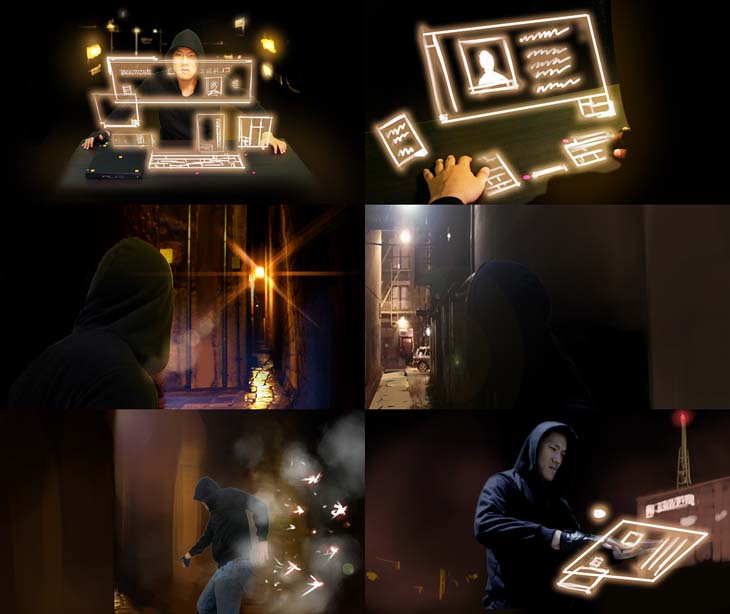
^Above is the quick look development test that I did based on Cheah Wenjian idea. It is a really rough sketch but still suffice to let me know the overall look of the short film.
Wee-Eff-Axe what?
For the VFX part, this is where I’m afraid as Cheah Wenjian strength lies in his 3D modelling skill. This prompt me to delegate any major 3D models including rigging to him while I handled the rest.
Well I’m still involved in the UV unwrapping and texturing and some of the minor 3D props for the background.
Another time consuming aspect of this project is the rotoscoping and paint job which easily took up 70% of the total project duration. I do try shooting with greenscreen backdrop if the opportunity arises but pretty much only Act 1 which is set in a room have greenscreen while the rest is shot with white wall for luminance keying.
The good news is that majority of the roto work are already done with maybe a few minor touchup during the final compositing.
What about the software?
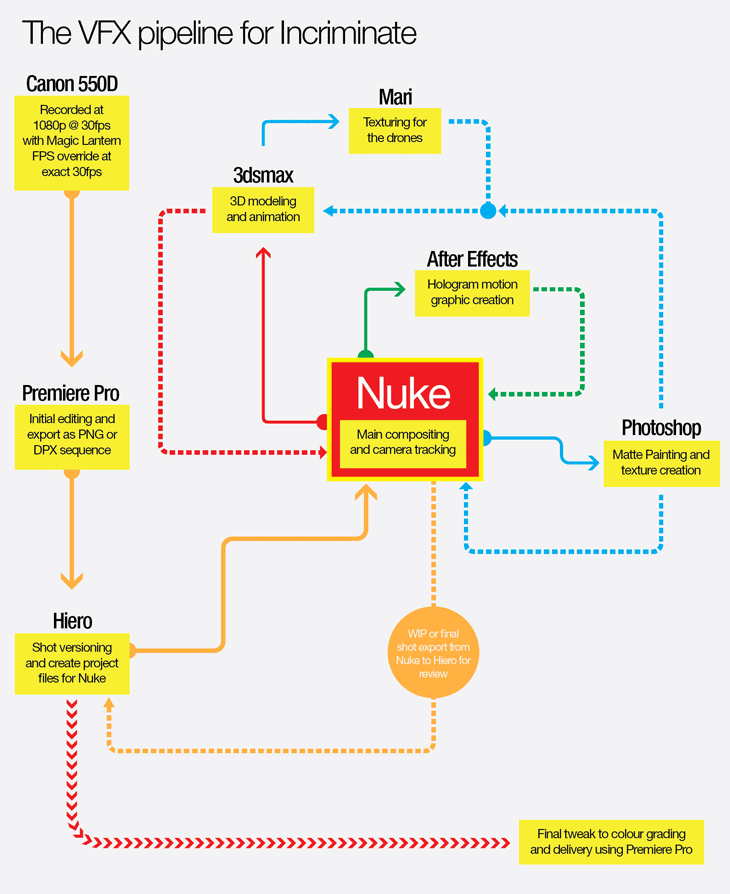
For those interested with the software used in this project, here’s the list:
- Nuke (NukeX since I don’t see any reason to use the regular Nuke when I have access to it)
- After Effects (for all the hologram UI thingy)
- Hiero (for versioning purpose and double up as the shot management tool)
- Premiere Pro (for the initial editing of the raw H.264 footage from the 550D)
- 3dsmax (modelling, rigging, UV unwrapping, Pflow and rendering with Octane Render!)
- Photoshop (matte painting and texture creation for the 3D props)
- Mari (for the drones texturing)
^Here’s a flowchart for the VFX pipeline that I establish for the project.
All compositing and camera tracking is done in Nuke. Although if there is one thing I wish Nuke can improved in the future is the Scanline Render rendering time.
In the next part, I will be covering the use of Octane Render 2.0 in the rendering pipeline and the use of Mari for texturing.
