Update – 12th November 2014: Added timelapse video which can be found at the bottom of the post or Youtube.
Update – 2nd December 2014: Nuke 9 is officially out so students if you are reading this and have my Nuke script, feel free to explore the script!
Intro Please
This is my second guest lecture for VFX & Compositing class at Multimedia University Cyberjaya. For this demonstration, I opt for a higher difficulty compared to the previous matte painting demo which I did back in June as I want the students to learn a more practical way of integrating their matte painting into a live action plate.
Photoshop will be again the weapon of choice for the matte painting itself and this time, I will be using Nuke to do the tracking and final compositing.
Overgrown Theme
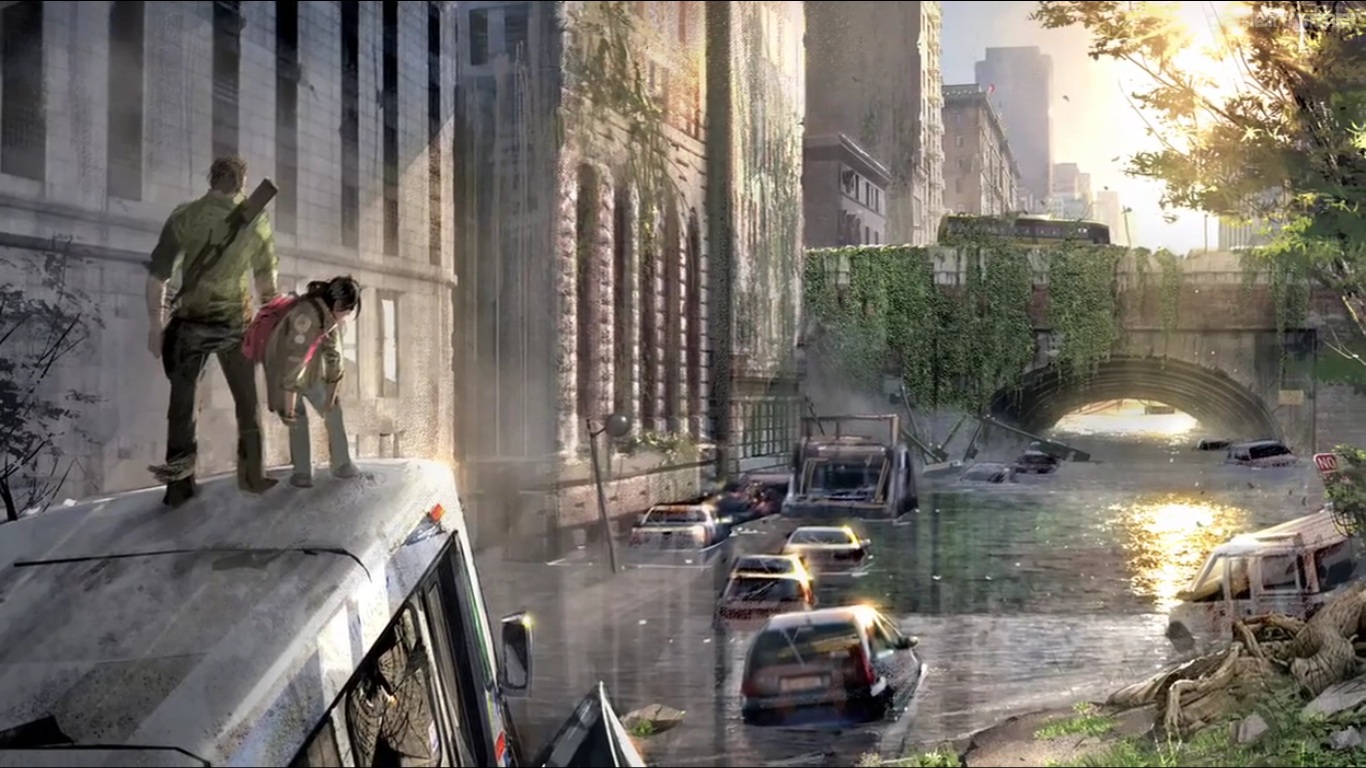
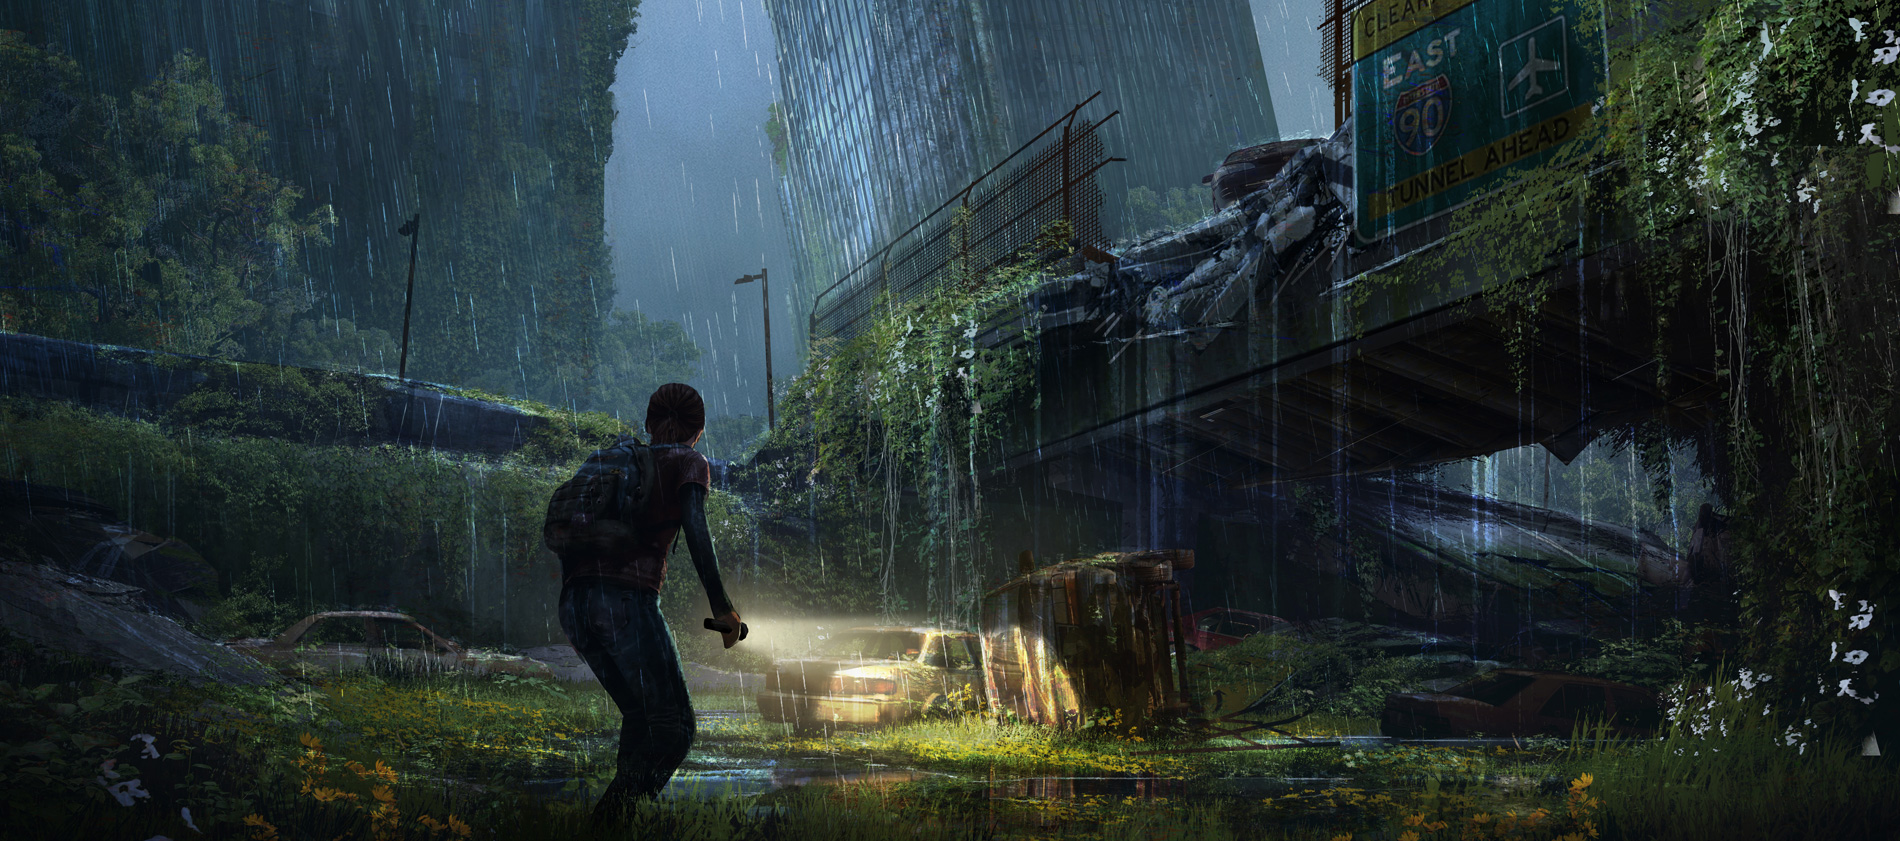
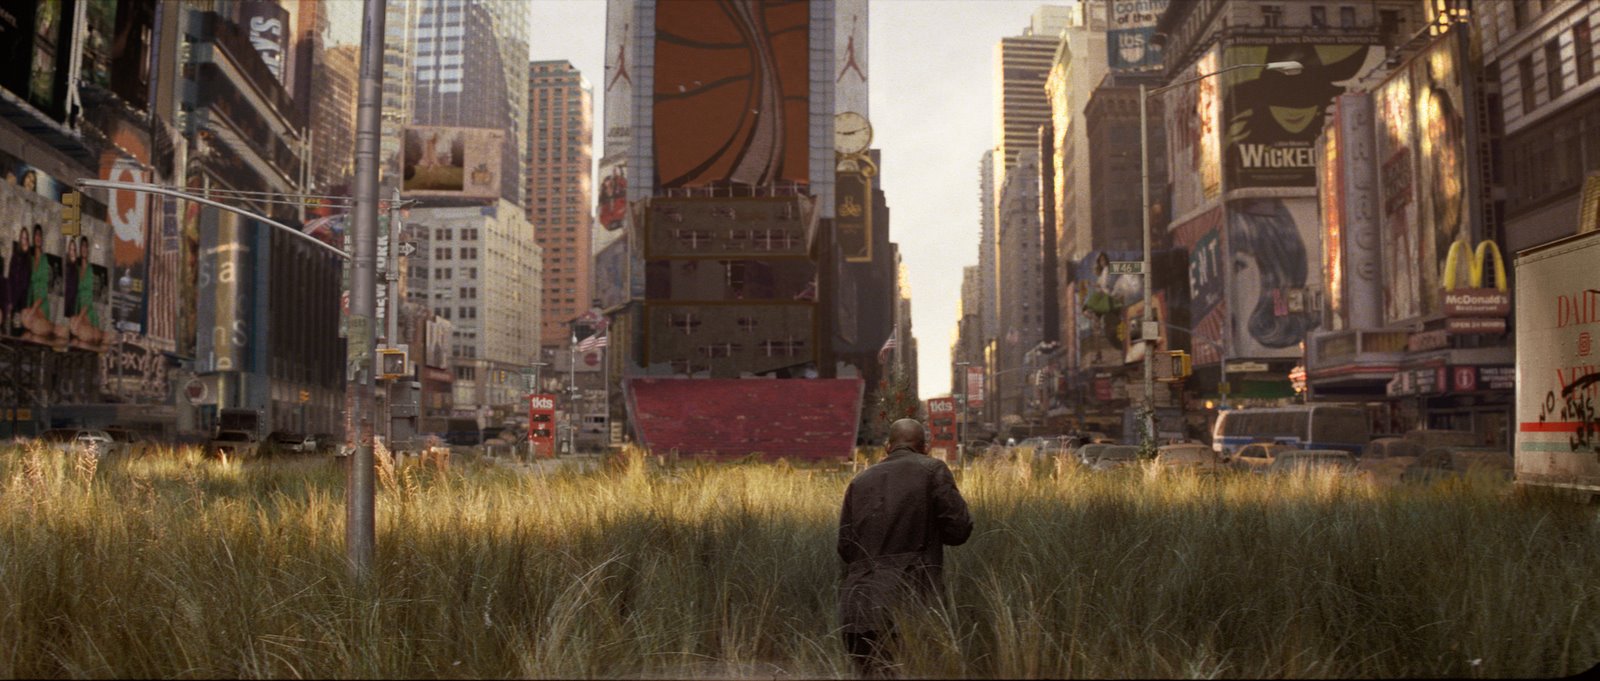
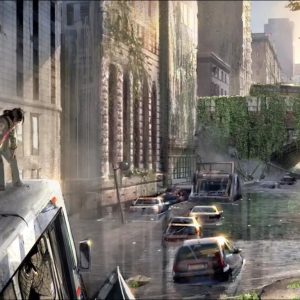
The first two picture is taken from The Last of Us concept art with the last picture from the movie I am Legend.
The matte painting will be a metropolis city that has been abandoned by everyone and left to mother nature for several decades.
Although to keep things simple, the students are not required to create a really epic or super detailed matte painting. It will be mainly a simple exercise to extract buildings from various reference and blend in the wild plants on the buildings itself.
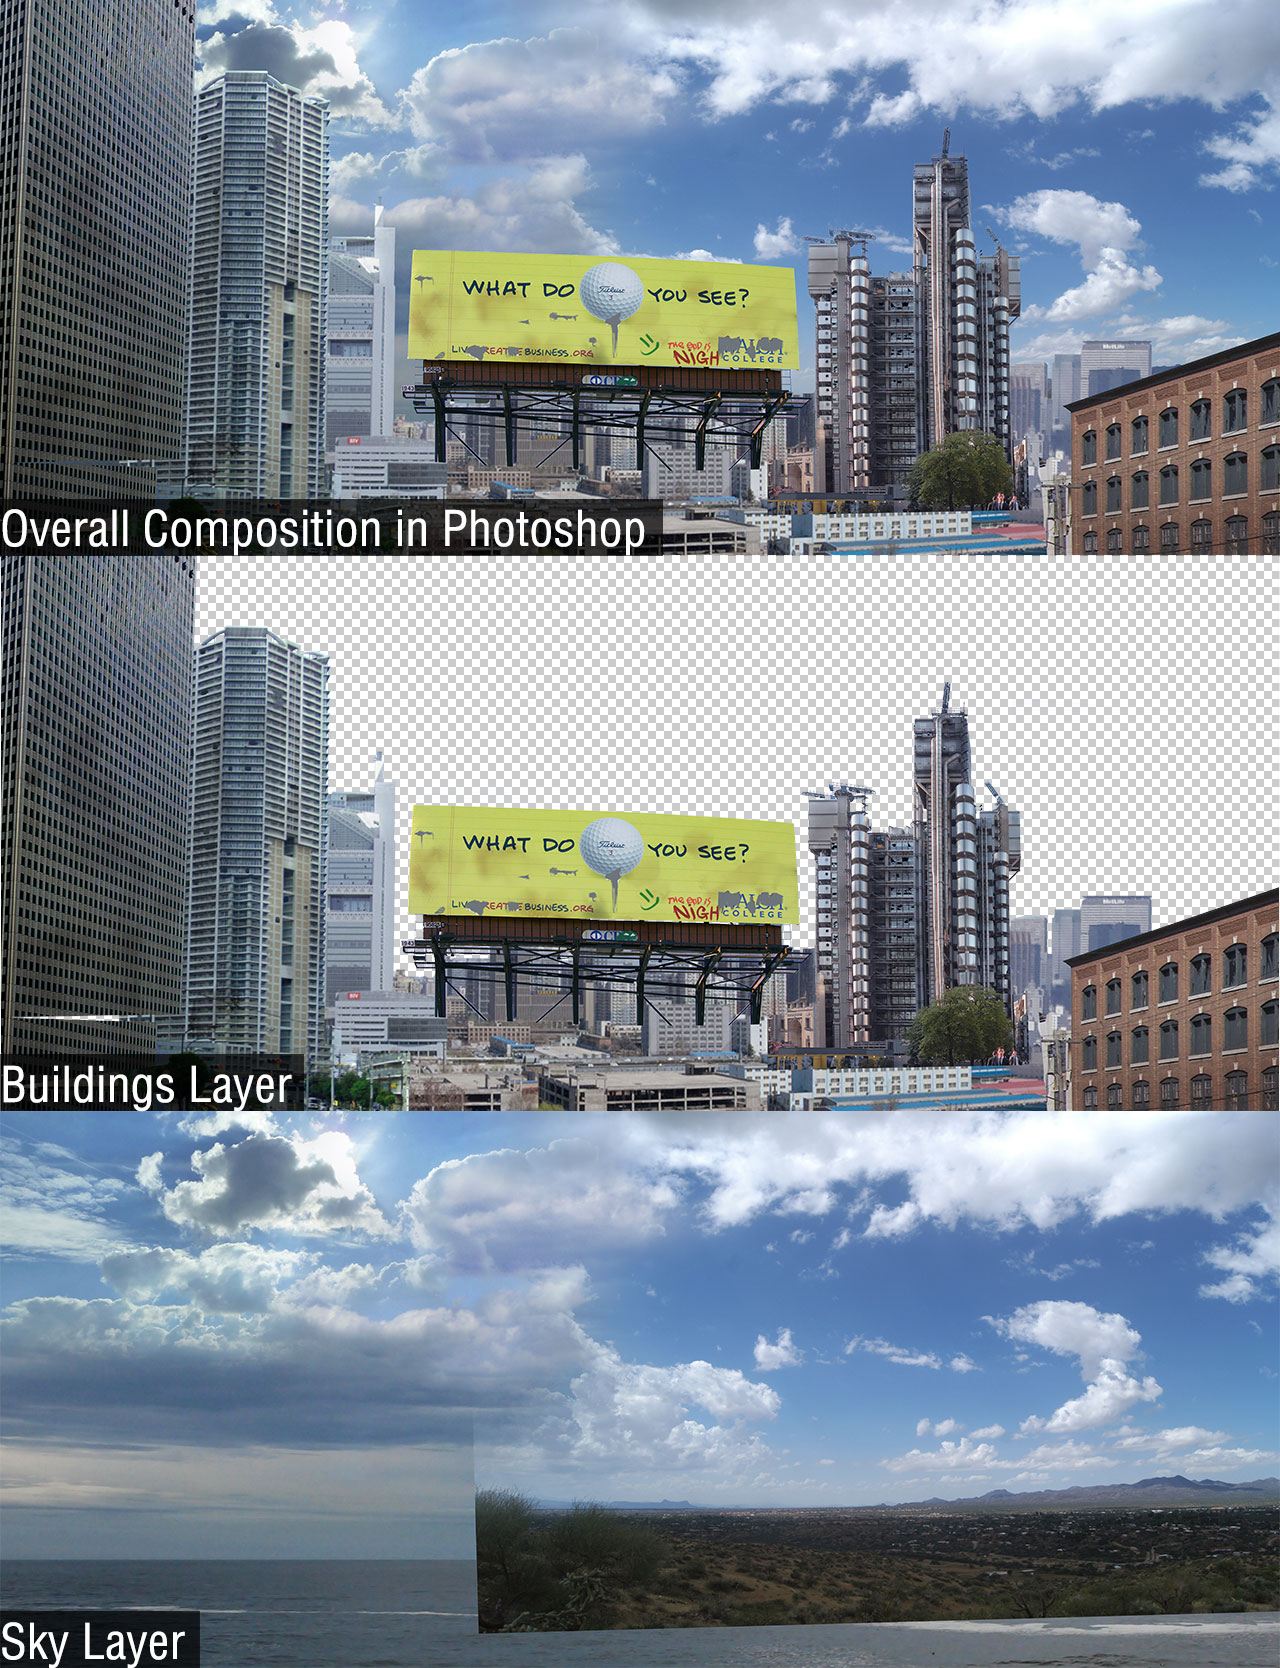
Briefing Better Be Brief
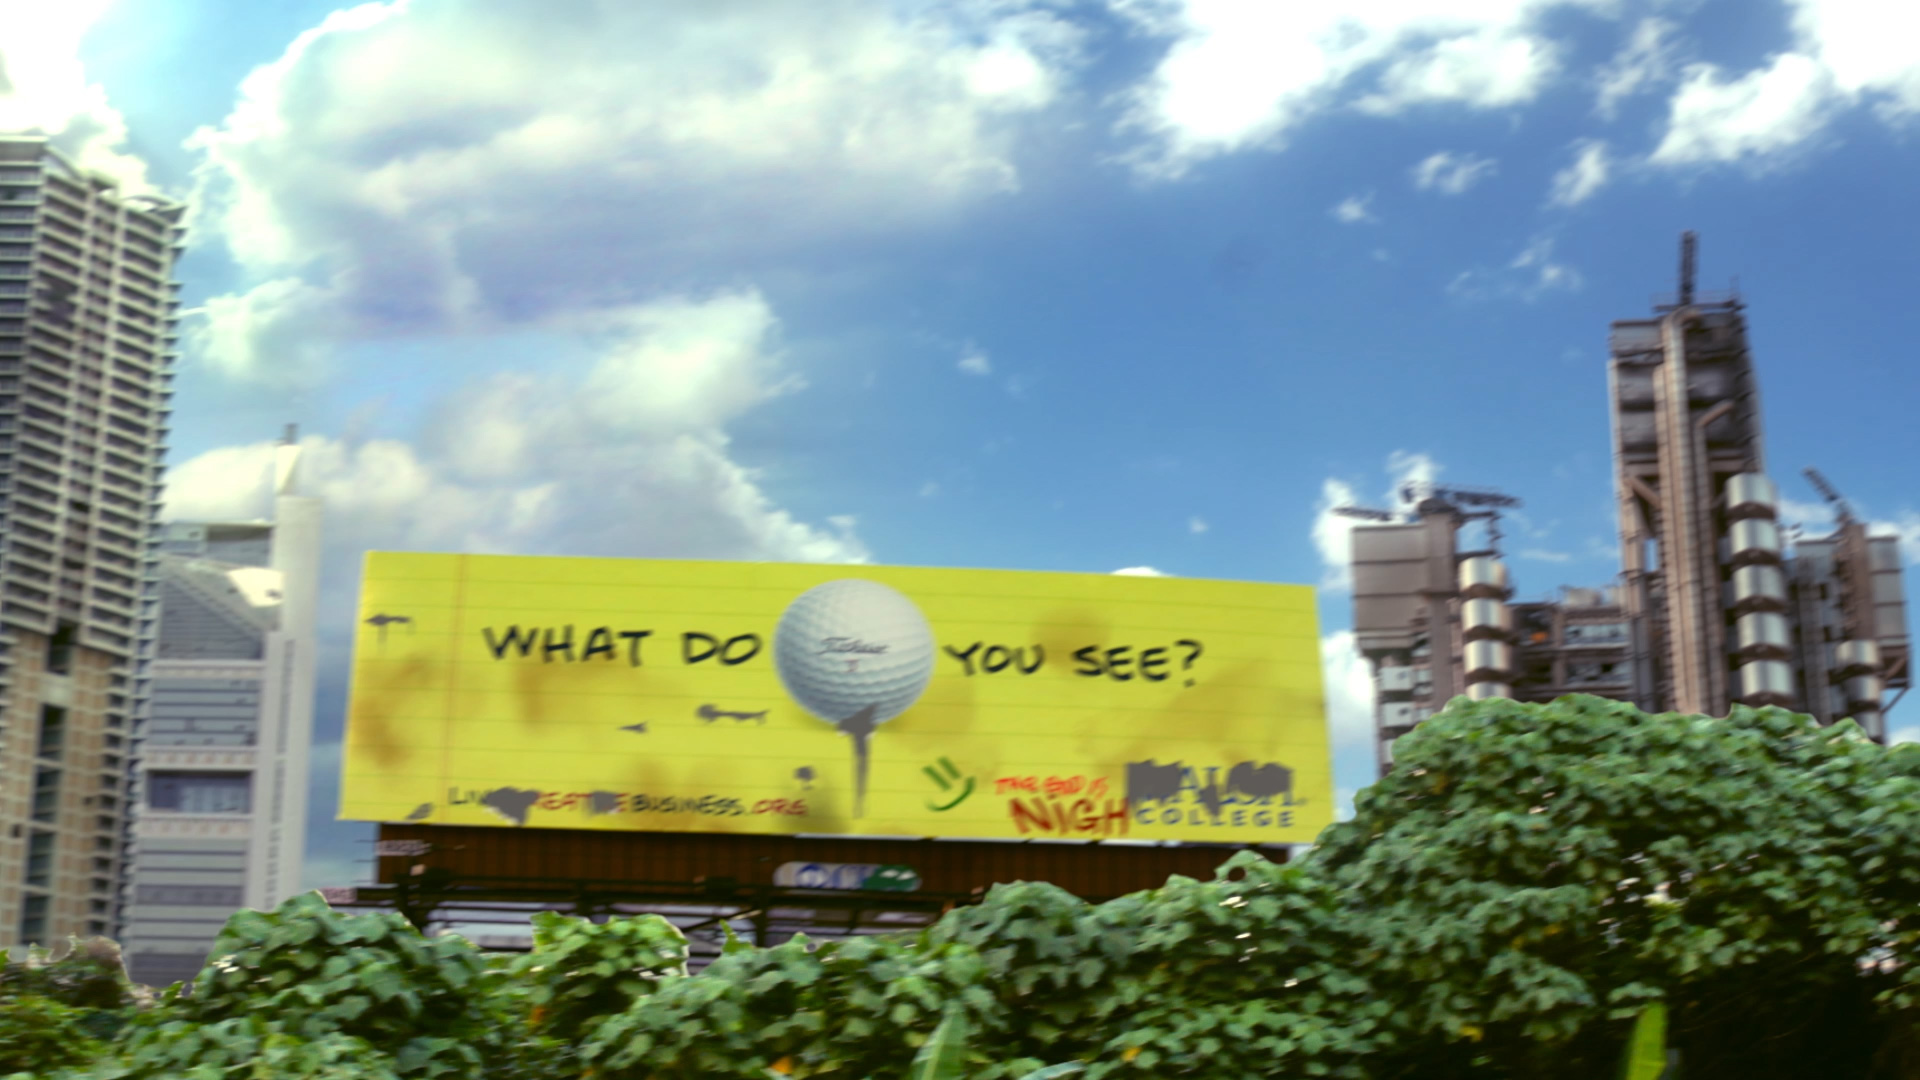
Here’s the live action plate where the students will be replacing the buildings and the sky with their matte painting.
Since I will be preparing the Nuke script, the students will be focusing on creating the matte painting instead of cracking their head on the actual compositing. What they need to do is just to replace the matte painting placeholder in the Nuke script with their actual work.
So this exercise is to make sure they know how each nodes in the Nuke script affects the final composited image from the motion blur and the out of focus to in focus look.
Obviously this can be done in After Effects too but I prefer to expose them to something out of their norm by going node-based with Nuke.
Sketchy Colour Sketch
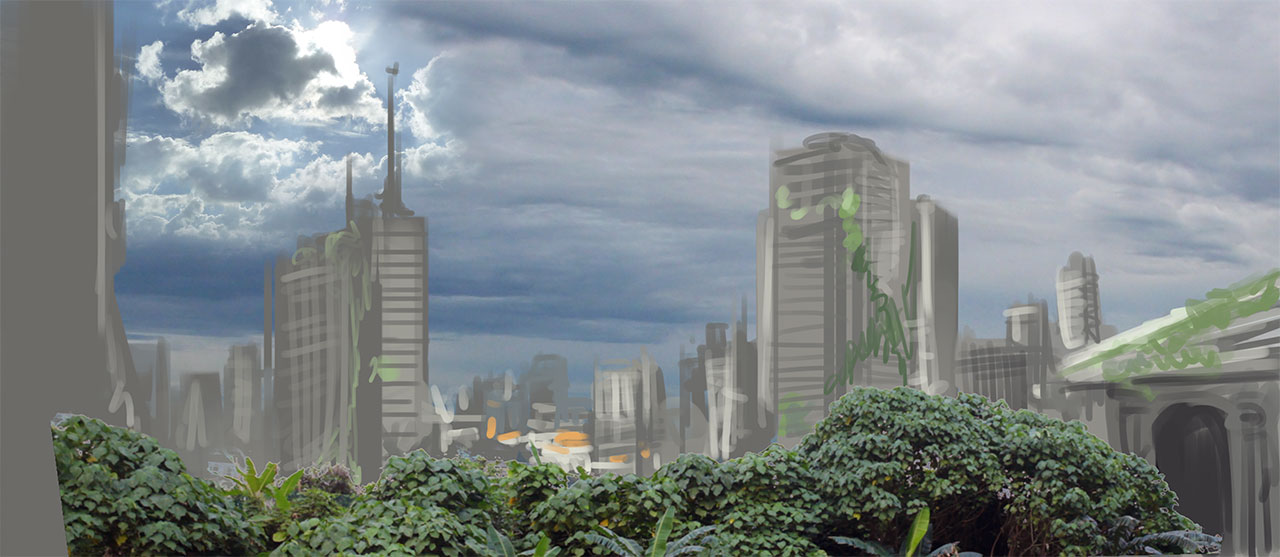
I did this quick colour sketch to get the general idea on how the composition will look like for the final matte painting. Again I like to emphasise the importance on colour sketching as it will help you have a rough idea on the overall matte painting. The sketch need not be very detail but must be able to convey the depth and also the choice of colour mood.
Usually I spent around 1 to 2 hours on colour sketching although it varies between projects. Also don’t be afraid to use actual photo in the colour sketching stage. Photos are necessary evil for matte painting but don’t go overboard with the details as that is meant for the final work.
Gathering References
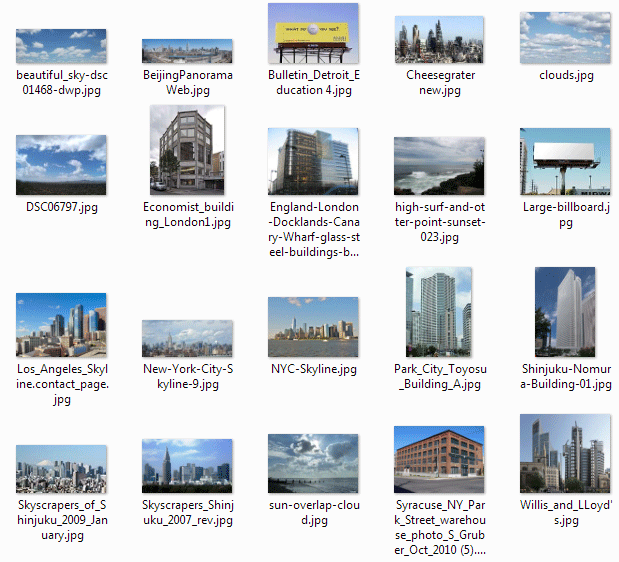
Before one even begin to start their actual matte painting work, scour the internet for photo references that you will likely use. Another option is to have a decent camera (preferably DSLR with a decent lens to reduce the dreaded chromatic aberration) and start travelling to potential location to take photos.
Above is a screenshot of my reference folder that I gather through Google Image search.
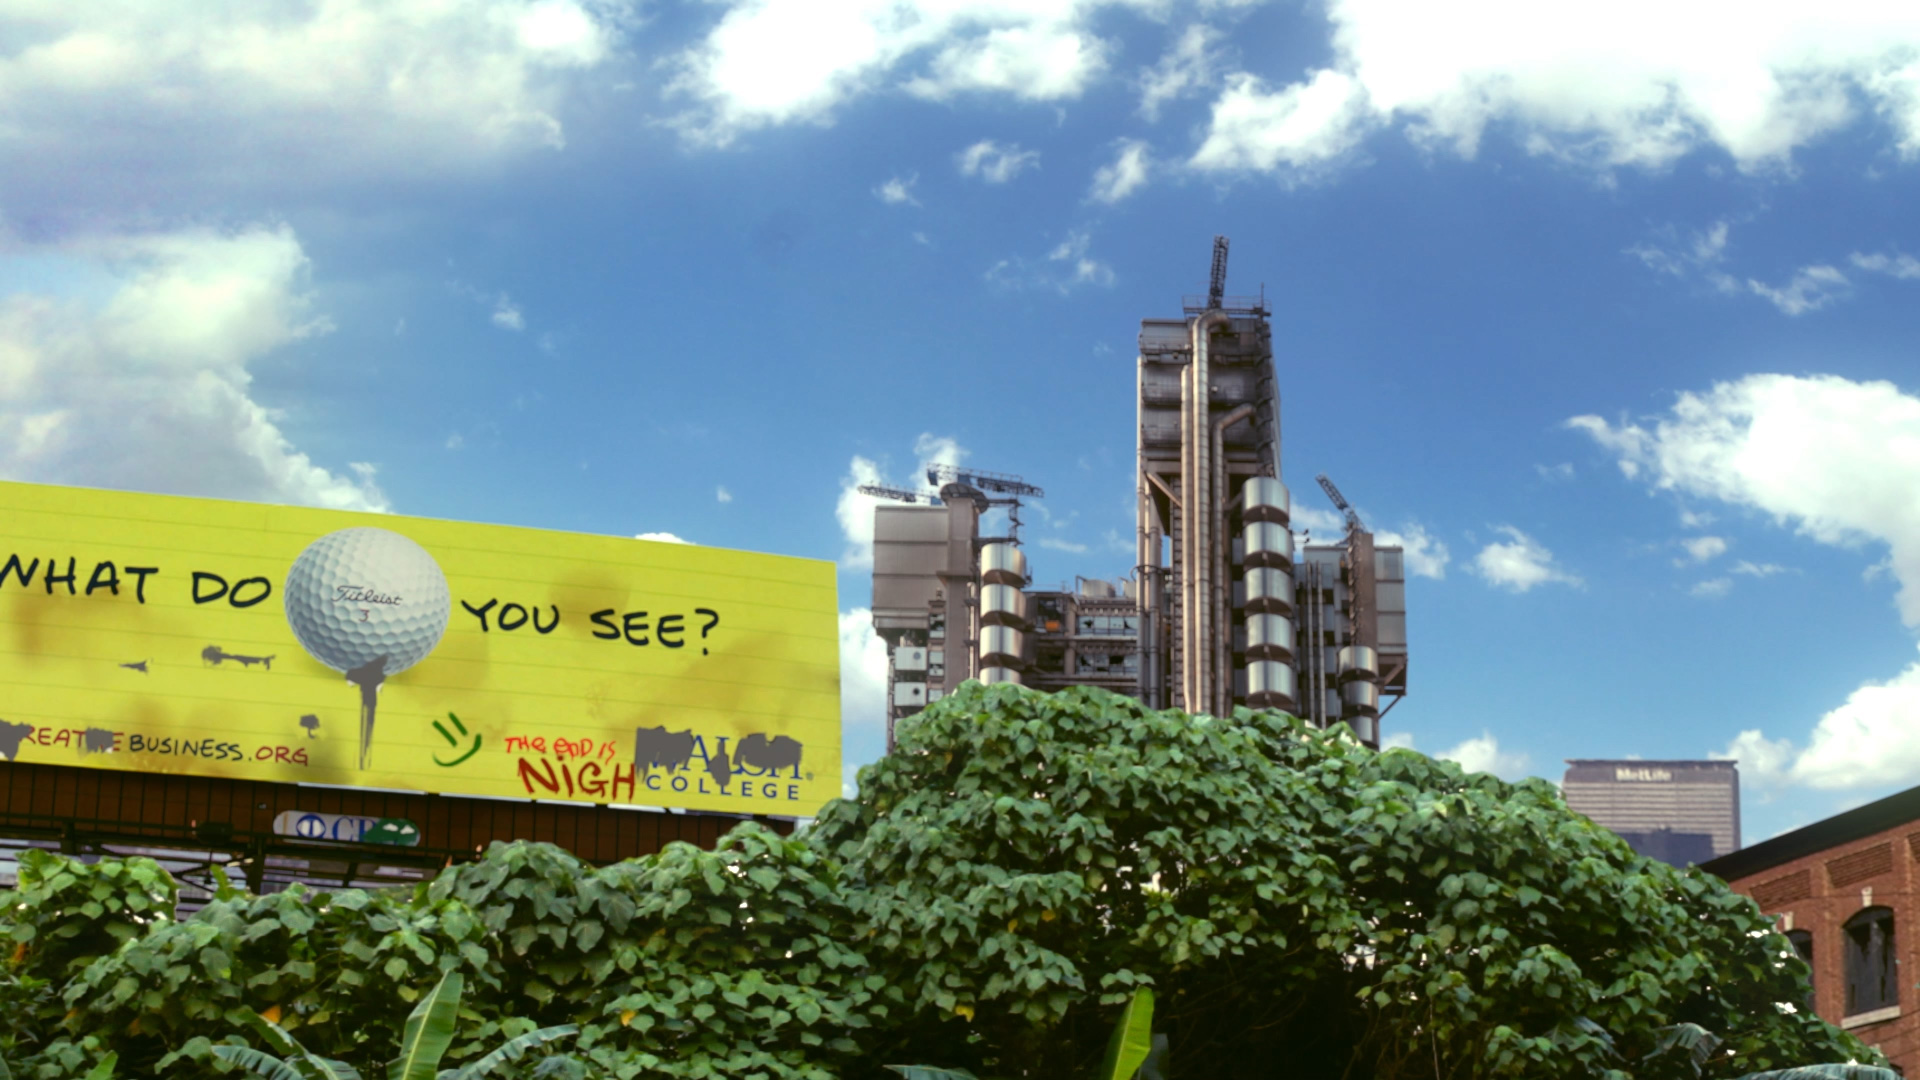
The Near Final Matte Painting
Well I’m not the best matte painter in the world so excuse the sloppy execution for this demo.
The following pictures are screengrab from the quick compositing in Nuke. In the final video, I didn’t have the time to do a much neater keying of the sky in the original plate as the quick panning introduce a lot of motion blur plus the out of focus moment make it harder than I anticipate (keep in mind I shot the original video at 1/96 with F5.6 to minimize the blurring).

Nuking the Shot
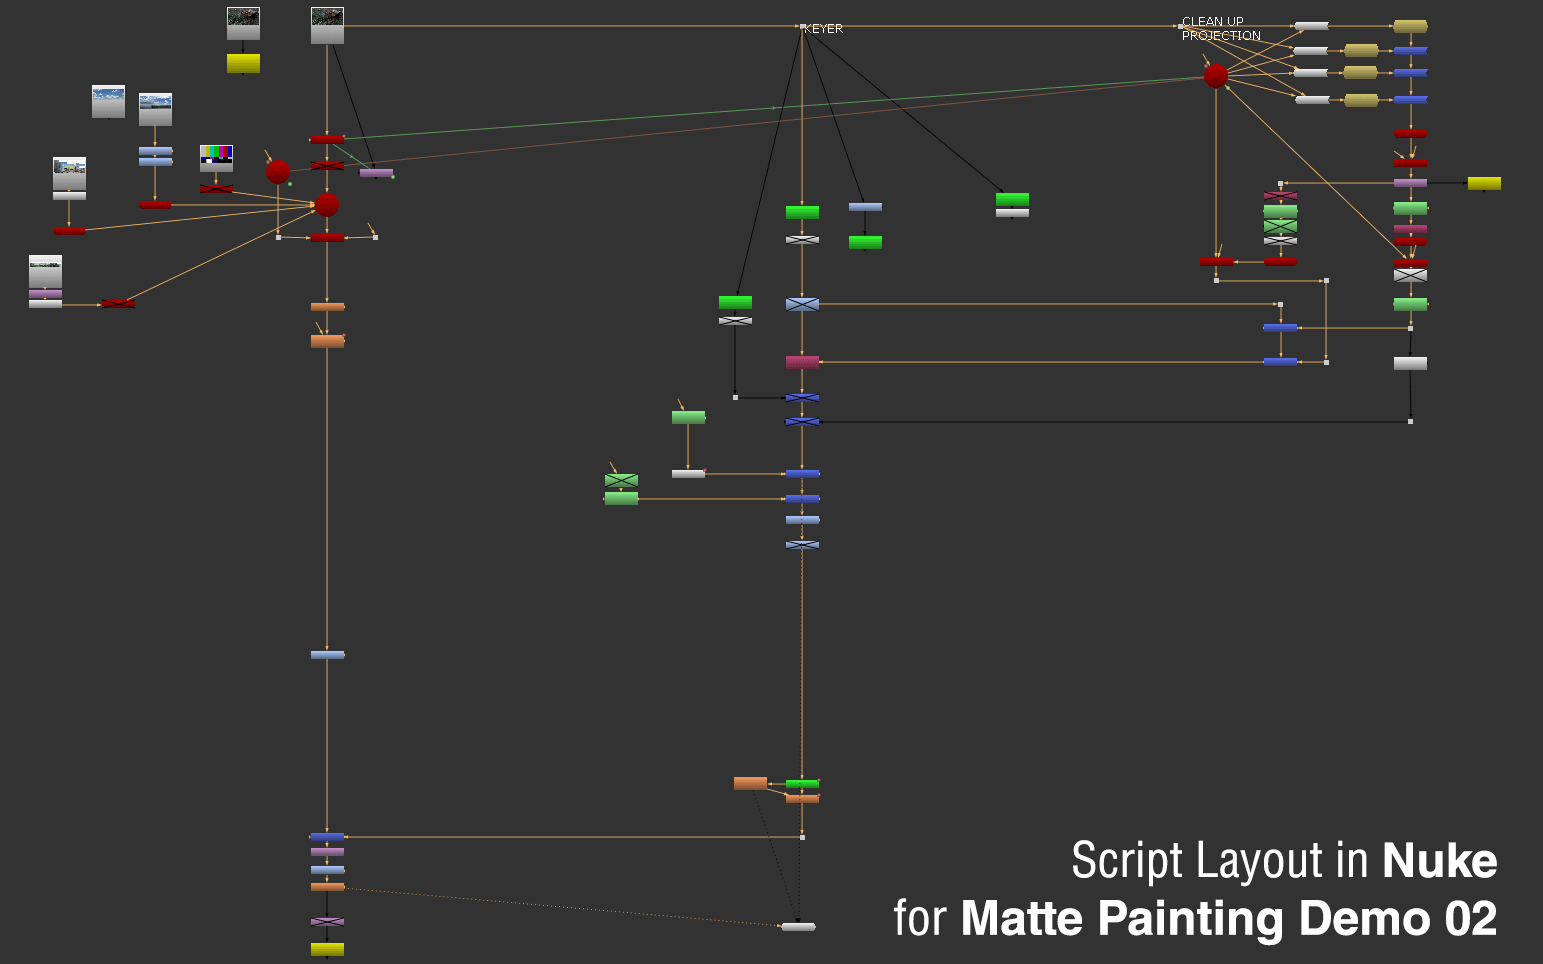
Above is the script layout I created in Nuke for this demo. Pretty straightforward and nothing complicated. The left side is the CameraTracker and 3D scene stuff while the middle part is the keying process that is assisted through the right part of the layout which is my failed attempt to try to do a cleanup projection (sort of work but SCANLINE RENDER IN NUKE IS SLOW).
The Last but not least of Progress
I did a simple colour grading for the latest WIP and while I’m glad the tracking works, there is still many things to be done to give it a more complete and richer look.
Moving clouds, lens flare, chromatic abbreviation and atmospheric elements such as smoke and birds will add a lot to the shot.
Also missing is the complex metropolis feel. Consider that being lazy from my part and since I need to juggle with lots of things recently, I’ll be sure to return to this project to give it the final touch up.
Timelapse: The Reckoning
With all the students for the guest lecture already passed their colour sketching checkpoint, here is the timelapse video covering from the rough colour sketching, the cleanup and repainting in Photoshop and a quick test in Nuke.
Bonus Round: For the Students
I’ll provide all the references that I found together with the PSD file. Also the Nuke script is created using the latest beta version of Nuke 9 so you might want to wait until the official launch of Nuke 9 before you open it. Also included is a timelapse video covering both the colour sketching process and the early stage of the matte painting (make sure to get it from the lecturers as I’ll not upload it online for the time being) (it is already uploaded to Youtube which you can find right above this paragraph).
Feel free to poke around the files but remember to use it as your own study! Don’t use it in your final submission or prepare to die edition. :P
Also enjoy matte painting!

