
It don’t matter if you’re black or white~
So you have a live action plate and CG render and you wonder why it doesn’t mesh together?
Probably the “blackest” and “whitest” point doesn’t match for both elements. This applies to pretty much all elements during compositing of a photorealistic scene.
So for this example in celebration of “May the Fourth Be with You”, here’s a walkthrough of the process.
“You must unlearn, what you have learned”
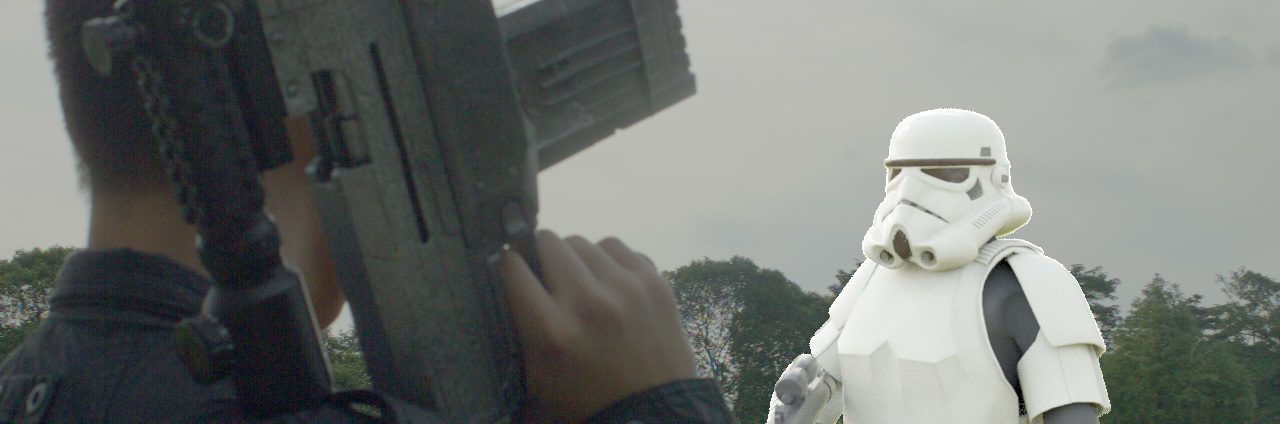
1) The original live action plate and CG Stormtrooper.

2) Object ID pass since the texture on the original CG Stormtrooper doesn’t have consistent black level. This render element is also known as RGB Mask for precise selection during compositing.

3) The raw Beauty pass rendered using Octane Render for 3ds max.

4) The helmet with super subtle colour correction to match the body black levels.

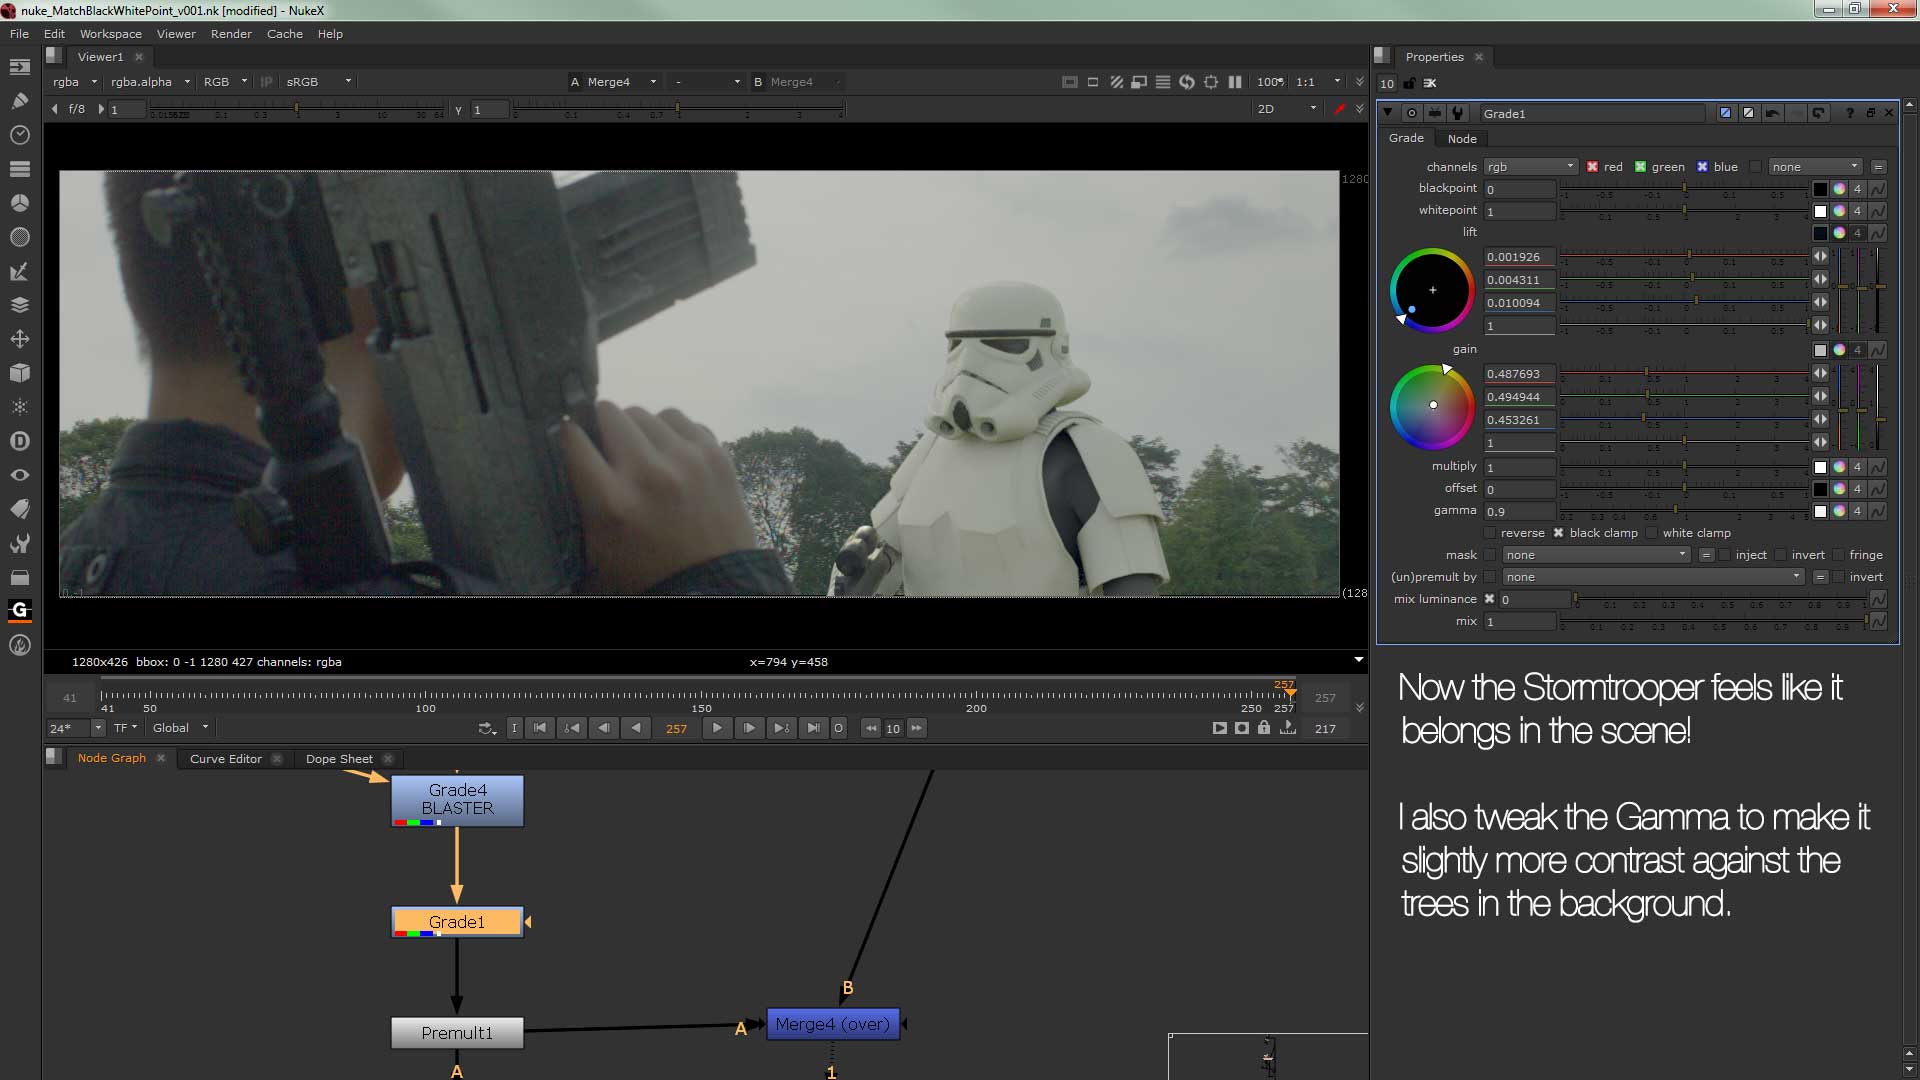
5) The blaster (gun) after colour correction. I also tweaked the gamma so it has a more contrasty look.

6) After tweaking both the blaster and helmet, this is where I colour match the CG Stormtrooper with the live action plate.

7) Noticed the funky pixels halos around the CG Stormtrooper in the previous steps? This is where I premultiply it to get rid of the halos.
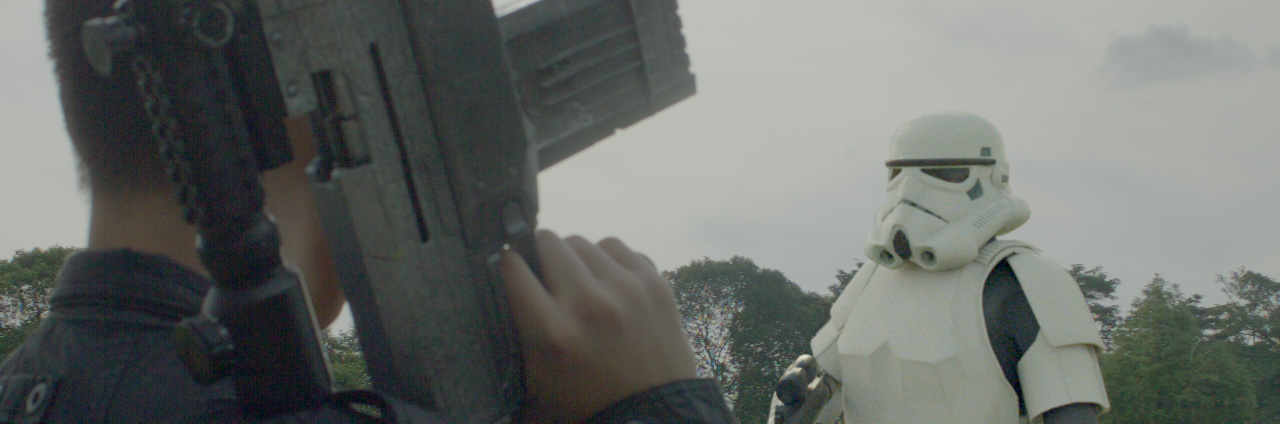
8) The colour-corrected CG Stormtrooper now sits nicely in the live action plate.
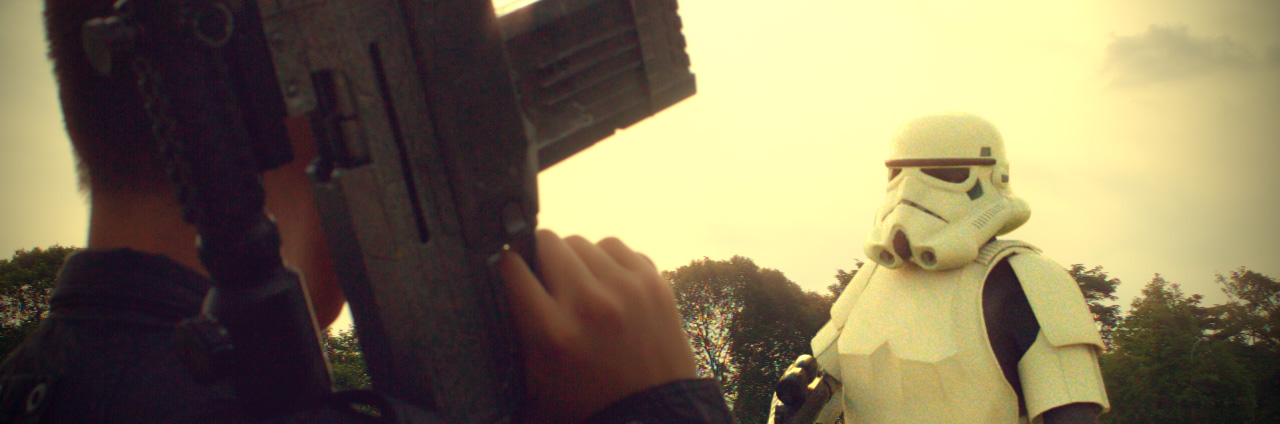
9) This is where you apply your choice of colour grading either by yourself or by handing off to the colourist (read more on what does a colourist do over at No Film School).
The Holy Grade Node
Tip of the day: Hold down CTRL while click drag on the viewer to colour pick in Nuke.
The function that you’re looking for is the following four parameters:
- Blackpoint (Usually you don’t need to adjust this but this set the the colour that you chose as the “blackest” point)
- Whitepoint (Vice versa as Blackpoint description. The colour that you picked will be the “whitest” point)
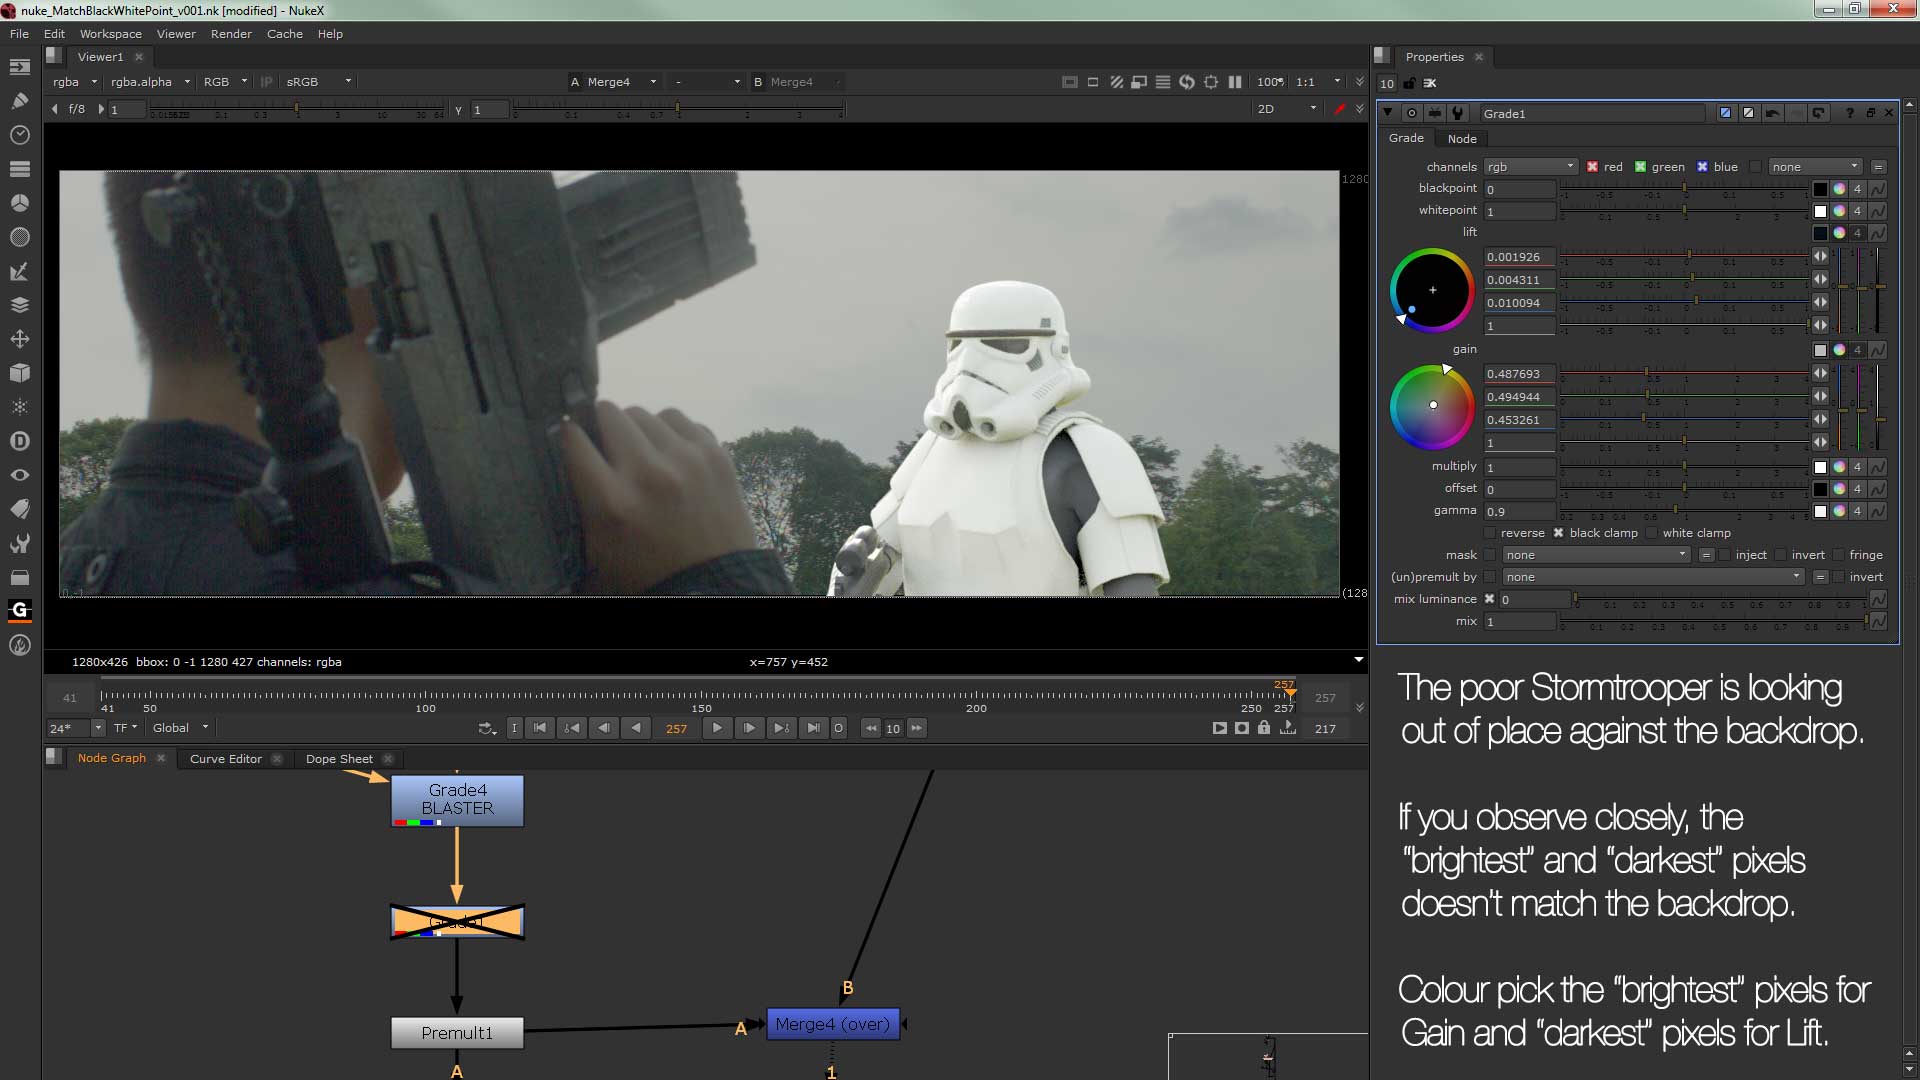
- Lift (This is where you pick the “darkest” pixels on your live action plate (or selected part of your live action plate if there is various lighting condition))
- Gain (Same as Lift, pick the “brightest” pixels from the live action plate to match the
Once you set the colour of your choice, play around with Multiply and Gamma for the final fine-tuning.
Here’s the final render of the whole sequence (no sound). Enjoy!

