Denoise Footage for VFX work? Why not?
As a basic rule of thumb, I often denoise footages as the noise can be a pain to deal with when it comes to keying and tracking.
The GIF shows a sample from my current project and it is particularly noticeable in the darker area.
Also while not obvious in this comparison, Denoise is an excellent node to ensure you get better key when using Primatte, Keylight, IBK or other keying method.
Of course there are drawback when using Denoise. The process can soften your footage and remember to play around with the settings to get the desired result you need.
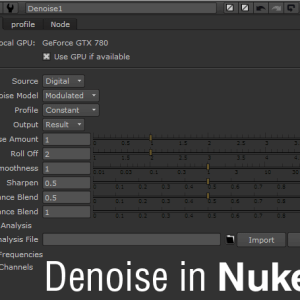
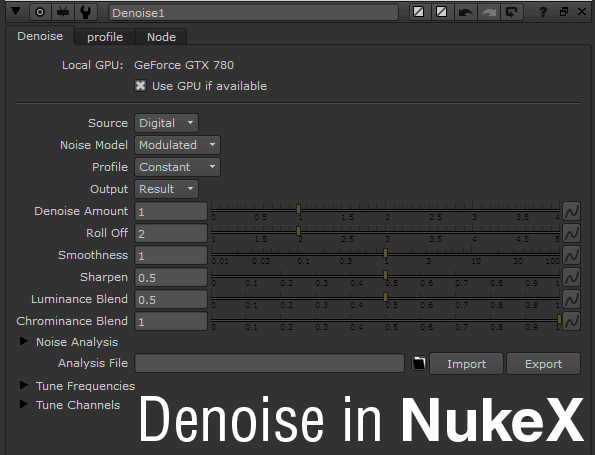
So what can I do with Denoise parameters?
Here’s my list of what to tweak in Denoise:
- Enable GPU support if you have a decent graphic card. It HELPS a lot.
- When working with DSLR footages, select Digital for your source. The other option is Film which I never got the chance to try out (lack of traditional scanned film to practice).
- Bump the sharpness to around 0.5 for 1080p footages. You can increase further although I prefer to do the final sharpening during the colour grading stage.
- Also if you need to get rid only the chroma noise, set Luminance Blend to 0 while leaving Chrominance Blend at 1.
If I’m not mistaken, Denoise is currently available for NukeX only.
As usual, here’s the link to the sample footage use in this comparison. It is 1080p H.264 MOV using Magic Lantern firmware on Canon 550D although I rename the extension to MP4.

